Best practice is to verify everything is working as soon as possible. Especially before you closeup the compartment, Even if you can get back into the area. Catch a problem as soon as you can.
But how do you test your transponder, you ask. It’s actually very easy. For $35 you too can test your transponder. Purchase a SDR that attaches via USB. I lot of sdr come with antennas. But you don’t need that since you will only be a couple feet away from your planes antenna. Then download 1090 app on your Android phone or Windows laptop.
When the app runs there is very little setup. Just press the play button and you will see your planes tail number if it is transmitting. On Garmin prodcucts, you will have to put them into ground maintenance mode.for them to broadcast. From the g3x just press mode button then on the lower right maintenance mode enable.
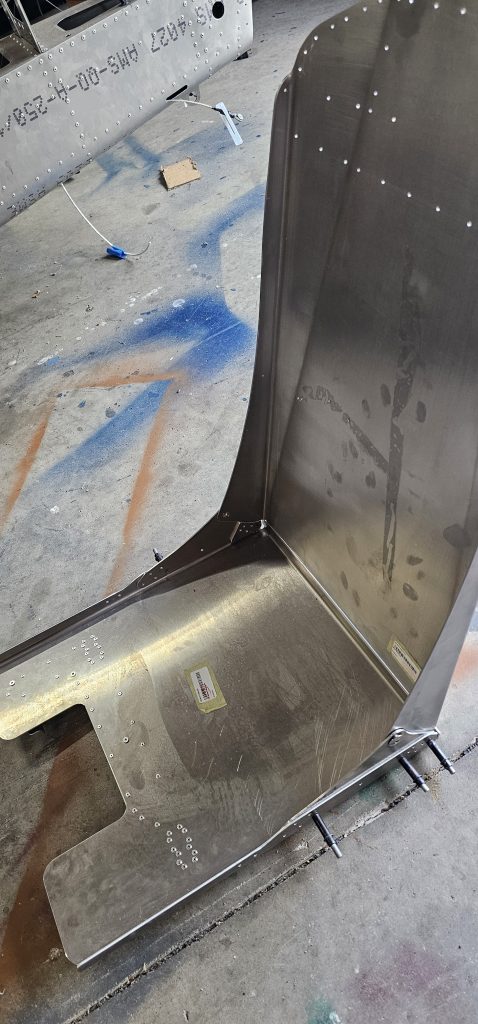
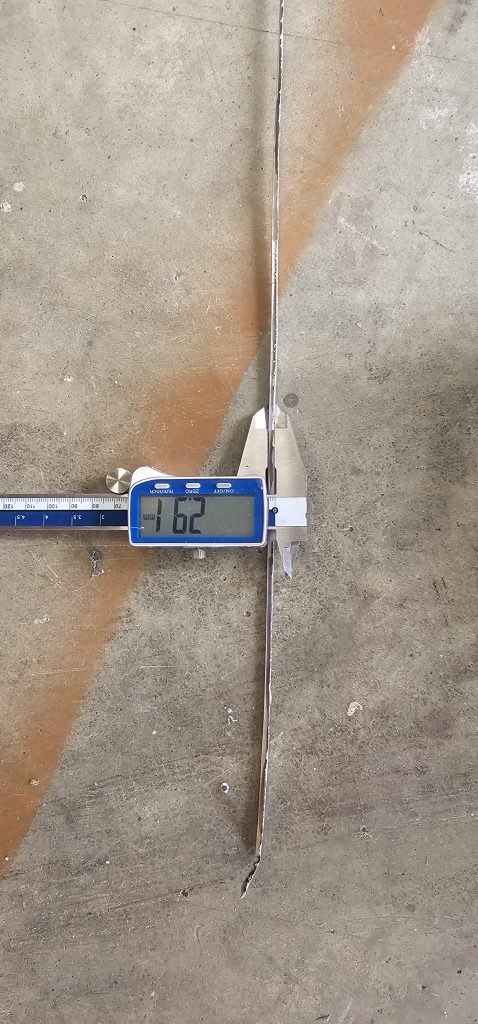
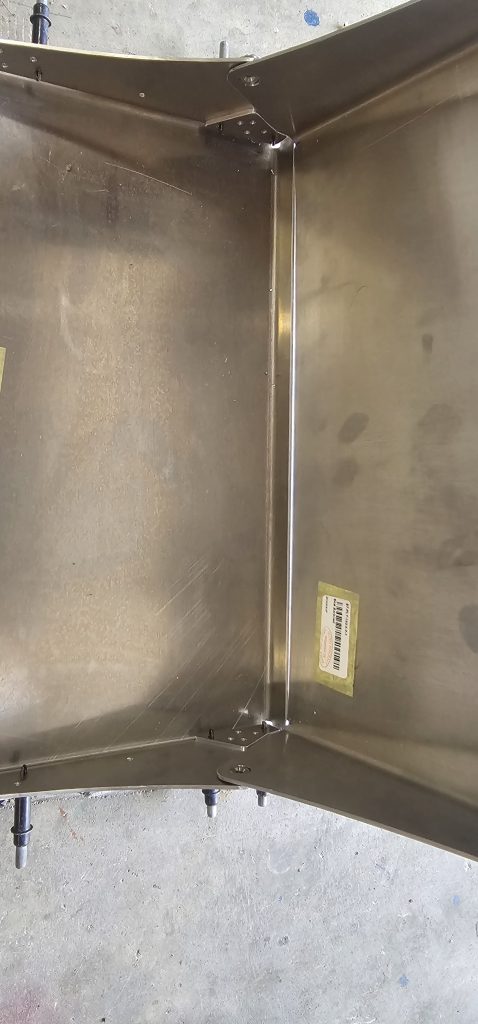
Building your sling yourself has it advantages. Such as customizing your seats. Small changes can make a big difference. By simply removing 3mm from the back of the pilots seats you can get an extra 1.5″ recline or 3 degrees more recline. The seats are okay as they come. But I find a little more recline is better.
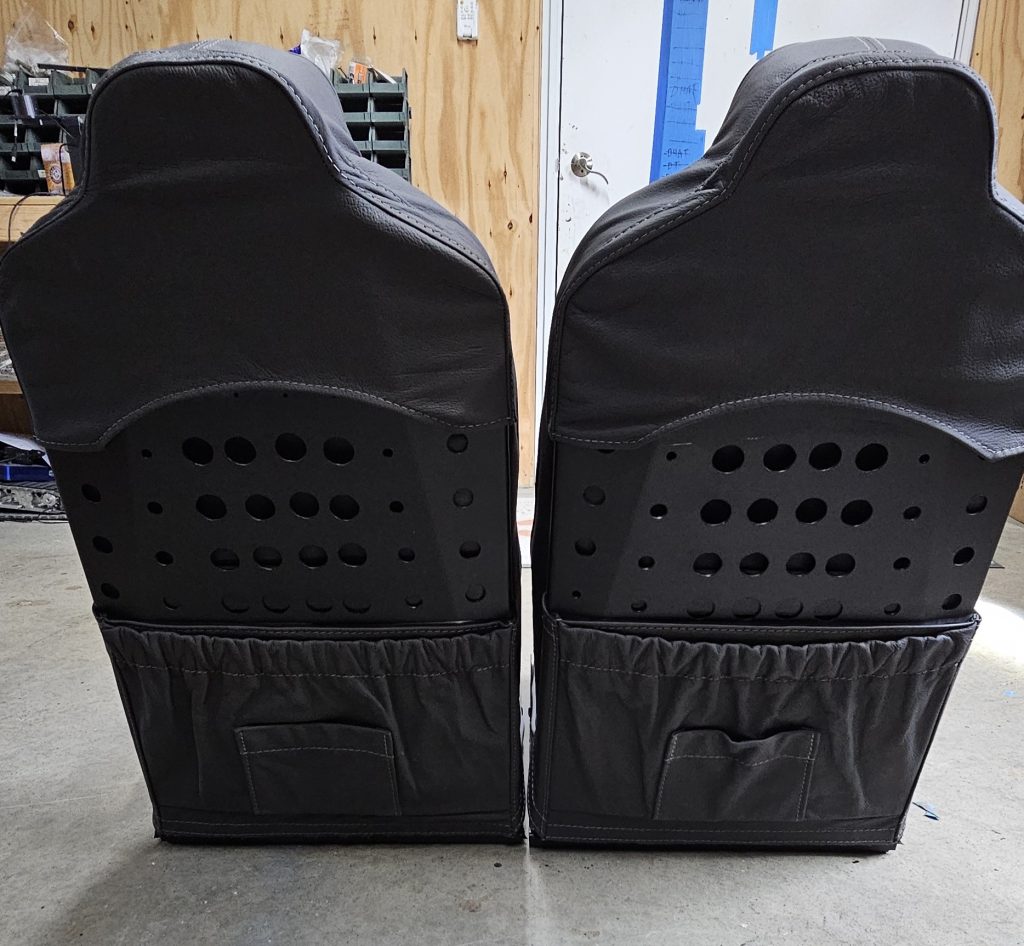
I thought the pilot seats were a little unnecessarily heavy. So many drill bits later I made them lighter. The holes you can seen continue all the way up and down on th base also..The result was I made them 1.5 lb lighter. I have a hard time saying this was really worthwhile. I have considered an alternative benefit. With all these holes the seats still seem as every bit sturdy. But they have to be weaker right? So hopefully in the event of a parachute deployment, maybe these lighten holes will help give a little bit and provide more cushion… Kind of like a cirrus seats. Maybe ? Maybe not. When I first posted pictures of the seats many people asked me what it look like when it’s done… So without further ado here are the back of the completed seats…
Flew my TSI from Virginia to KOSH for the first time. It could not have gone better. It took me and a friend four and a half hours to get there and because of an awesome tailwind it only took us 3 hours to get home. We did 200 knots gs at 15000 with an oxygen concentrator and three pulse oxys meters for redundancy.
We had a great time at Kosh. I was honored to be invited to attend a party Rotax threw, thanks to RS Flight Systems. I also attended an AOPA event for social media influencers, didn’t know I was one, and of course our very own Sling Ding. The man, the myth, the legend Mike Blyth was there and so was Bertus. Getting a chance to talk to them in person was great.
i did encounter some discouraging news. Seems like Sling has no intention of supporting the 916 in the TSI for the foreseeable future. I was told at Kosh that it was just a matter of swapping out the standard grey engine mount for a beefed up black engine mount. And that it would be no problem to mail them out. But now after Kosh it seems they have no interest in supporting a different engine mount either. Being told two different things is,,, confusing.
VIDEO
Flying into Oshkosh I made my first ever video. I used a Drift pro camera cause it has 7 hours of battery time. Which means I don’t have to mess with it while flying. I know lots of people have already shot videos flying in so I decided to do something different. I attached my camera so you can see the underside of the plane. It provides Superior ground visibility. You can see the Fisk Tower / trailer. You can see other planes fairly well on a large screen. And of course it really helps visualize your landing. Please be kind. It’s my first time splicing video and adding music.
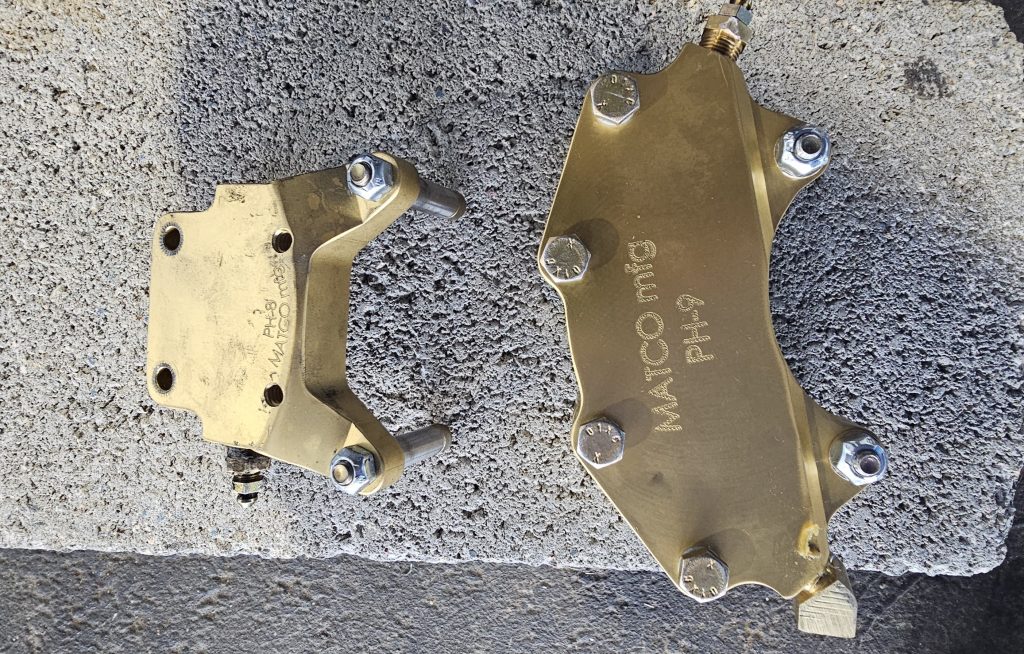
i found my braking power to be wanting…. I regularly fly into a 3000ft runway with 90ft obstacles and was expecting better. So I upgraded to the matco WHLBE9HE-1 assembly. They have a sling TSI package that comes with everything you need. Including an angle fitting. I tested before and after. The new brakes allow me to run up the engine 600rpm higher without moving forward. They are literally twice as larger. They each weigh one pound more. But when considering stopping distance, I am not gonna worry about weight. They installed super easy and require no modifications. Love the results, highly recommend. Original on the left, new on the right. Which would you trust more …
My inspection went great. The DAR just mentioned a couple things but nothing that was wrong. He was great to work with. I got a good size test area. He communicated ever detail from the start and there were no surprises. Could not have asked for more. I spent the rest of the day reassembling the plane. So hopefully tomorrow I can take my first flight. The weather is just horrible today. After I stop smiling from ear to ear I might type in some details.
If anyone needs a DAR recommendation around the greater Virginia area let me know.
Since i have gotten the plane to the hangar two things have been tormenting my soul. One, the wing fairings and now even worse, fuel !
Last weekend I thought I was going to do my first engine start. I follow the process for priming the oil under pressure for the first engine start… That process is not hard but takes a little while… You have to disconnect the IN oil lines going to the oil tank, and then plug those ports on the tank, then disconnect all the spark plug, remove one spark plug from every cylinder, apply pressure to the oil tank vent, check the oil levels make sure that there is just a little extra,. Then hand turn the prop about 60 times or so until you see the oil pressure rise up to about 40 PSI. I was doing this myself mind you so checking the oil PSI while turning the propeller was quite the task. I turned it a couple extra minutes to make sure that the lifters got oil in them. I then put the spark plugs back in and all of the hoses reattached them.
I was then ready to start the engine !!
I powered up the plane, turn on the fuel, and notice there was no fuel pressure. At this point I know what you’re thinking… Yes I did test this before but I didn’t test it while attached to the engine nor with the actual wings attached. So for the next week I began troubleshooting a million different things. I did change a couple things here and there and I think that did in fact help… The only good news I found out during all of this is that I didn’t have any leaks which was miraculous. After about a week of troubleshooting, and my hands being stained permanently different color due to being completely wet with fuel for a week straight,. ( Wow I sure do make a lot of run-on sentences. ) I figured out my rotax fuel pump number 2 is worthless. It powers up and makes noise but it doesn’t do anything.
Warranties ugh. The fuel pump cost $2,000 to replace it. The fuel pump is brand new. It should be covered by warranty. But as is typical with large companies they don’t want you being able to make a claim on a warranty item. Rotax makes it as hard as possible to do that by requiring you to do a ton of paperwork beforehand and then taking like 6 months to replace your product and or give you your money back. I don’t have that type of time. So I went ahead and bought a replacement pump. Should be here in a couple days cuz I paid for rush shipping. We will see how this project goes from here.
Needless to say I’ve had so many problems that this project really starting to get depressing.
update: i received the new pump. It instantly fixed the problem. Pump 2 was bad… Being an engineer and Not being happy with that answer I followed Evans advice and tried SeaFoaming it. I left it run seafoam and fuel 4 to 1 mixture for two hours and it improved psi from 0 to 6. Obviously not good enough but a step in the right direction. I will run it for longer just to experiment. Never use it. Just learning.
Tidding up things… I have spent the last two days trying to get the wing fairings to fit correctly. They already fit due to my past endeavors. But not good enough. I redrilled a couple holes and adjusted a couple things, now they fit great. All the fitment issues arose because now that the wings have all the bolts in them they sit a little higher.
Tomorrow, first engine fire. I know, I know, I was told I waited to long to test this. . But oh well ..
Also I do now have my official weight and balance figures. FYI, I am not gonna have any aft CG issues… Due to my heavy battery and hydraulic prop
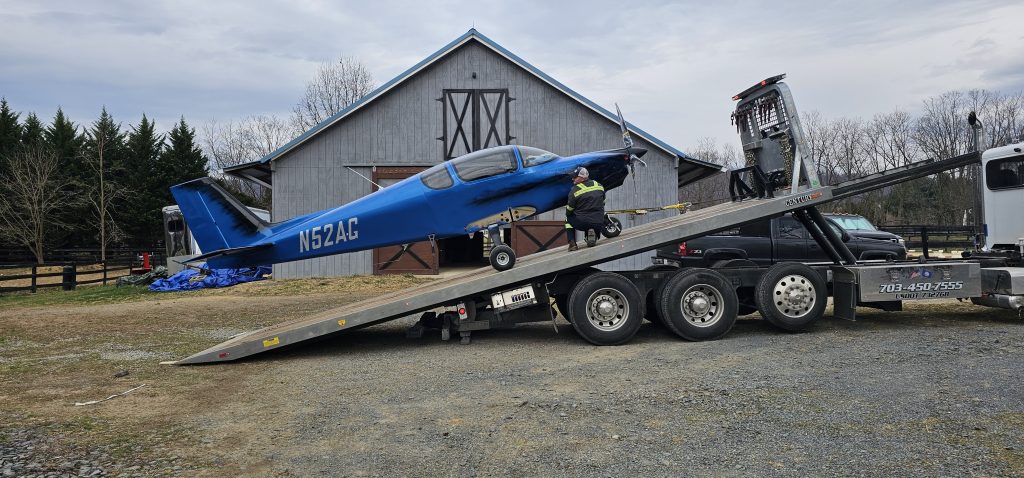
Time to leave the nest. I had some problems getting it out the door. Literally. My door was 10′ wide. But the tail is 3 inches wider. So we had to take it through the door sideways, stepping it out. The other problem was that I was planning on taking it to the airport on my own but my trailer is 79 in wide and the wheels are 80 in wide in their center. So that wasn’t going to work. So we hired a flatbed tow truck at the very last moment. The plane itself went down the road very well. The wings were sitting upright in their holder and they managed to catch a lot of wind as he went down the road. So we had to keep it below 30 miles per hour.
I was expecting how much work it would be to pack up the plane. But I was not planning for how much work it would be to pack up all the tools and miscellaneous extra parts. I still have a couple things to do when the plane is at the hangar, such as put the wings back on, so that requires almost all of my tools. It took me two complete truckloads just to get all of the tools there. And all the fairings and the seats are actually still at the shop and haven’t even made it to the hangar yet so I probably still have two more loads yet to go.
Yesterday a friend, Nick from Smokehouse Pilots club, help me attach the wings. I sat inside and put the bolts through while he stood outside and move the tip of the wing around.
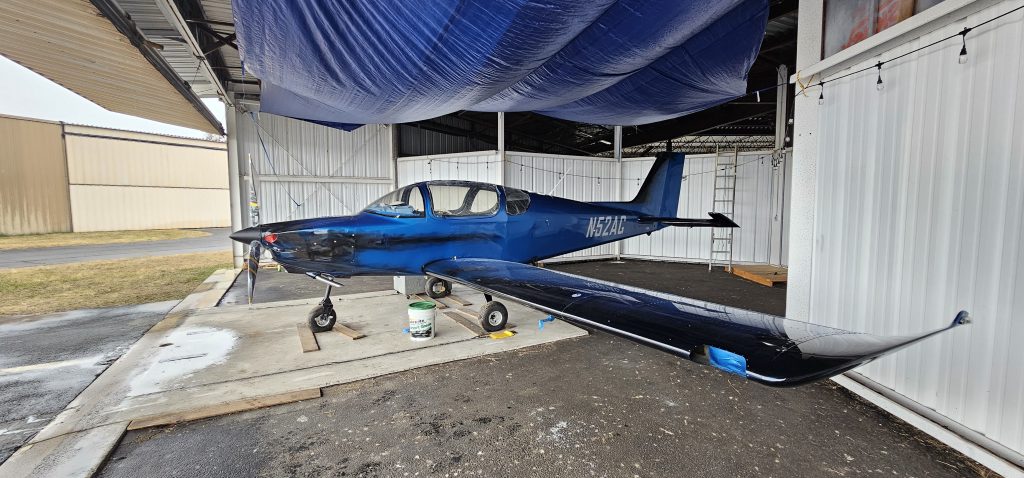
Today, I managed to attach the aileron pushrods to the controls. It was hard to get those attached and those two bolts took me all day. Sadly, the hanger is it nearly as nice as my shop. It is dark and cold in there.