I am missing so many parts that this is all I can do now.
I did make some mistakes. I had to drill out some rivets that I put prematurely on the side that attaches to the seat bottom.
I found that the length of the rivets on the plastic spacers that hold the seat release handle were not long enough. It calls for 3.2 x 8m. But I used 3.2×12.
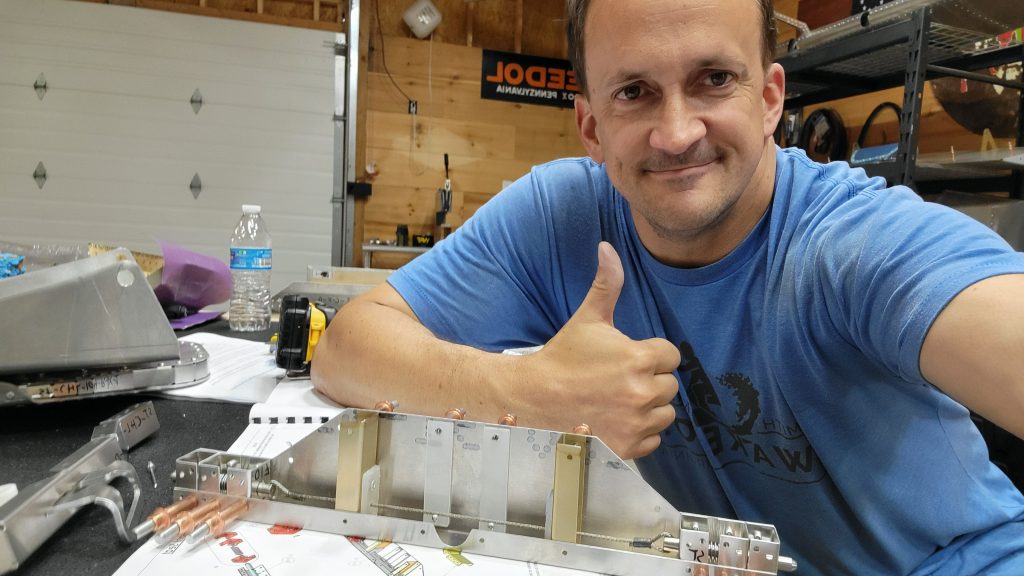
This was a cool part to make. Gotta love gadgets. Felt a little steampunk.
Last night I went to watch Top Gun 2. It was really great sometimes movies don’t live up to the hype but this did. Obviously, it isn’t realistic but it’s not really designed for that. It’s designed to be entertaining and it definitely is. I highly recommend it.
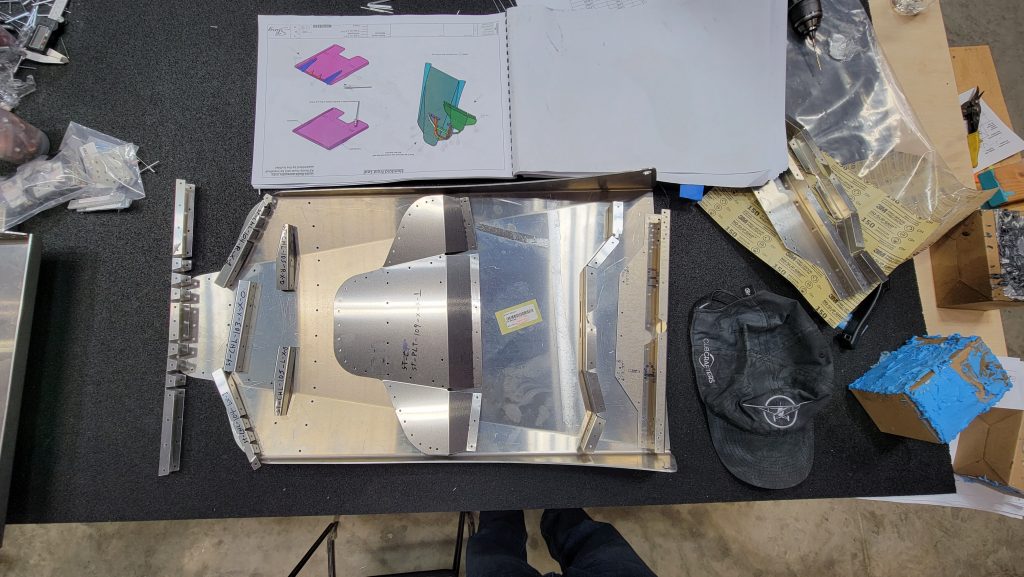
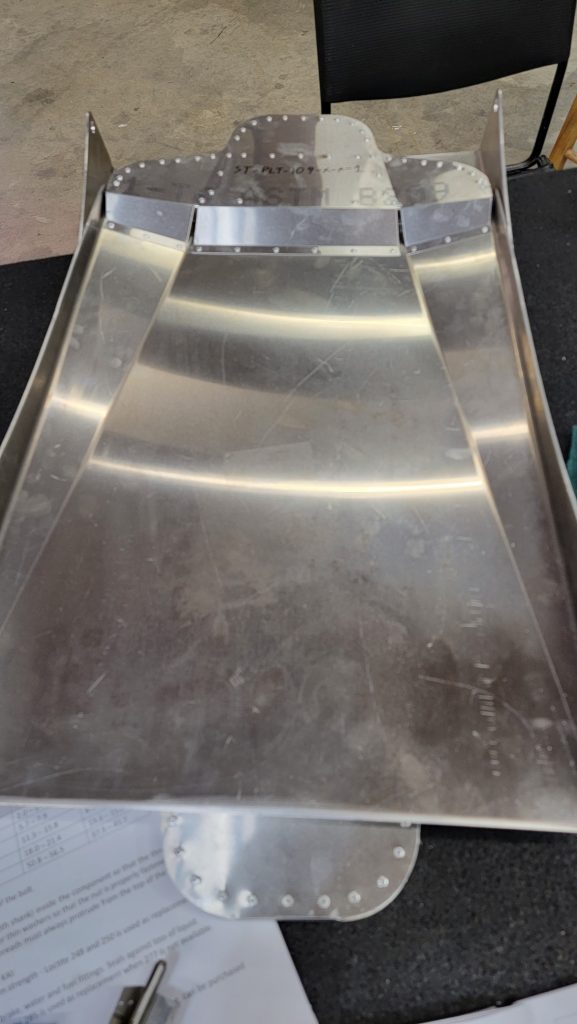
I was able to start on the front seat backs. Make sure not to rivet the ribs in the head of the seat to the side until you put the front plate on. It’s just one rivet there but I riveted the ribs to the side and then had to drill it out.
Thanks to some feedback I received I am not going to be doing holes in the seats to make it lighter. But that’s probably mostly due to laziness. I do believe you could shed a couple pounds if you put the effort in.
I can’t do the front seat bottoms because once again I’m missing parts. But I’m doing as much of the bottoms as possible.
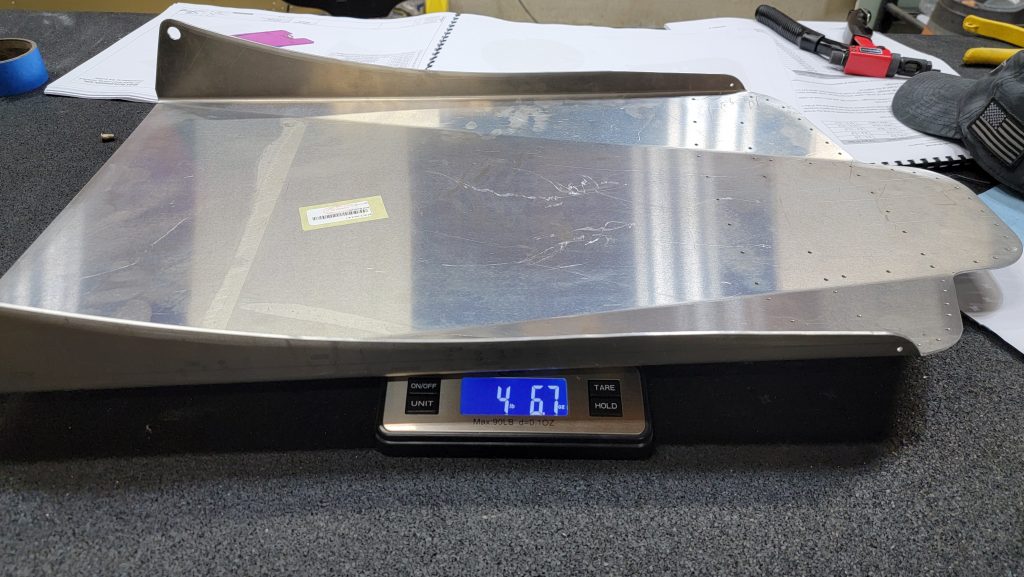
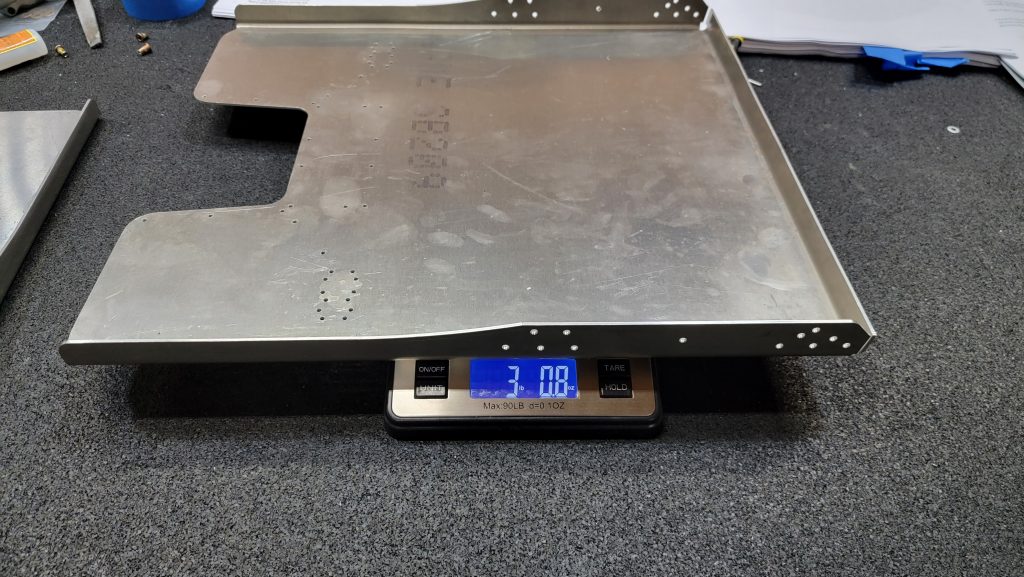
Just contemplating the weight of the seats… Just the two front seats, just the back and bases weight 15 lbs all together… I don’t know… Would a couple lighten holes matter ? Would it make a big enough difference to help ? Would it make a big enough difference to hurt? I don’t know.
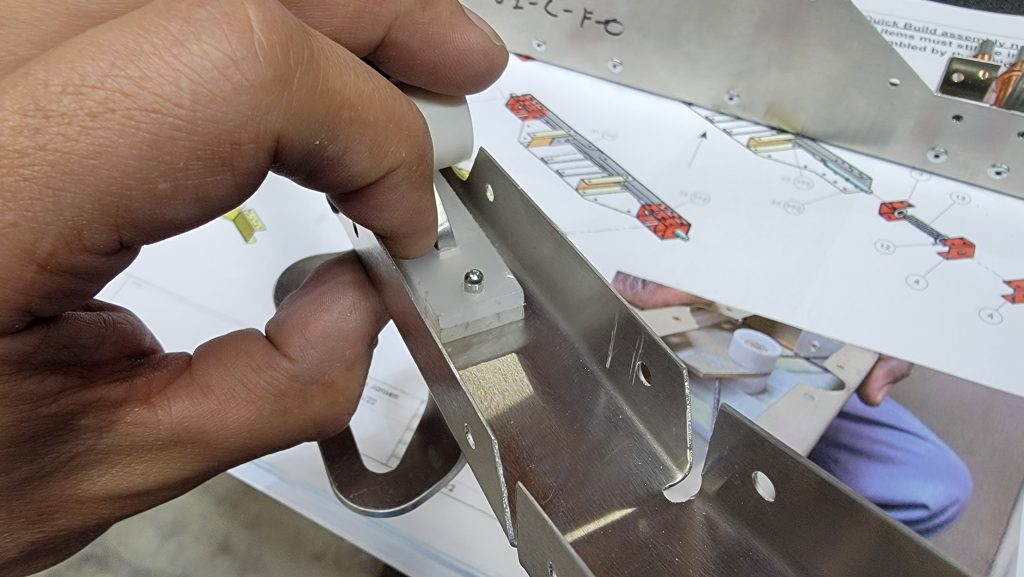
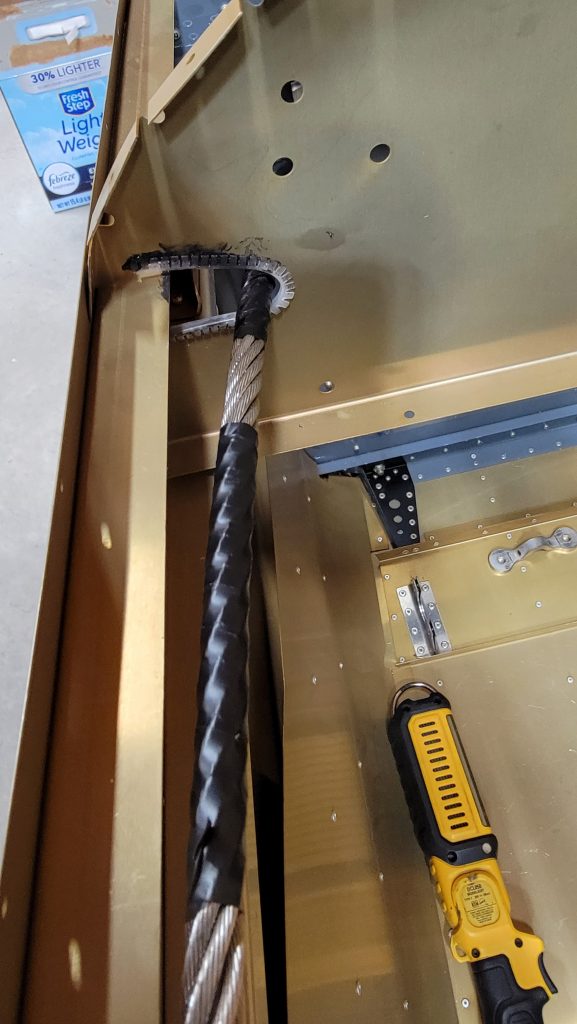
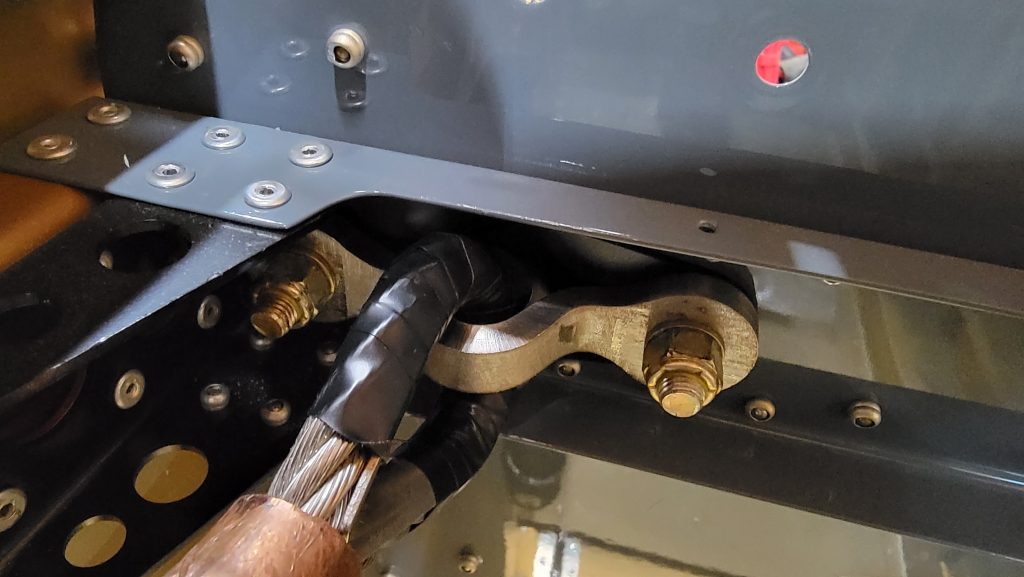
I have a quick build kit. It came with the engine mount already attached. Not permanently you have to reattach it and torque it correctly… But the bolts that it comes with I found not to be long enough to attach the cleat that holds the parachute cable in place. Luckily, I had already purchased an assortment of an bolts from aircraft spruce. So I got the next largest bolt and it now sticks out a couple extra threads longer than the nut, as it should.
I wrapped the, Cable in vibration resistant material, street name electrical tape. My concern was that it would vibrate against the cleat or the wall of the plane and create noise or wear. I also put some edge protector around where it goes through the avionics hole.
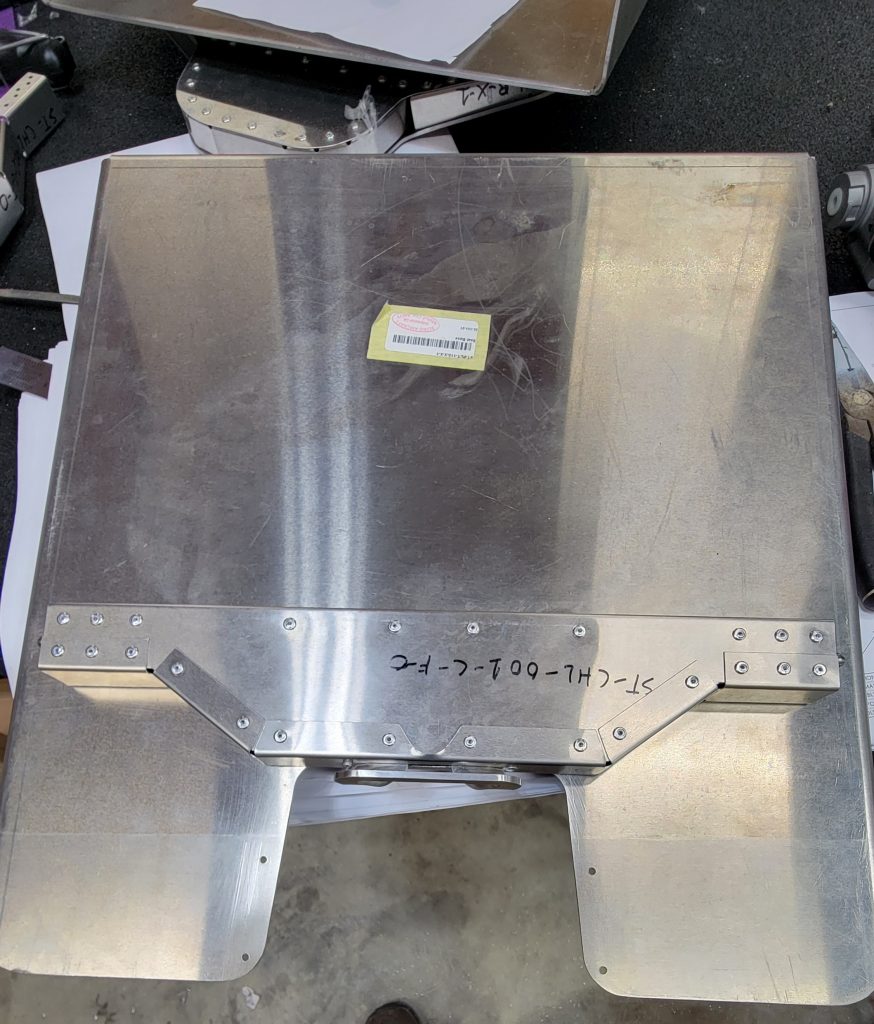
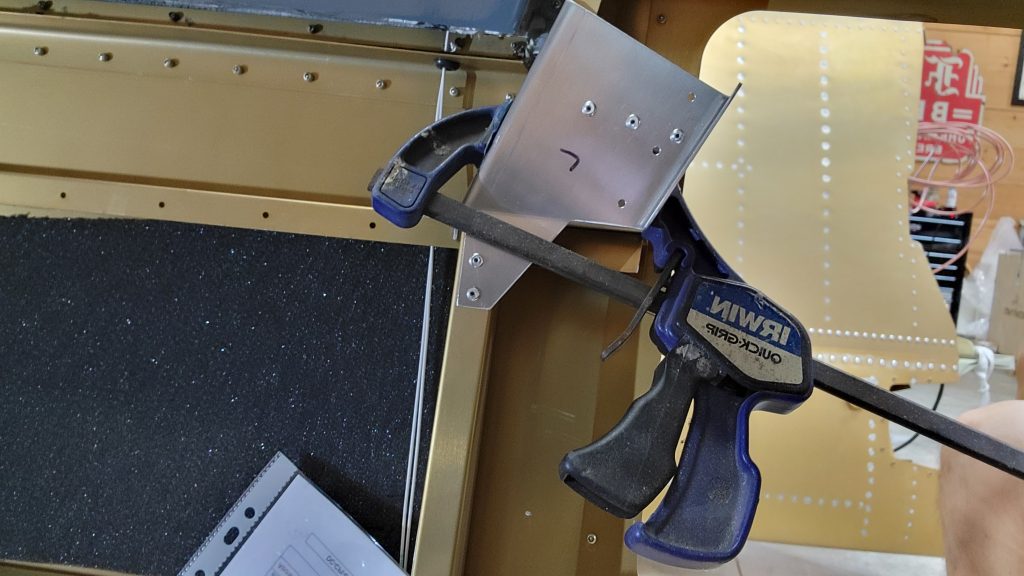
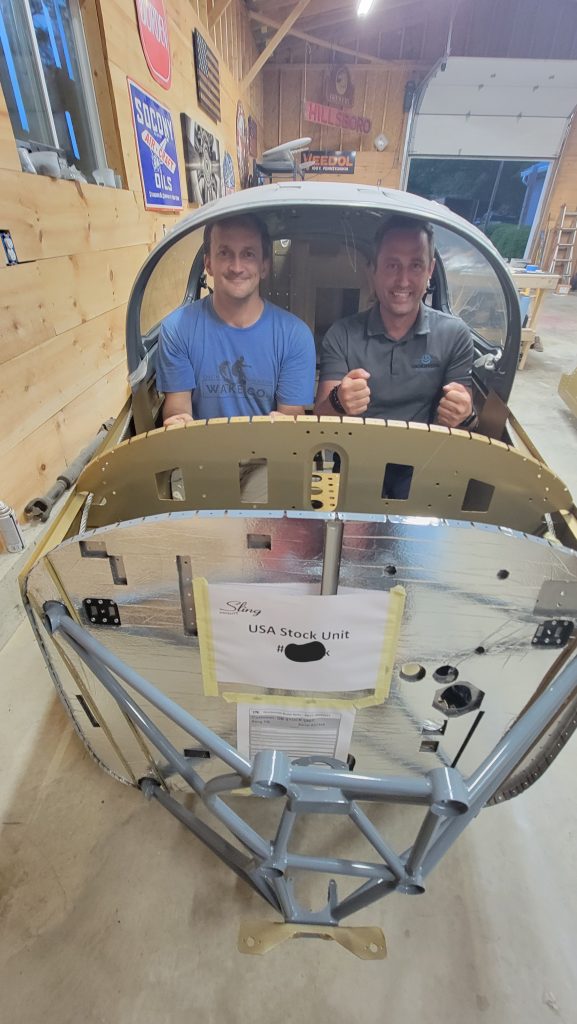
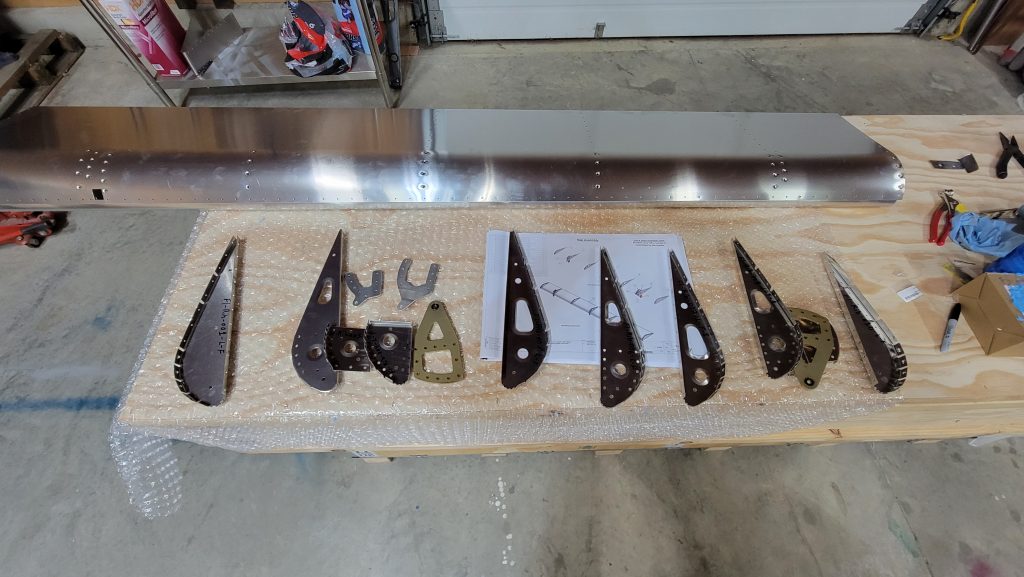
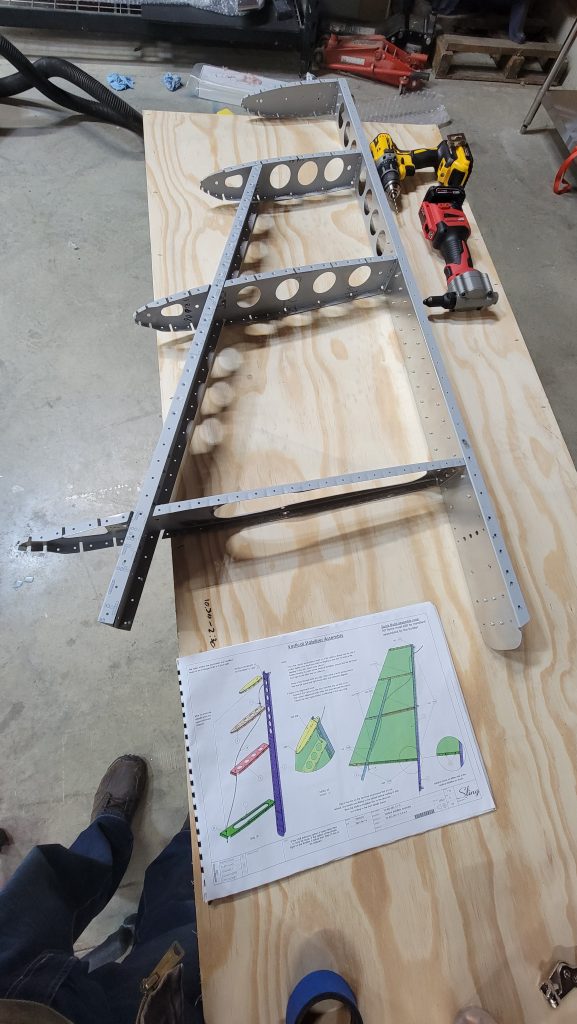
When my kit arrived it was missing approximately 55 parts. As called out by the back order list on each crate per the factory. That has made making forward progress very challenging. So I find that I have to skip around a bit in order to keep myself busy. At this point I have one aileron and one flap done and the complete tail section complete. So I have moved on to some of the fuselage parts. I’ve included a picture of the rear seat backstops. This step seemed easy because it was only two parts but getting them to line up correctly and figuring out how to arrange them proved to be quite the challenge. These two parts took me 2 hours all by themselves. Ultimately I just needed to figure out how to orientate them and use a clamp to hold them in the correct spot.
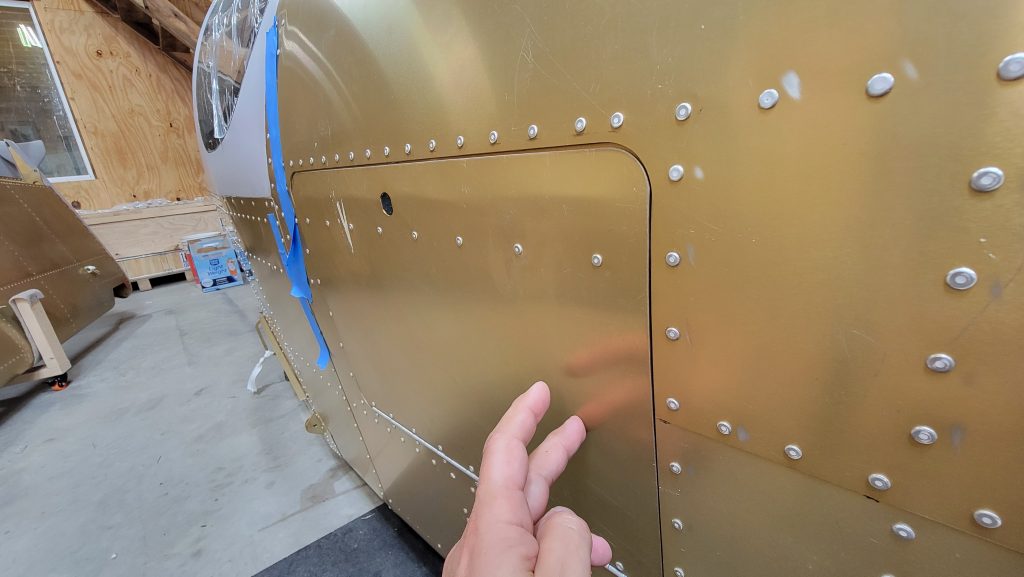
I also worked on bending the luggage door. This was very stressful given that it was already attached by the hinge. This probably took another hour because I wanted to be very precise and not over bend it. In order to bend it, I taped a 2×4 halfway up and down the door to the fuselage. And then pushed simultaneously in above and below the 2×4 as not to stress the hinge. This only got me so far. I found that the top inch still needed to be bent in by itself to make a nice tight fit. To do this I got some 1/8 steel flat bar stock and pinched either side of the luggage door and bent it with a wrench.
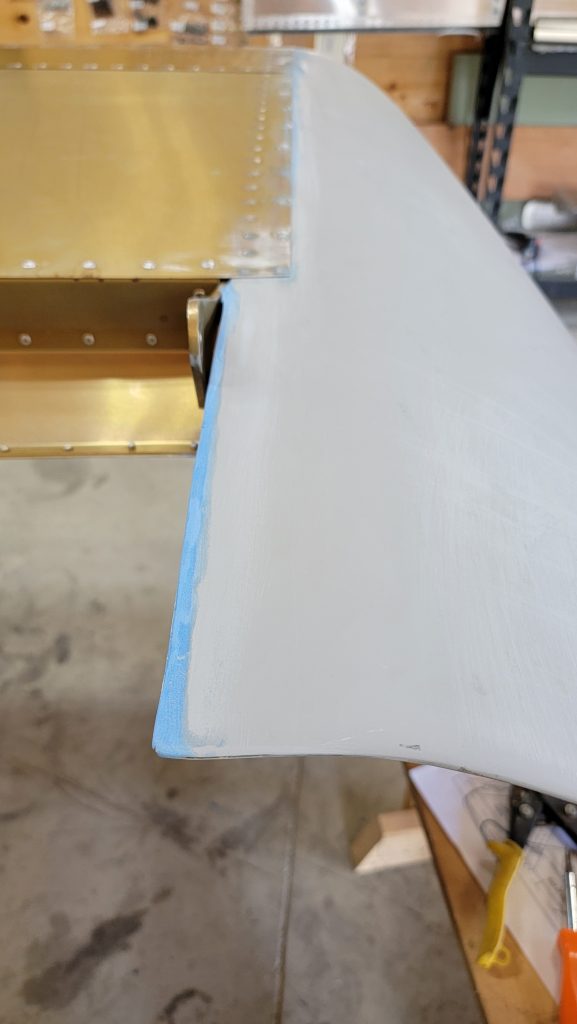
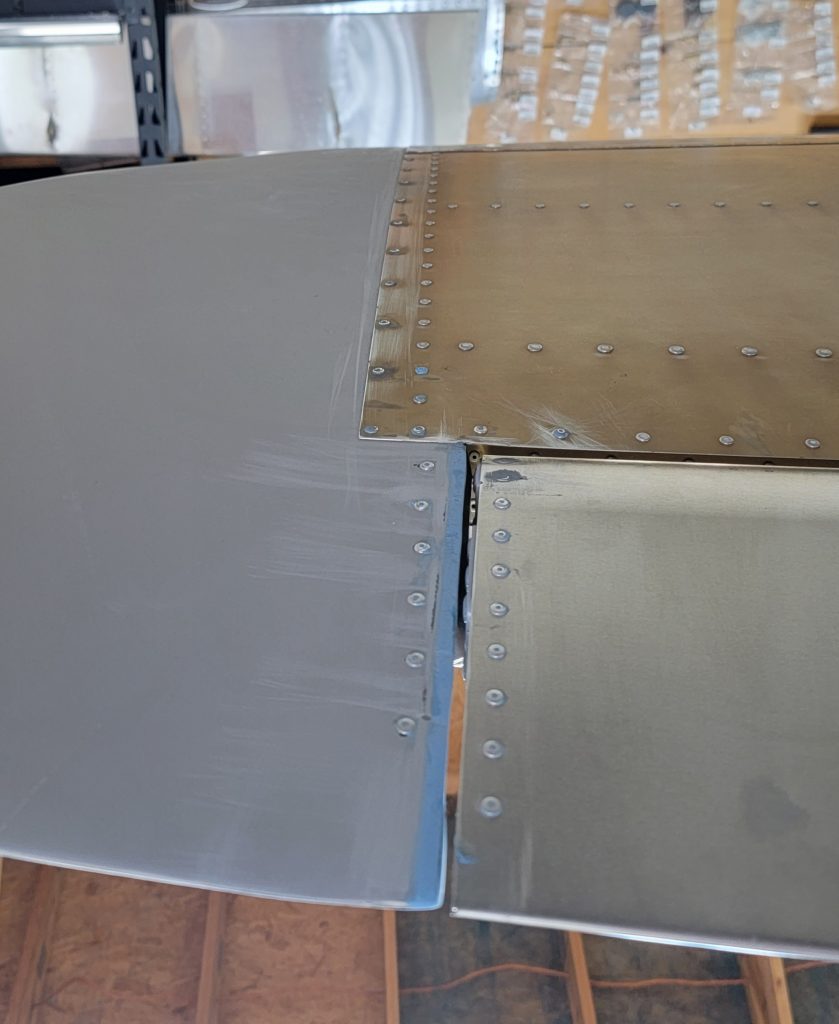
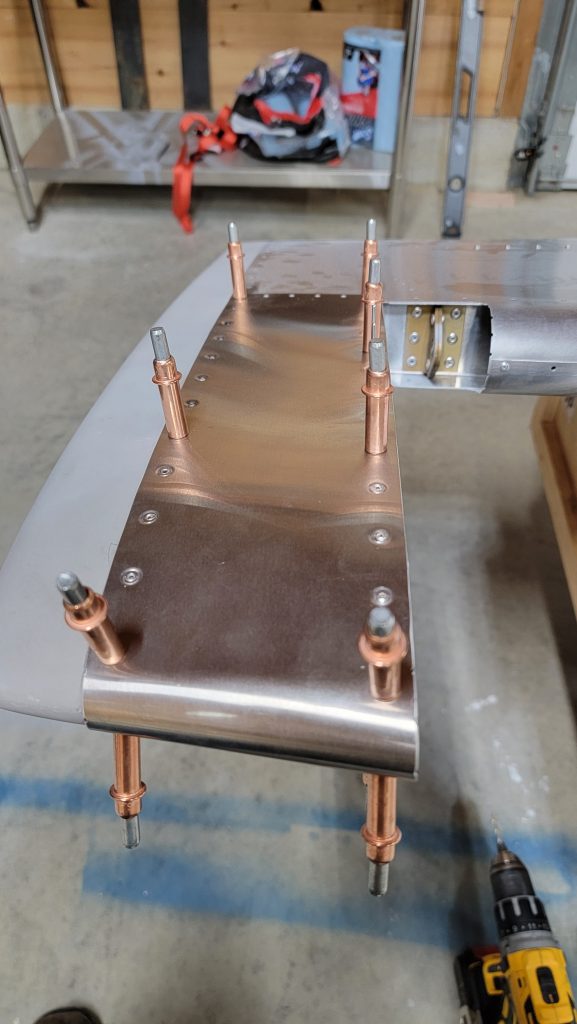
Special thanks to the Sling builders group on Facebook. I asked a question about how to fix the gap between the aileron and the wingtip and a couple of kind people pointed me in the right direction. To that end, attached is a picture of the body work I did to reduce the size of that Gap. I used an aluminum back plate and epoxy to fill it in. I put the aluminum back plate between the composite wing tip and the aluminum rib and then riveted it fast. It was 11 mm apart, and now it’s just 5 mm apart.
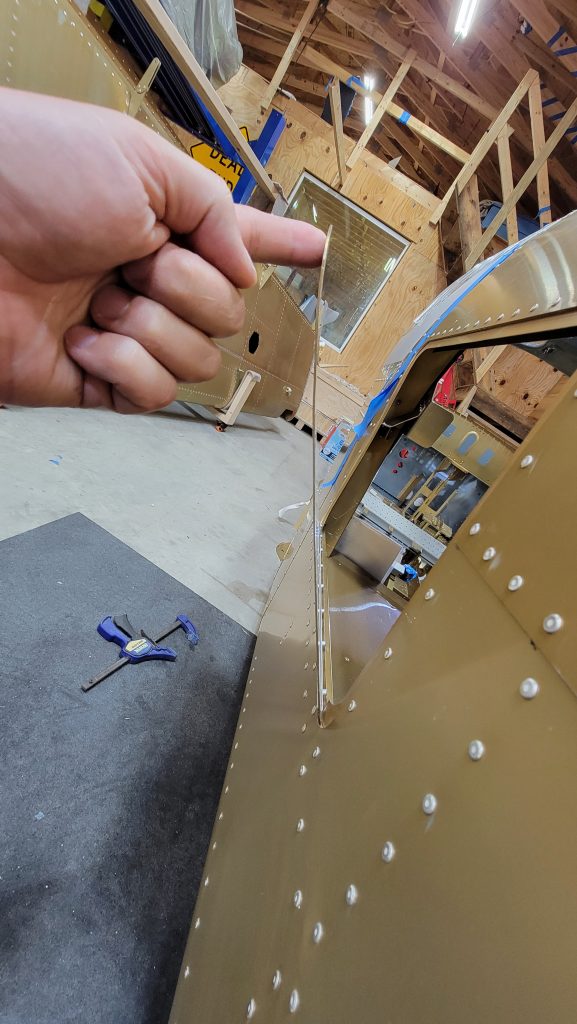
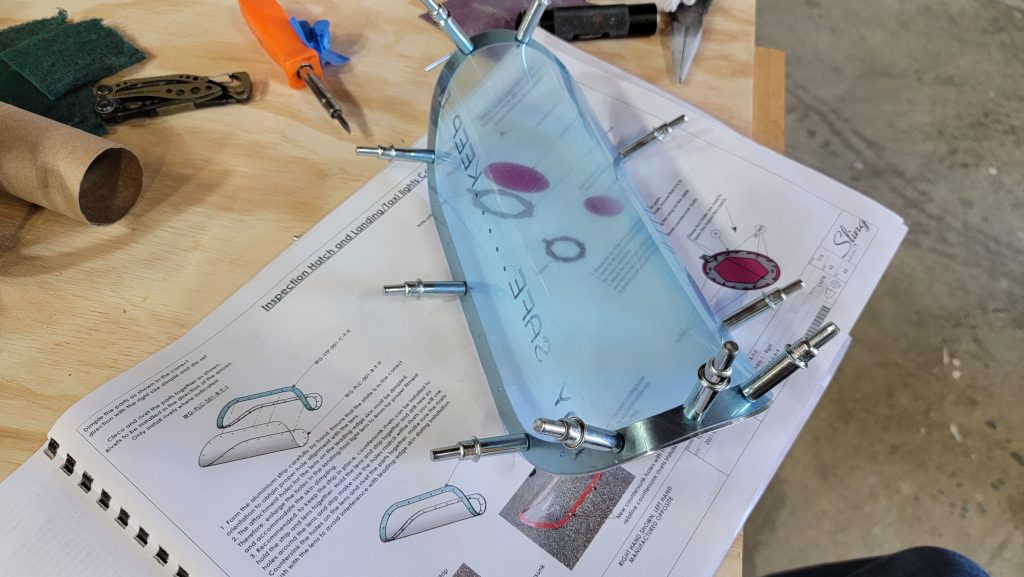
So on to my next question now I’m working on the light cover on the wing and the directions are a little vague and I’m not entirely sure following them is the best way forward… How are people attaching their lens covers ??? Drilling extra holes to put rivets in there doesn’t seem to make sense because I feel like the rivets would create a bump or hold it away from the wing. I’m also worried about creating too many holes and having the cover or the aluminum border break.
But most importantly, how are you supposed to push it from behind outwards so you can screw the lense in ???
Apart from that everything is going well. When I received my kit I was missing the complete undercarriage kit,. And on top of the crates was a list of items that are back ordered. There are about 30 items that are backordered that did not ship with my crates. And so far I found about five or six other items that are just flat-out missing. So making forward progress has been a challenge because I have to keep jumping around to make progress wherever I can, not necessarily in a logical order. But so is life I guess.
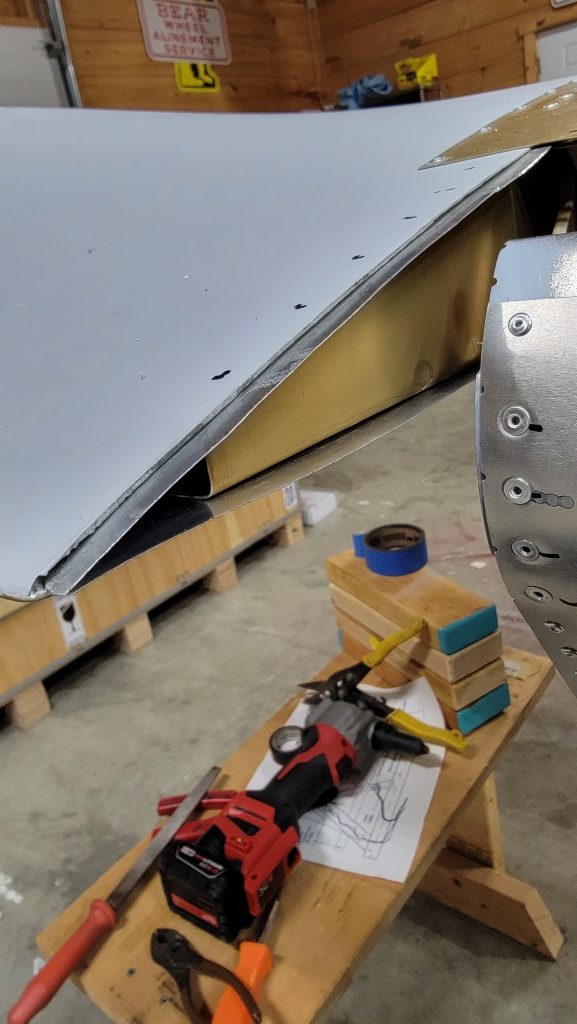
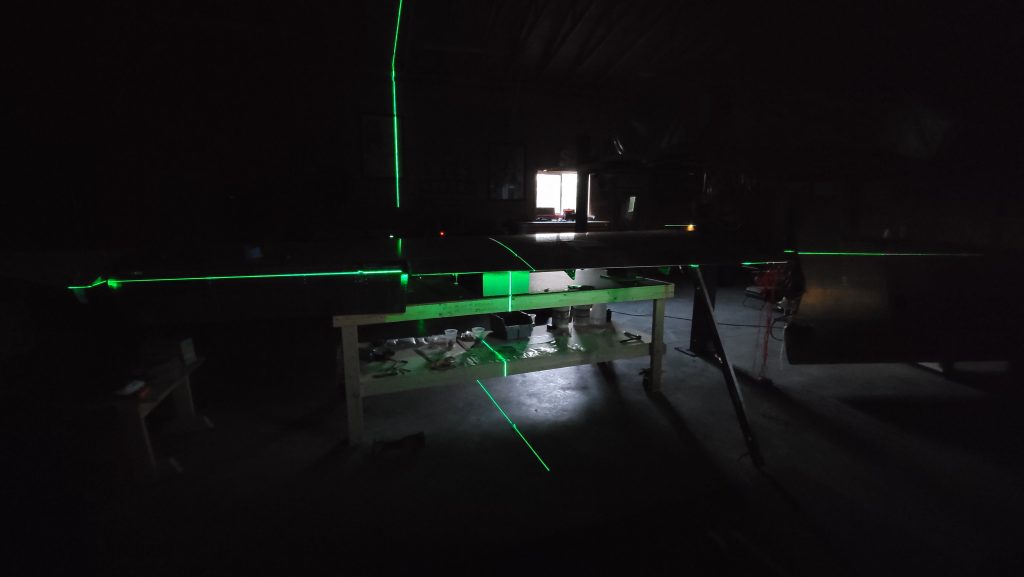
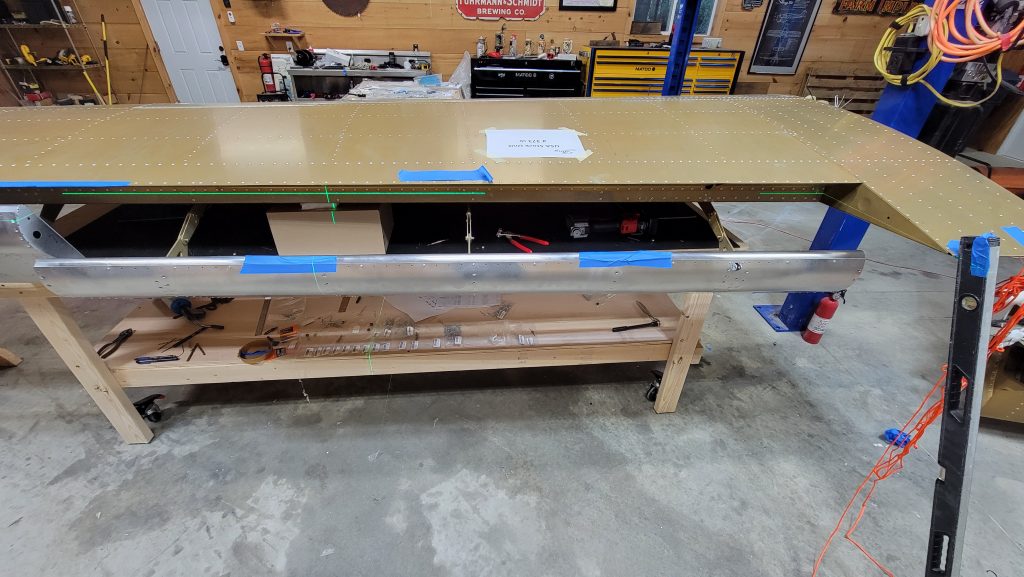
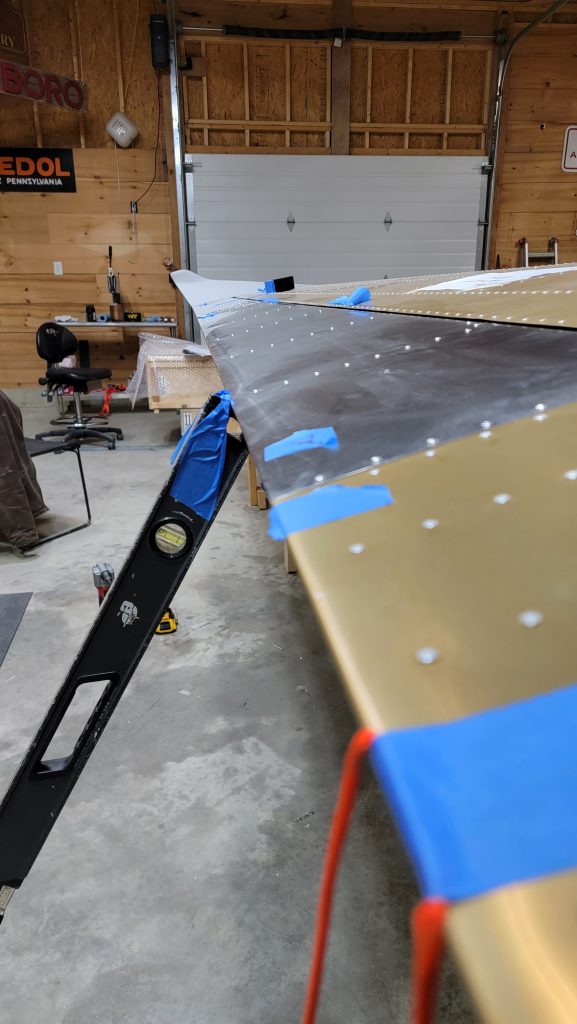
I now have an Aileron done and a flap done. They are internally primed where the ribs meet the skin. I followed the instructions and Evans instructions to not rivet the front three rows until after mounting them on the wing. And I’m glad I did because getting the aileron and flap and wing to line correctly on the back side took a little bit of work. My process was to mount them and then use a laser level to make sure that they were straight going across. I would hold the flap up and twist it slightly until it was straight with the laser level and then take some painter’s tape and put across the front edge to temporarily hold it in place. I had to use tape because cleco’s would stick out and not allow the flap to move. Then after I got the flap straight I did the same thing to the aileron. Using tape to hold the front down and in place. I found it necessary to use tape because I could only put the rivets in when the flap and aileron were hanging down and I can only tell if they are aligned if they are up or straight out. So had to find a way of temporarily holding them until I could rivet them. Then I riveted from the center working between left and right and outwards.
I took a picture of the laser level on aiming at the wing. Sorry I couldn’t take a picture of the holding the flap and the aileron up at the same time has taken a picture.
I’m very pleased with the results the trailing edge looks very level and uniform.
My kit was missing the elevator skin tips. So I contacted Torrance and they were kind enough to send them to me right away. So now my elevator tips are completed.
I’ve been busy trying to fill rivet holes. I tried a couple different methods that different people online recommend…. Some are easier than others and some have pros and some have cons… But they are always still a lot of work.
Definitely recommend listening to Evans YouTube videos about how to build a part before you do it that has saved me a lot of time. So currently I have the rivet holes in the wings completed… And I have one side of the elevator in the rudder completed… But now I have to wait 24 hours for them to dry before I can sand them.
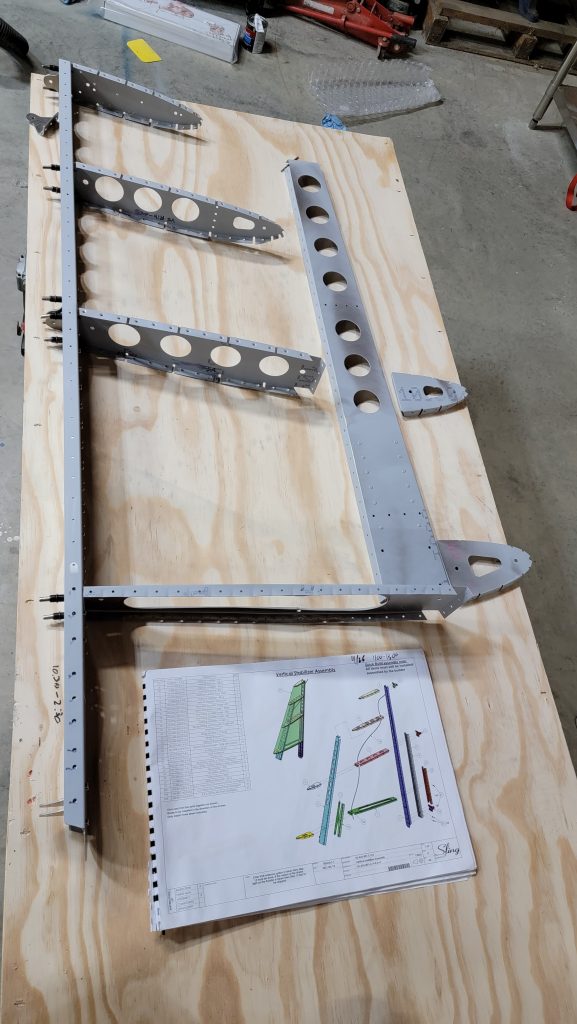
Thank you Torrance for getting me missing parts for my vert stab. As you can see I am only priming the surfaces that go against the skin. And the vert stab is now complete. It was really one of the easier parts to do.
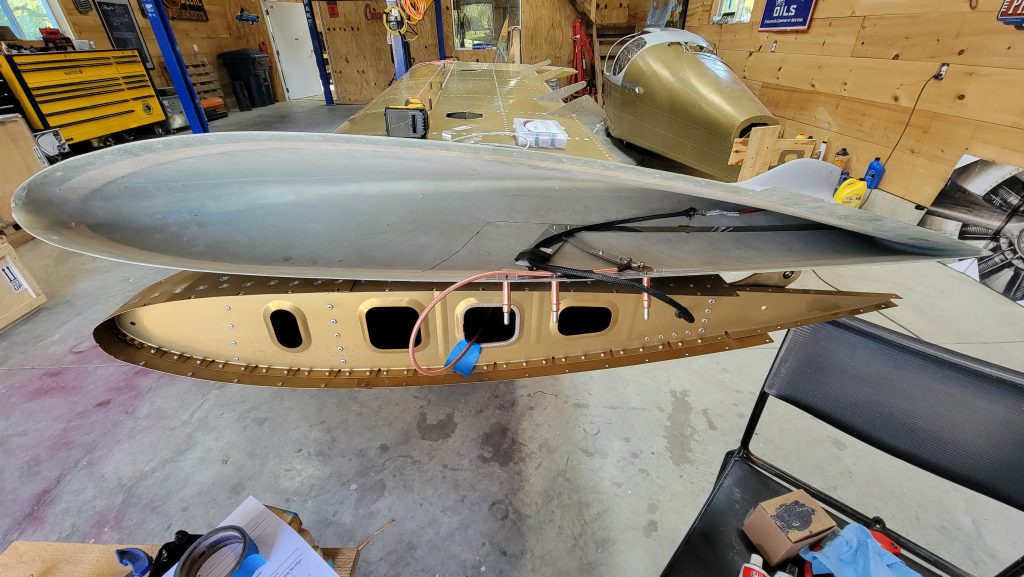
Also including a mock-up of the VOR inside of the wingtip. I made a couple changes and mounted things permanently and now it is attached. The Archer VOR antenna says to put it between the wing tip and the wing. That doesn’t work for the sling wing. But my VOR antenna is grounded to the wing via five rivets and I feel confident they will make a decent enough connection. I did purchase the small VOR antenna but I would not have needed to there is plenty of room for the normal size one.
I’m also not doing the VOR antenna in the tail nor am I doing a strobe light in the tail. Instead I’m doing 3-point wingtip lights. I figured the absence of those will help the center of gravity a little bit.
At this point with my level of expertise at building slings… From a whole 3 weeks of experience now… Feel it is safe to say that the worst parts of building is removing the plastic from all of the parts, and a close second being filling rivet holes. I find the actual building parts very rewarding. But those two tasks require a lot of patience and that is something I am in short supply of.