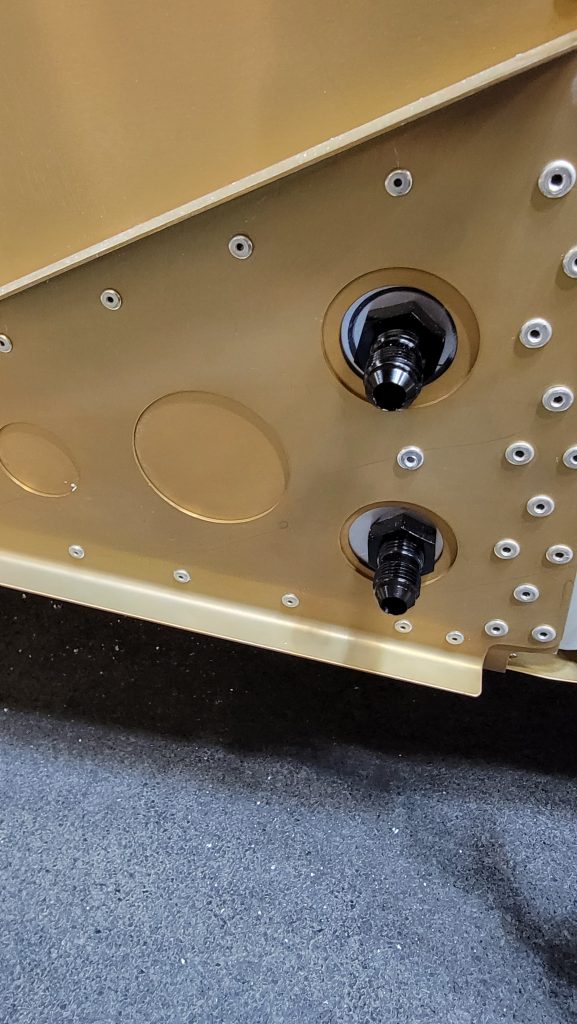
I believe the way from the factory is to run rubber lines straight from the fuel selector to the fuel tanks,,, I’m not comfortable running rubber through a metal wall. There’s the aspect of it rubbing, there’s the aspect of a fire getting through the hole, and the aspect of creating a draft that might be noisy or make the cabin cooler. And none of those seem desirable. Also inside of the cabin I’m using aluminum lines so it never has to be replaced, hopefully. So I connected these hard connections through the wall instead. But I must say that all of these customizations do really increase your build time.
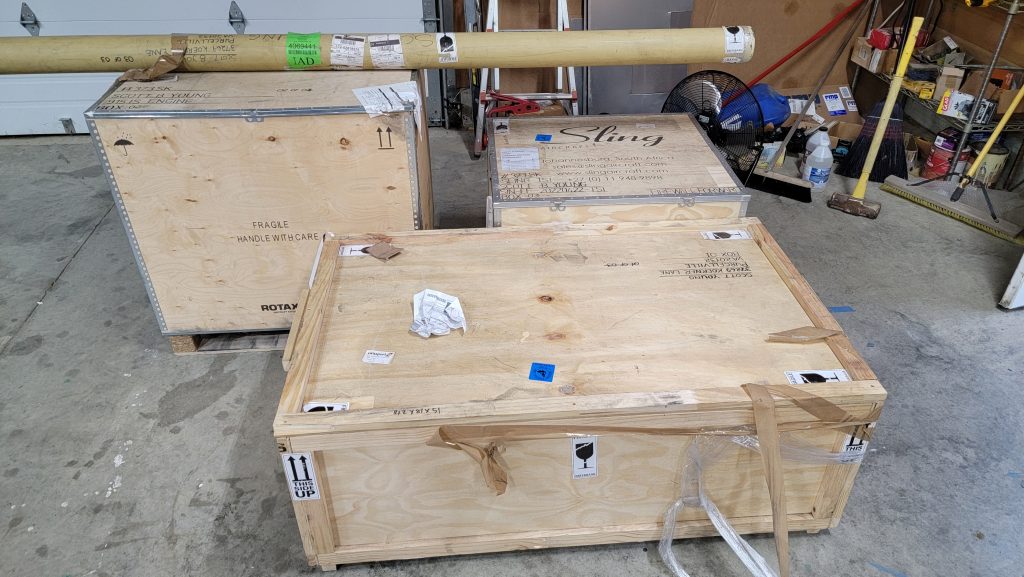
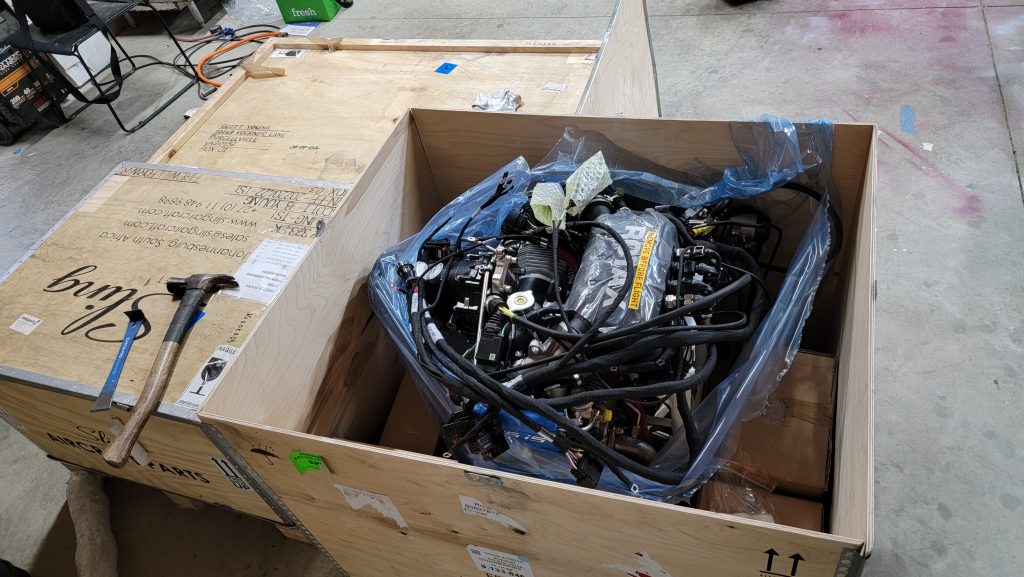
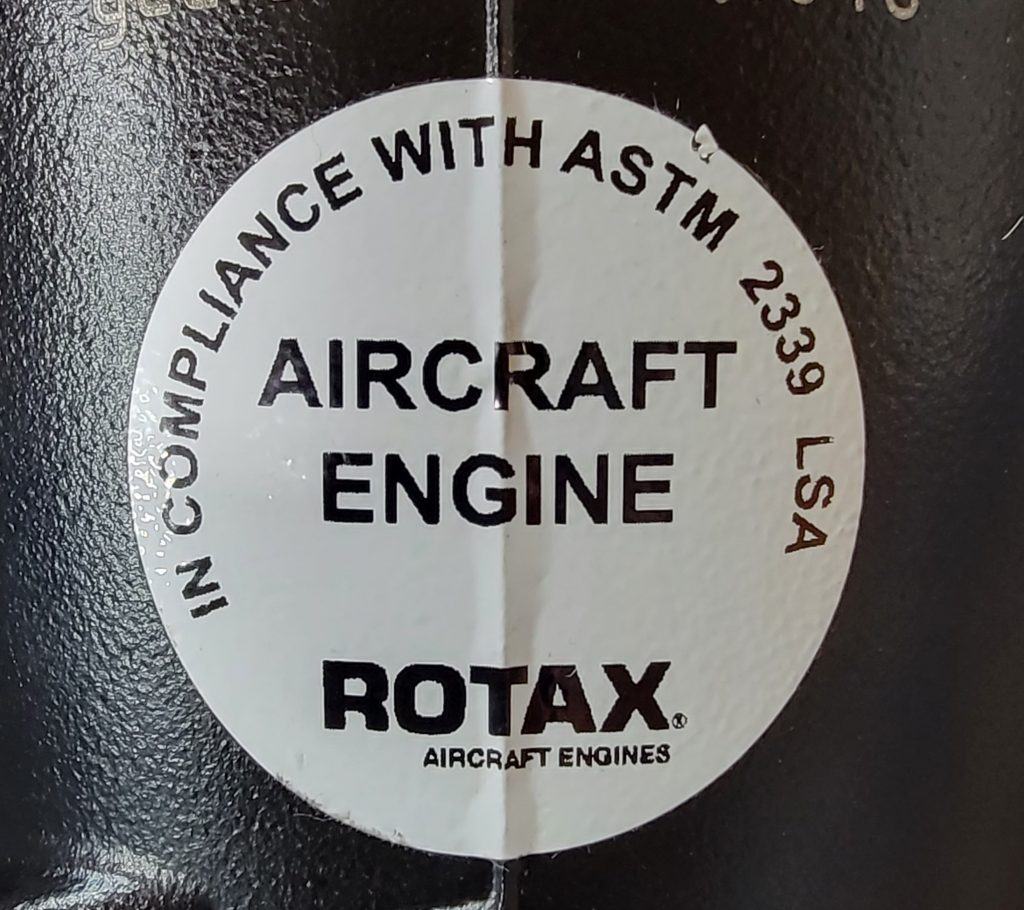
All my birthdays rolled into one. My engine and firewall forward kit has arrived. The factory was also supposed to send me about 75 of my missing parts. But somehow I only received about half of them.
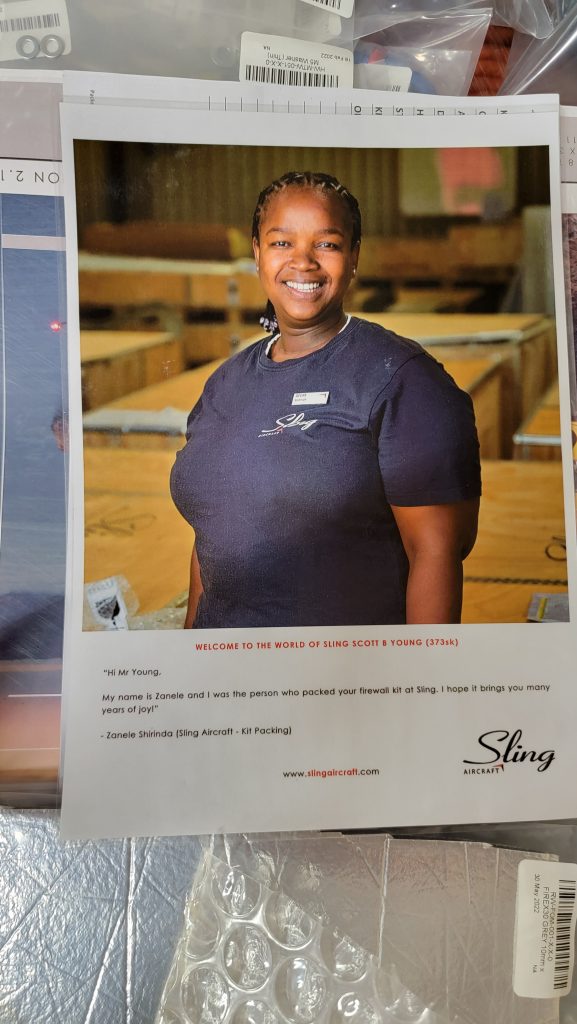
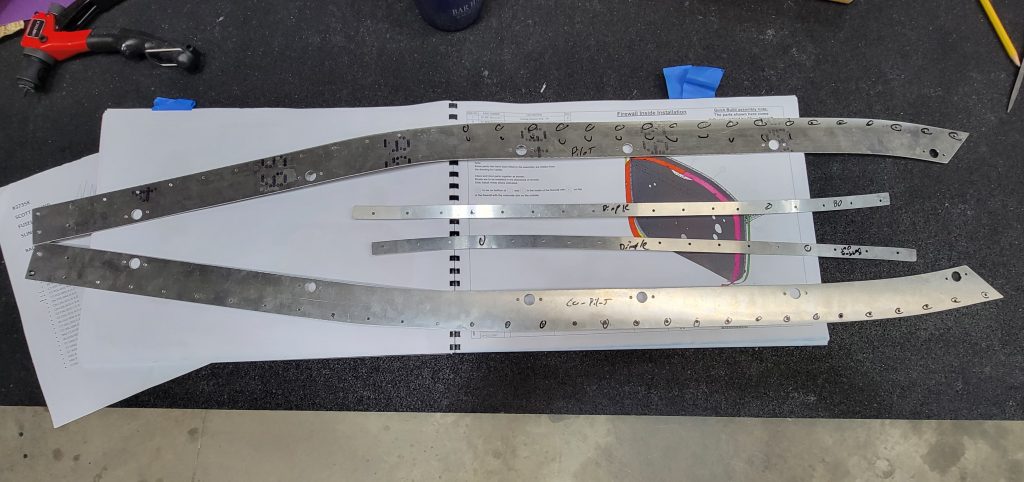
And it would appear the factory’s now including photos of the people who pack your kits which is a very nice touch. Thank you Zanele !! Lovely name also.
I frequently find myself traveling with passengers not other pilots. In the past I have tried to have some of my passengers attempt to fly the plane but they usually are resistant to that. And it seems like my co-pilot frequently puts an emphasis on comfort rather than being a co-pilot. So to that end I have made my co-pilot stick removable. I did not run any wires through it. I know I could have because I put the time into figuring out how to do that. I just felt like wires would make it more problematic. So I’m mounting a push to talk on the control panel. The stick itself is indexed at the bottom as you can see from the pictures. There’s a round notch so it always aligns the same way. The round notch that I filed into the bottom of the stick aligns with a large rivet that I put in the larger stick. The rivet also stops the smaller stick from going down in too far. Also there is a snap button that pops out so it can’t easily be removed once it is put in. The snap button was very easy to find on Amazon. The stick fits in tightly and feels very sturdy. I was able to just use all the original parts by drilling out the original stick.
Customizing the controls like this would worry me more but it doesn’t because the pilots stick , which has not been customized, can easily be reached from the passenger seat if need be.
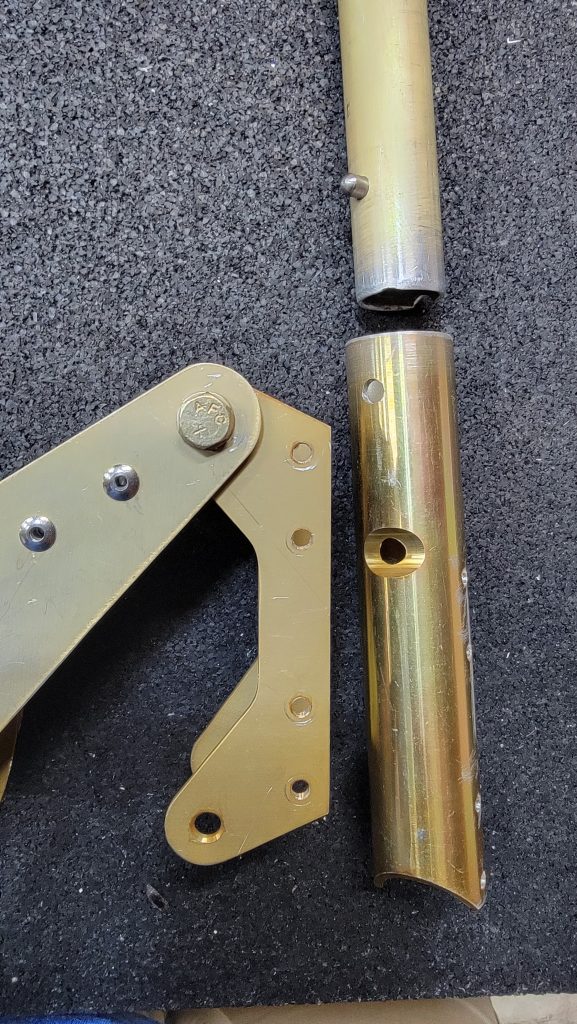
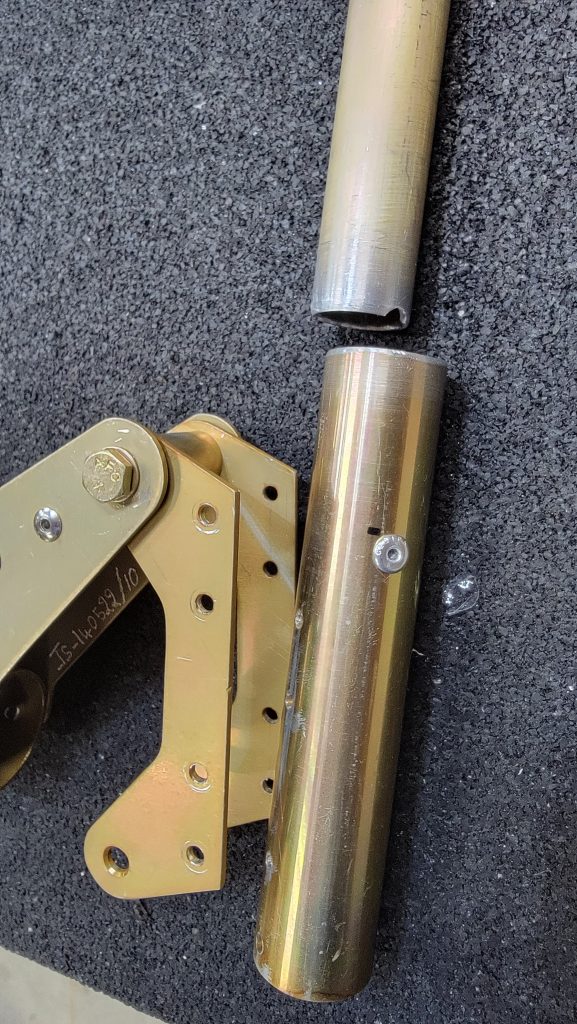
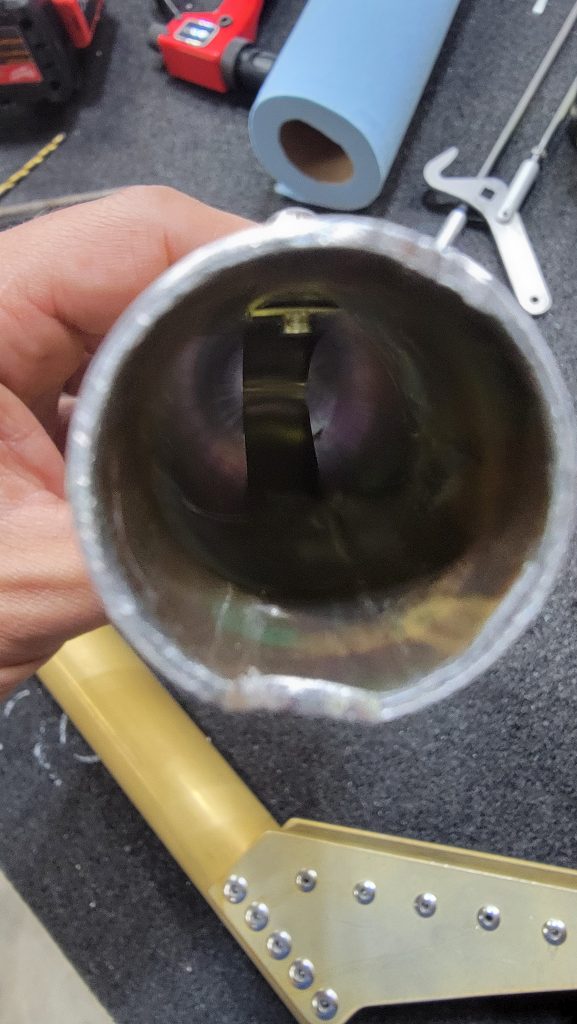
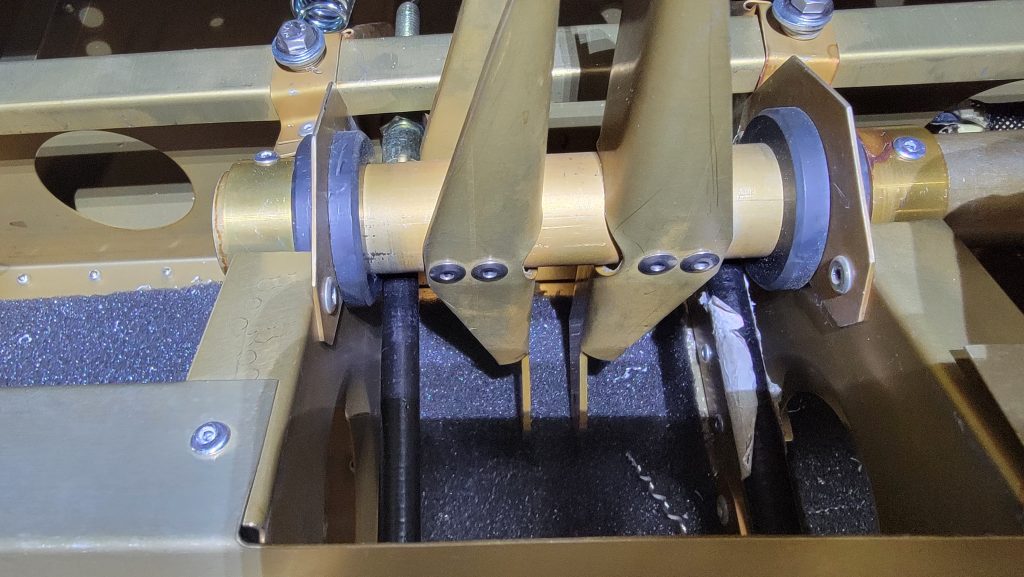
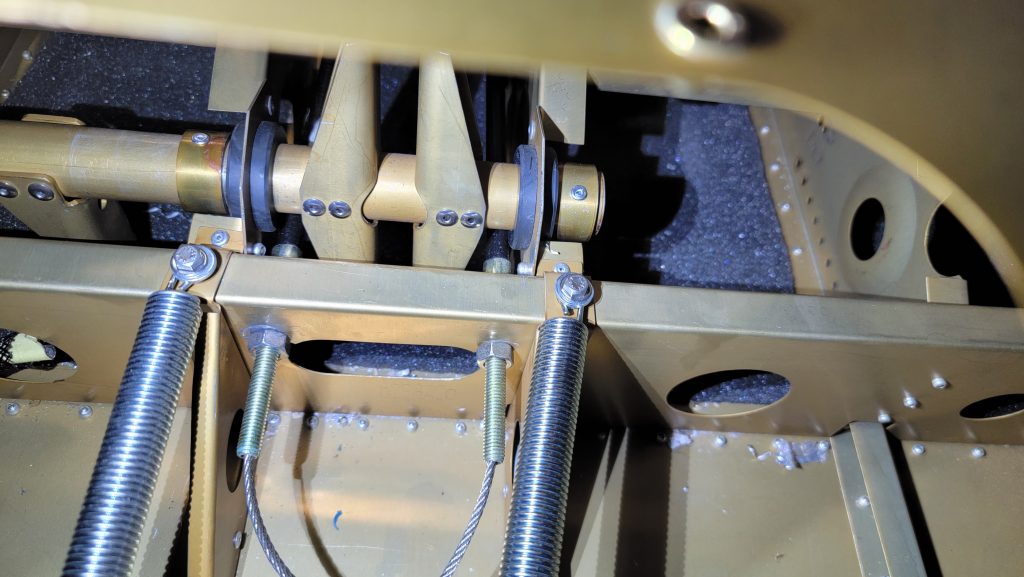
I’m not sure what I’m doing wrong here but the rudder cables are rubbing on the elevator bracket and that’s just not cool. So I had to call in the experts and I posted it to the sling builders page on Facebook, somebody please help me !!
The throttle cables are rubbing on the elevator bracket and a little further up on the luggage floor support I can’t imagine either one are acceptable.
Update…okay I am now officially exhausted and frustrated. I fixed the problem but it was a lot of work. I had to drill out a bunch of rivets in the rear luggage vertical support so I could access the elevator bracket. Previously I had loctited the rudder cables. So moving them was a massive massive effort and to make matters worse, I can only turn the wrench a quarter turn at a time due to space constraints. So it took many hours in a crowded cockpit surrounded by sharp objects while precariously balancing on my tippy toes in order to relocate those two wires.
A little frustrated cuz I have not found in the manual where it says how those cables are to be connected. I see where it says how they are to be connected in the rear fuselage but not in the front.
Anyway, my solution was to relocate the sheathing on those wires all the way to the rear. That gets the metal ends on the sheathing past the point where the elevator bracket will hit them. I also precisely located the elevator bracket where it has at least 3 mm of clearance on either side. In order to do this I had to get an extra bushing collar and limit the travel of the elevator tube left to right. For whatever reason by default it only has one bushing on it. But now it has two.
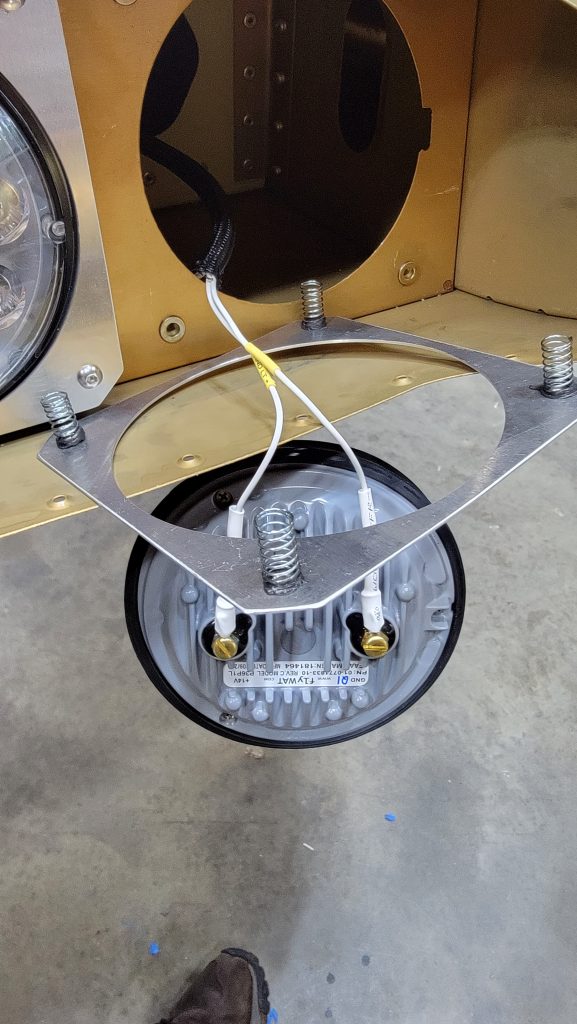
I have very few things I can actually do at this point… The one remaining thing was/is installing the taxi/landing lights. I found screwing them in with the spring behind the lights, in that tight hole, very challenging. So I rtv’d/glued the springs fast to the light bracket and left them all dry. Then put the back bracket in, then the light, then the front bracket, then the screw.
I’m missing so many parts. There are just no more fronts that I can make any more progress on. I do not have my undercarriage kit, I’m missing parts for the rear seat I’m missing parts for the front seat channels, a missing parts for the latches on the canopy door, I’m missing the flap control tube that goes in the cabin, I am missing pieces for the center console skins, still waiting on my interior, still waiting in the firewall forward but hopefully that’ll be here soon…. I think I’m at a dead end. Ugh.
I gave up waiting on Sling. My interior package is taking forever. I ordered the default gray and black with no special options thinking it would be quicker but I was sorely mistaken. So I have started doing my interior myself. Obviously this slows things down and takes a lot longer. But in the long run it will still be quicker than waiting on Slings interior.
I am putting my headphone jacks elsewhere in the aircraft. So this allowed me to lower the bottom of my center console an extra inch. So I will have more storage which is always a good thing. In the picture you can see the original holes and my new holes. I did verify that lowering the bottom doesn’t interfere with the flap actuator in any way. I also flipped the back panel upside down which allows for the inspection hole to stay in place so you can check that the flap actuator bolt is still in place.
You can see in the pictures my attempt at center console interior. Before and after.
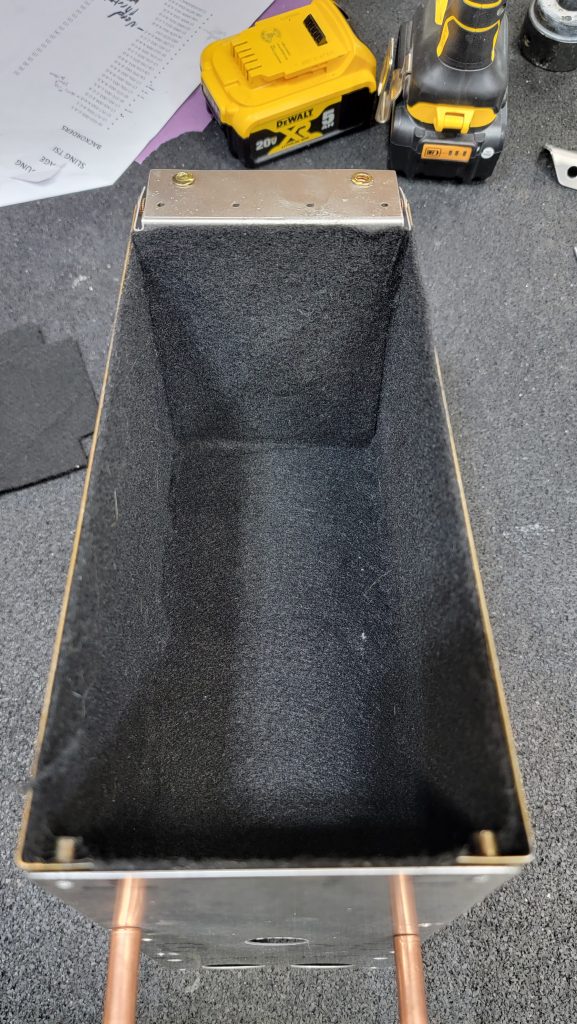
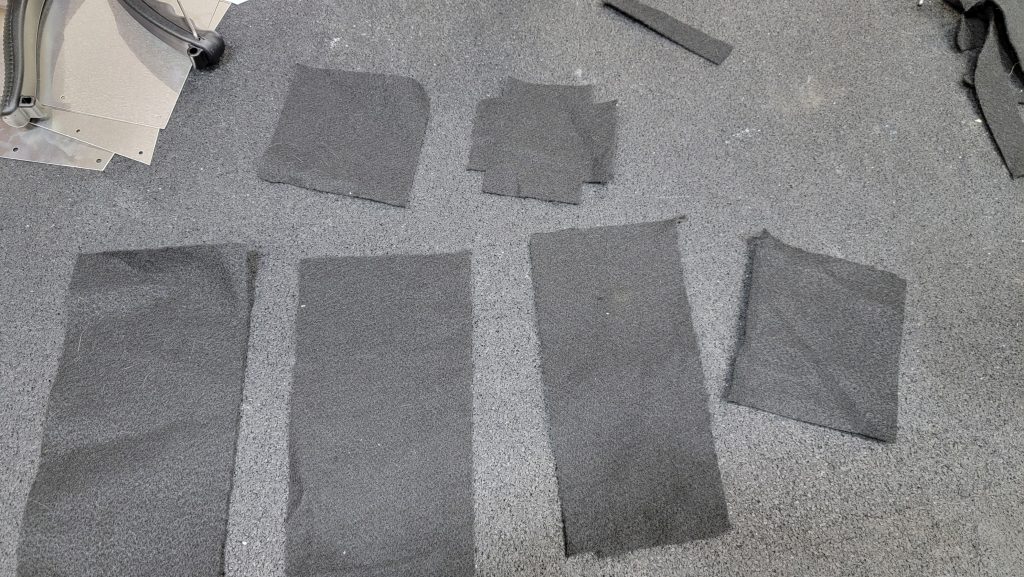
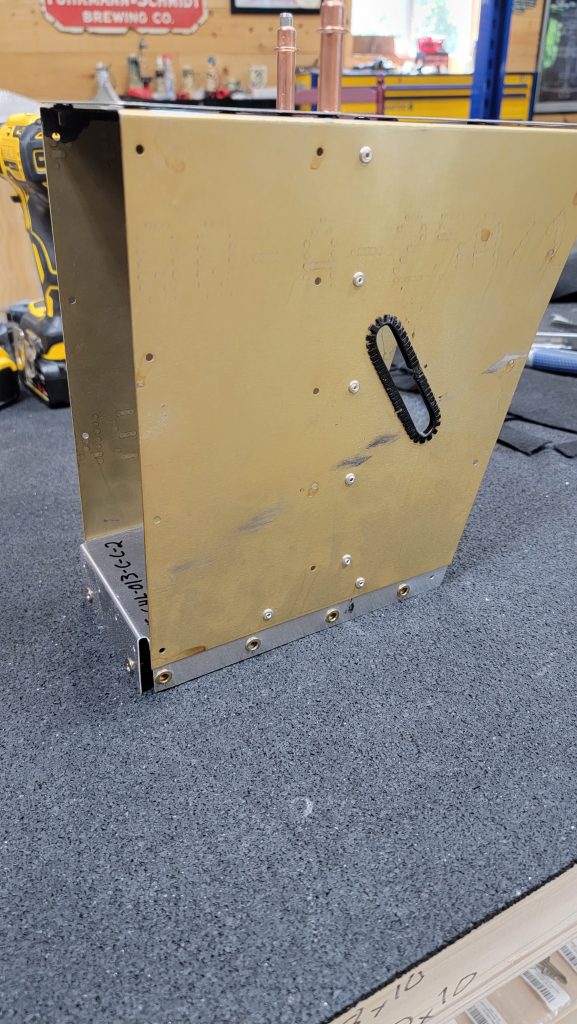
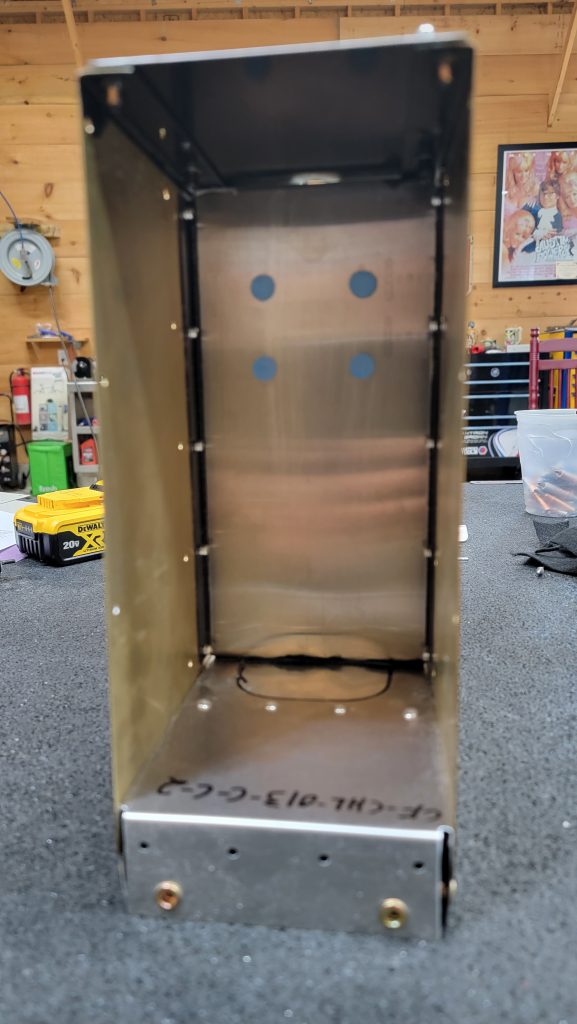
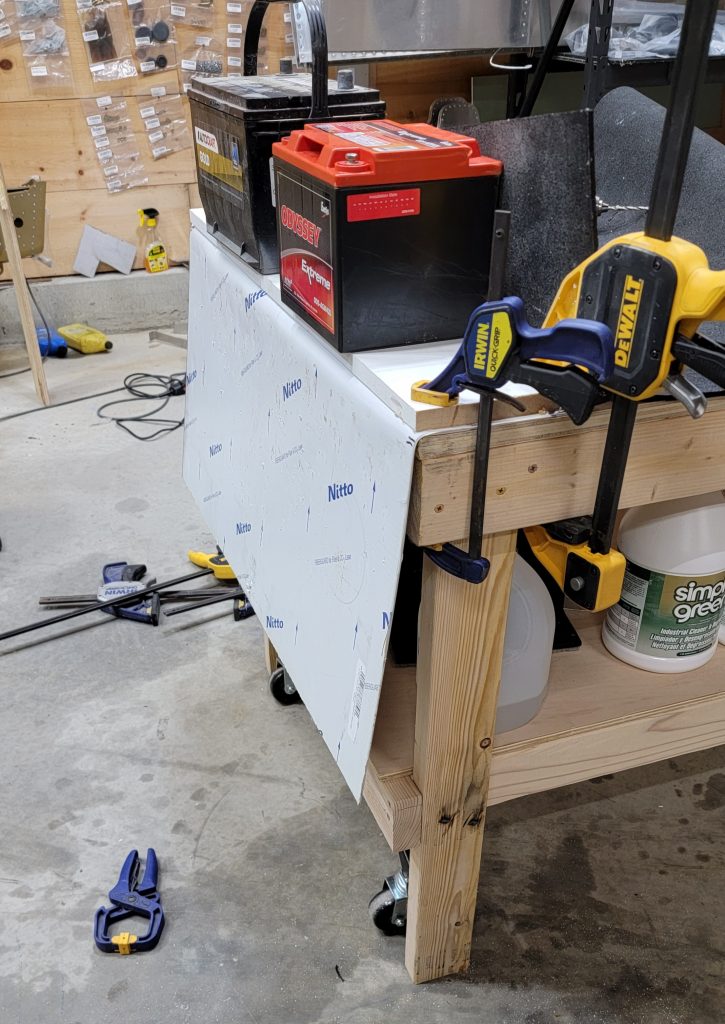
Okay for better or worse, I decided to make some customizations to the rear seat. Honestly this is probably more work than it was worth and I’m not sure why I did it but it’s done now so I’m going to keep it….
I used a single sheet of aluminum to replace the rear seats. The idea was that it is about 3/4 of an inch less high than the Sling design.
So the passengers in the rear now have three quarters of an inch more headroom. Normally my kids will be sitting in the rear not adults so this most likely is not a problem anyways.
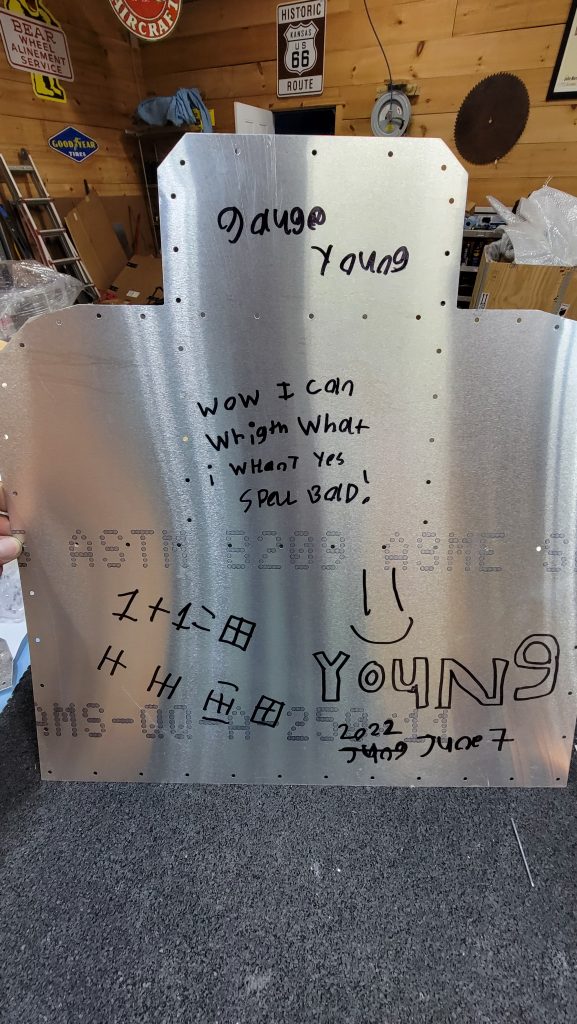
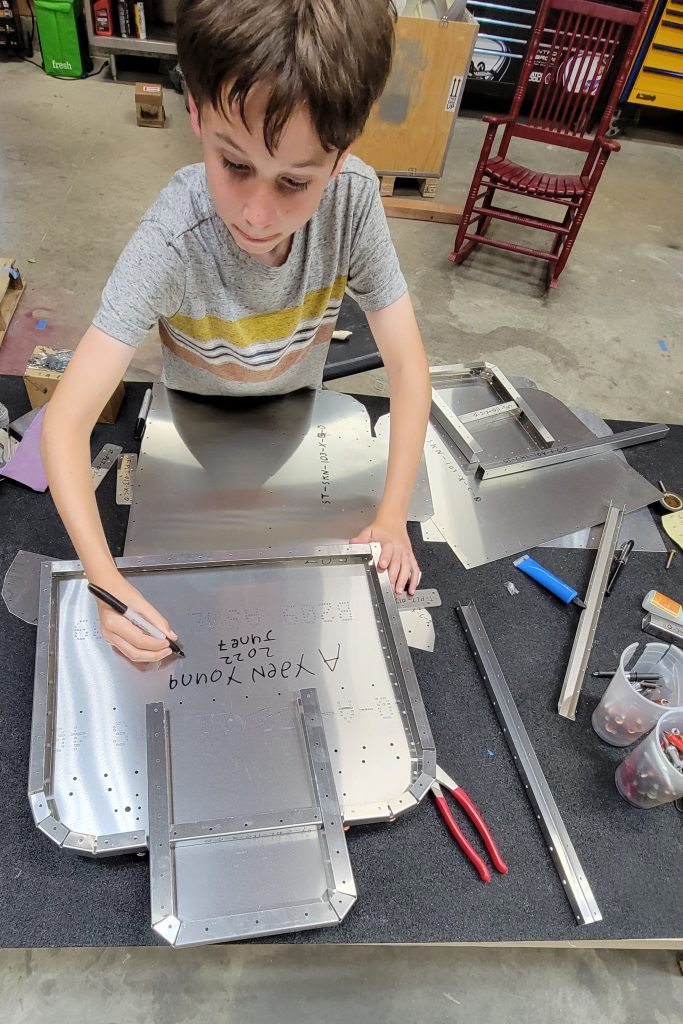
Also I had my son sign his name to the inside of the seat that him and his brother will be sitting on. They have been doing the dirty work of removing the plastic off of the parts for me. So it’s only fair that they get some claim to the plane.
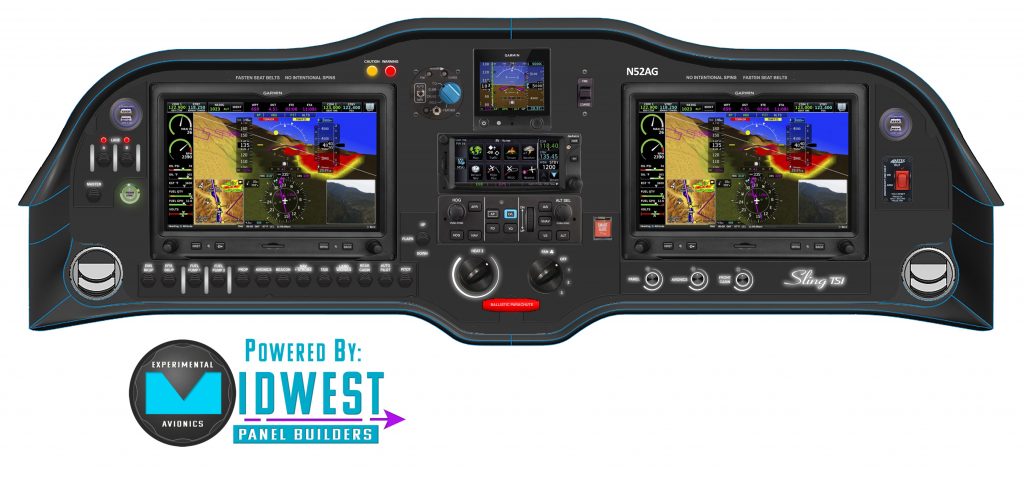
My panel has been designed by Midwest Panel Builders. We went back and forth several time because I was a little picky about keeping things symmetrical. Ultimately I am not sure that is very important but it sure does bug my OCD if it isn’t symmetrical. They were very patient with my changes. So without any more delay here is the unveiling of my panel….
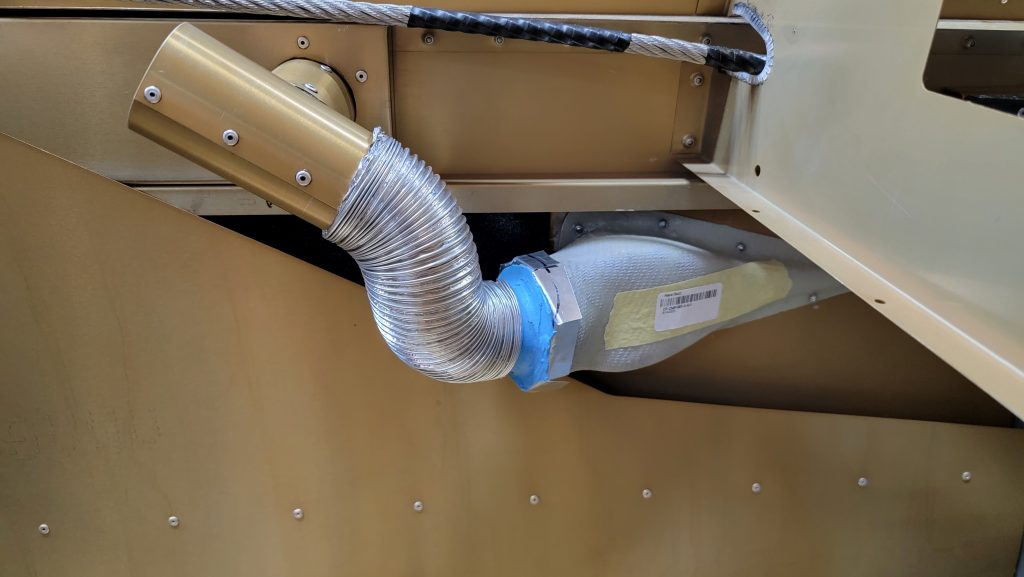
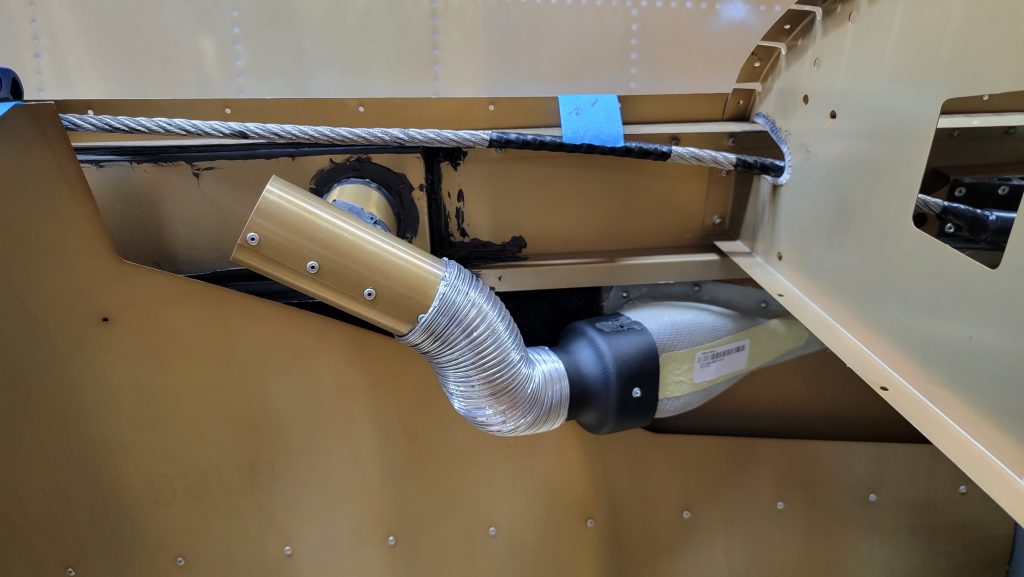
Okay so this is my idea for air ducting. I heard people complaining there wasn’t enough air flow to the people in the rear. I also heard people complaining that the air mixture contraption vibrates and makes noise. And I just think all that extra air ducting underneath the panel will get in the way of working on other things. So to the end, I am only routing fresh air to the air vents by the passengers and pilots. Warm air will only come from the defroster or under the panel. I hope by removing the mixer I am creating a more straight flow from outside to the air vents increasing airflow. The first picture was an idea that took far too long to create and later scrapped. I later went with using the sling provided reducer. Embarrassingly I spent about 2 days on the first idea before I chucked it. Fyi, both solutions have sealant on the inside to make sure it is a tight fit.
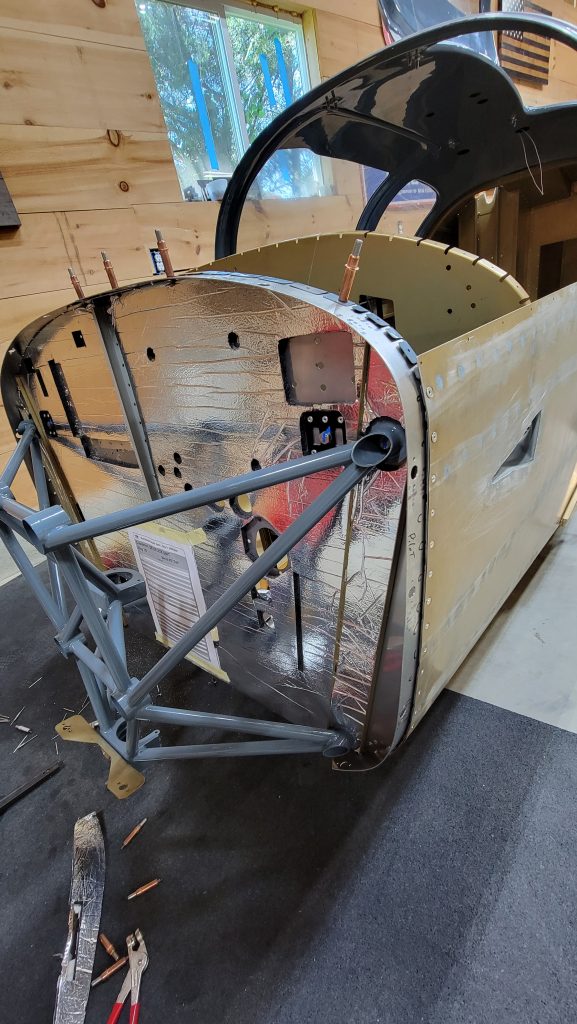
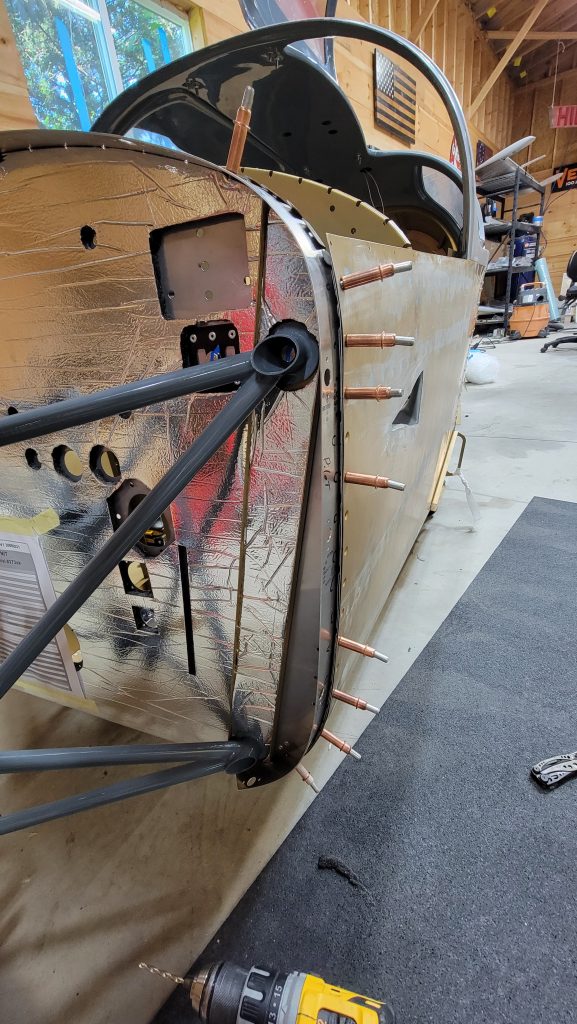
This part was confusing. The Instruction manual lacked a lot of details about how to do this. It doesn’t mention if either of these parts need dimpling or what size rivets to use. So I posted the Sling Builders Facebook group and they saved the day. Thank you thank you. The preferred solution is to ” dimple the whole sandwich” . And use 4.0 countersunk rivets. And that’s what I did. When I hold the cowling itself up to the plane it still feels like the cowling won’t be as thick as a space that I created. So I’m not sure why that spacer is necessary but it’s in there now. Thanks for your help everybody.