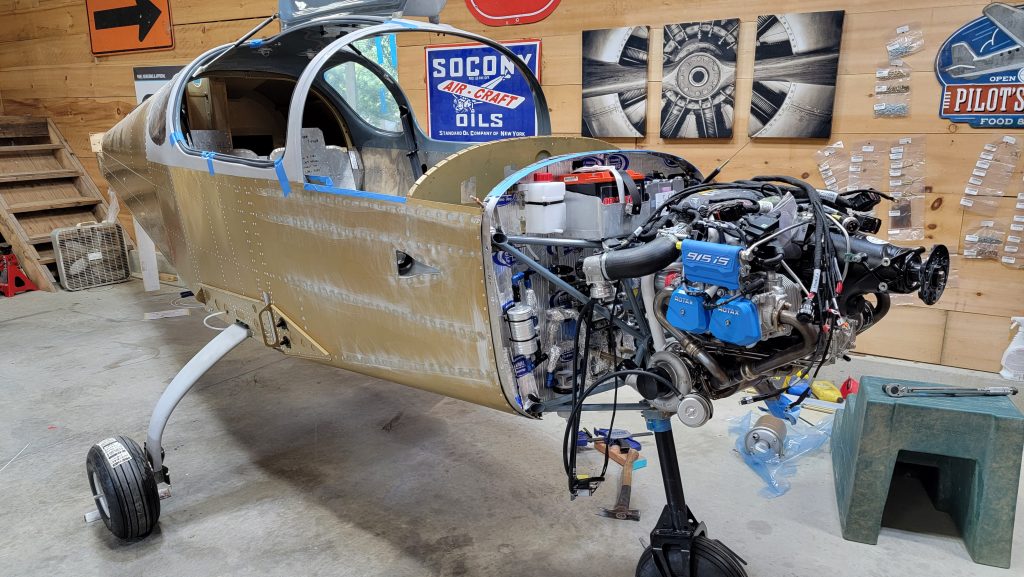
That’s right the engine has been mounted. I was sure this would be a quick and easy task. But as my life so often goes, I was completely and totally utterly wrong. Mounting the engine took me two solid days. Even now as I say it, I can’t understand why it took that long. I’m not sure. Just trying to get the engine lifted and then get all four bolts aligned and torqued and I used loctite, proved to be quite the challenge.
This deserves a separate paragraph. Having the weight of the engine on the front of the plane really brought to light that the nose wheel is too hard to turn. So I lifted the front of the plane up took the nose wheel off. I sanded down the bearings and I sand down very slightly the nose wheel itself then put it back on…. No difference…. So I took it off again sanded everything a little bit more. Then put everything back together and now it’s a lot better. And that was another day gone .
Now I sit here looking at how much the front wheel turns. It makes me a little nervous about how sharp the whole plane will actually turn. My current plane is a cirrus, it has a caster nose wheel. It will point directly 90° to either side and it will spin the whole plane on a dime. In the past, it has proved itself to be very useful.
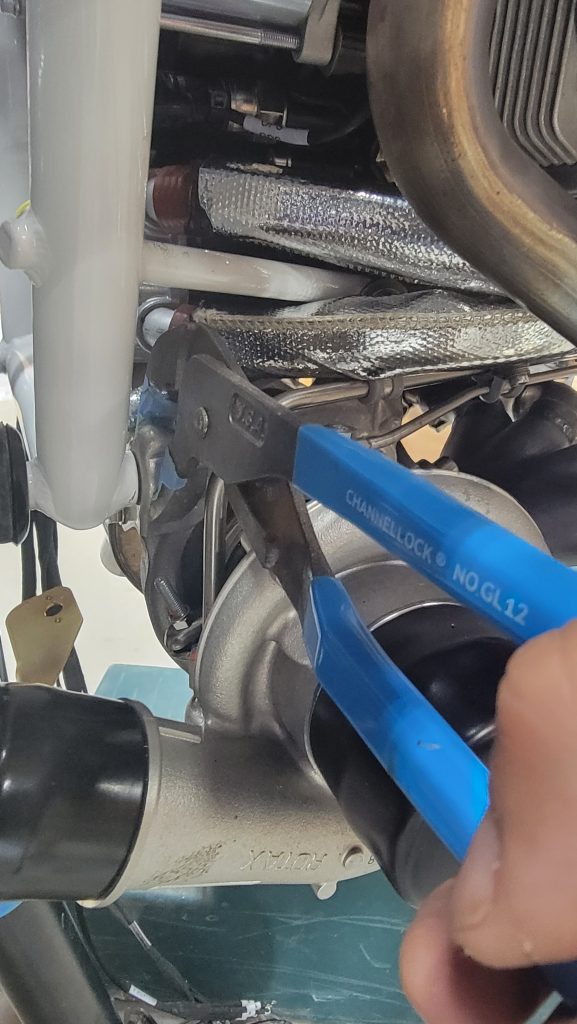
As Patrick Shine mentioned in his blog the bottom right bolt is a pain. But I also found the bottom left bolt to be a pain. For the bottom right bolt I eventually figured out that using a pair of channel locks I could squeeze the bolt from the outside of the exhaust mount and squeeze it hard enough using a clamp on the.l channel lock handle that it would hold the nut still. Pictured.
For the bottom left bolt I did as Patrick did a used a open end crescent wrench. It was still to wide to fit in the opening so I had to grind some metal off the outside of the wrench and the. It worked fine. All torqued up and ready to go.
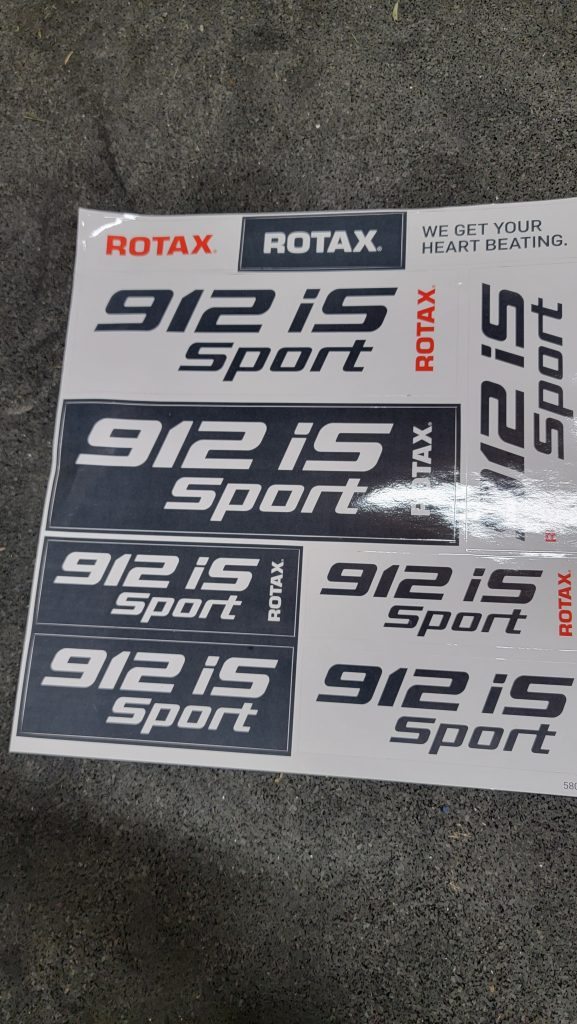
I love the stickers rotax sent with the engine.

Leave a Reply