Category: Uncategorized (Page 5 of 10)

Nose wheel spat

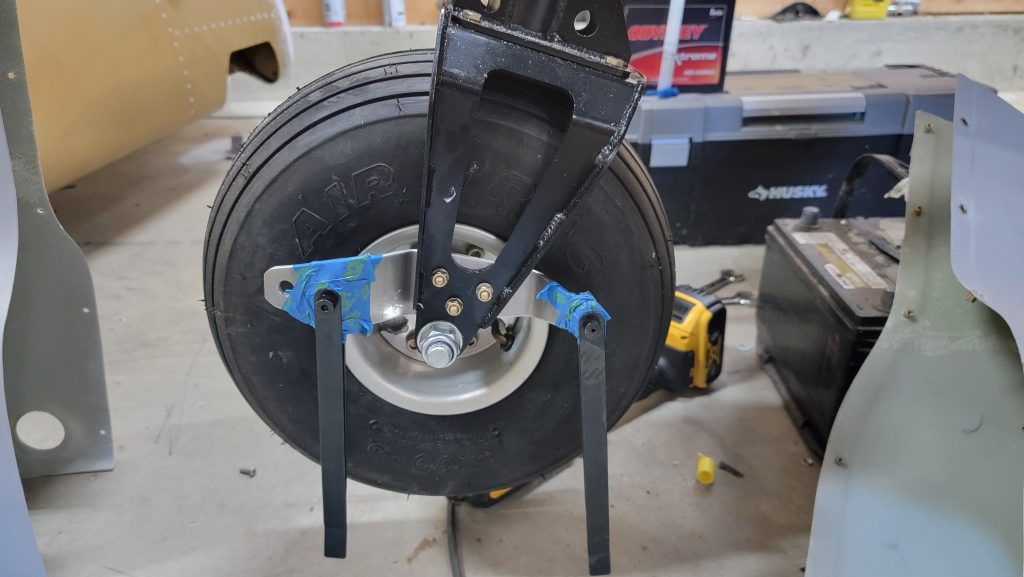
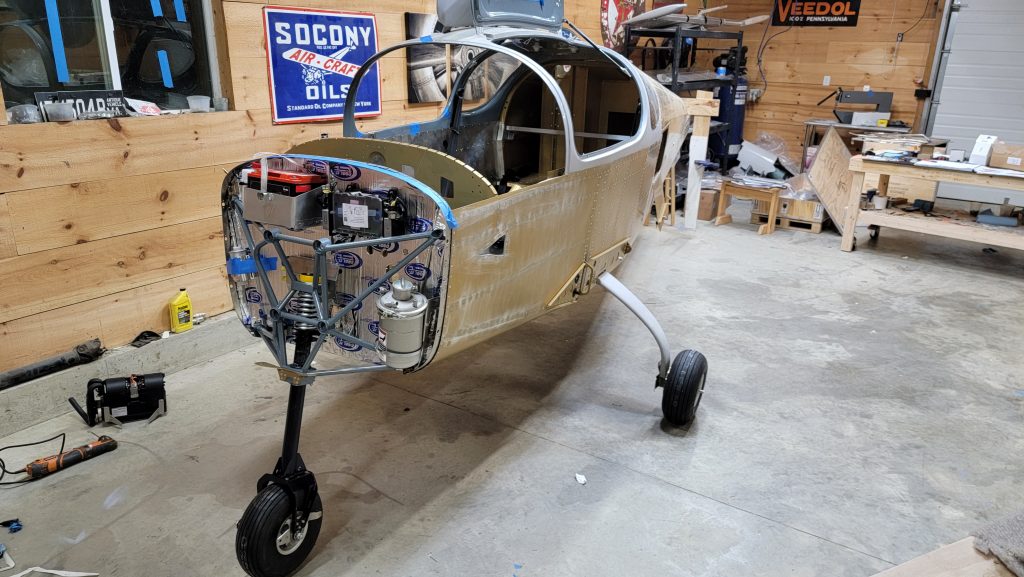
I drilled up the holes and the rivnuts for my main landing gear spats. This was easy and fairly straightforward. The nose wheel however was a challenge. I found getting the holes where the rivnuts and the tow bar connects difficult to get aligned correctly. So I used the hole finders. However, I was not able to actually find the holes with the hole finders. So before putting the fairings on, I taped the whole finders in place and then slid the fairings through the hole finders.

Replace eyebolts rodends for ailerons

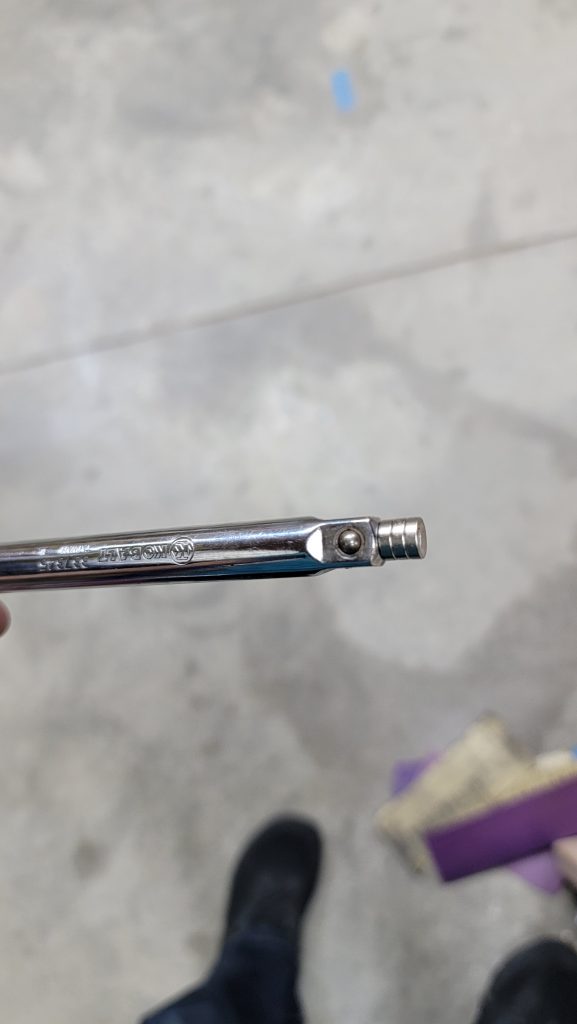
So it was only a couple months ago that I completed my ailerons. I have since moved on and have been working on other things. Then the service bulletin about the rod ends came out. I was concerned I would have to tear apart my newly constructed ailerons. As it turns out, you do not have to tear them apart but it could be challenging. There is an access hole on the side of the aileron where you can look in and see the bolt that you need to remove. But being able to remove that bolt and push it back in precisely could be a challenge. So I added some magnets onto the end of a socket extension rod. That proved to be just strong enough to hold the bolt to push it in. But more importantly it proved to be strong enough that if I repeatedly attach the magnet and pulled it back, attach the magnet pulled it back over and over and over again it would pull the bolt out, which is the trickiest part. Findung a way to pull the bolt out is a challenge otherwise. I know they have magnetic sockets but they weren’t strong enough to pull the bolt out. So as you can see in the picture I attached a bunch of my own magnets and that seemed to work.

I can’t officially recommend a replacement rod end. But you can look online and find the one that comes with the aircraft and you can find replacement rod ends that are three times stronger. The cost about 40 bucks a piece but I think the additional strength will be worth it.

Fuel system firewall forward

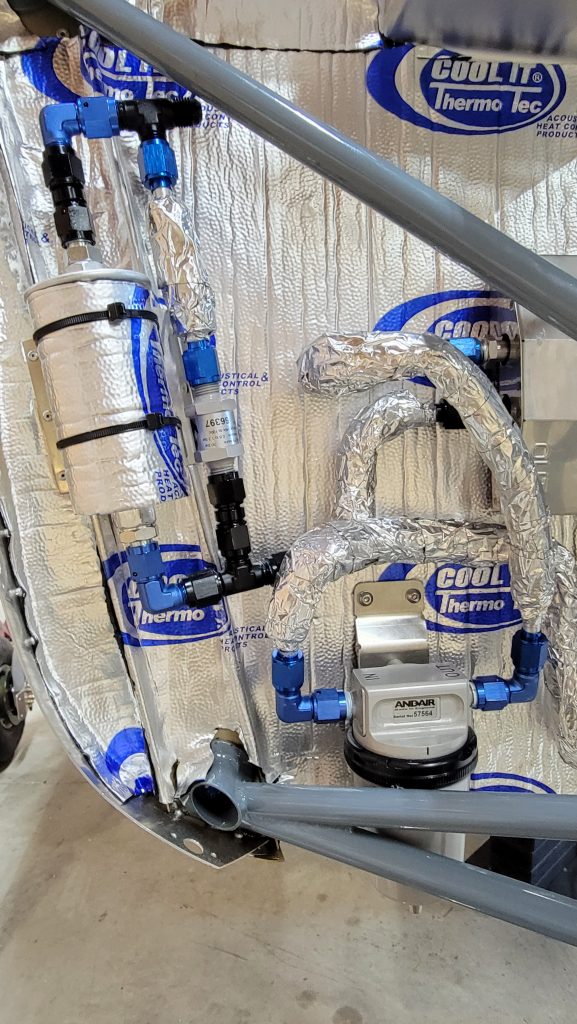
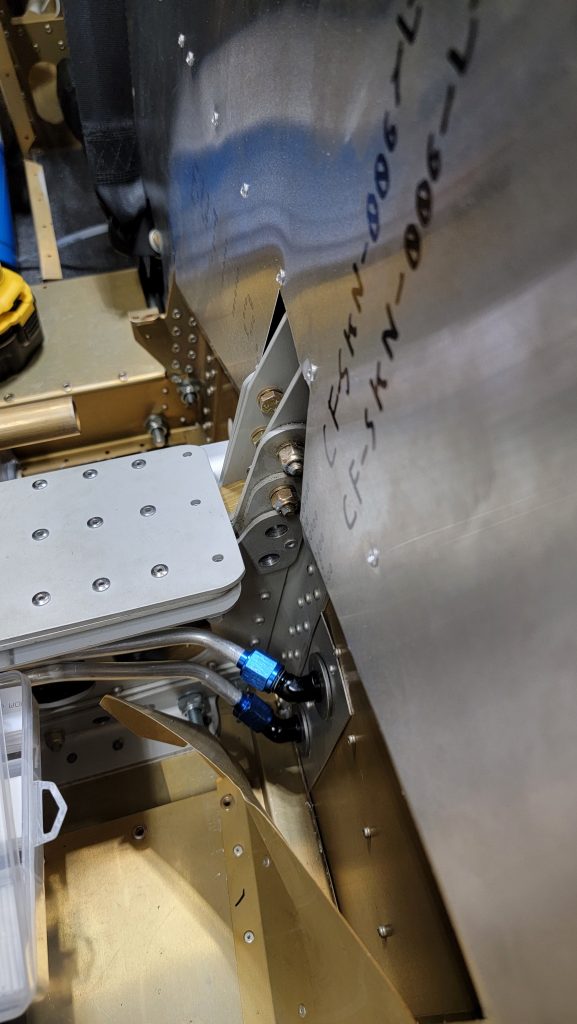
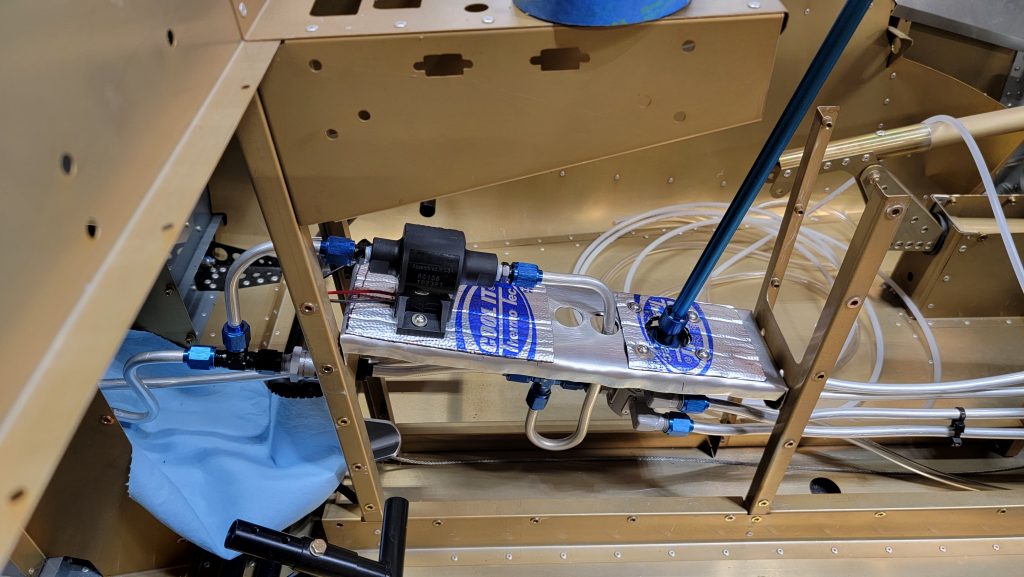
Inside the cabin I’m using aluminum fuel lines. I’m also using limited aluminum fuel lines on the outside of the firewall. After the fuel filter is where I will switch to use teflon fuel lines that run to the engine.

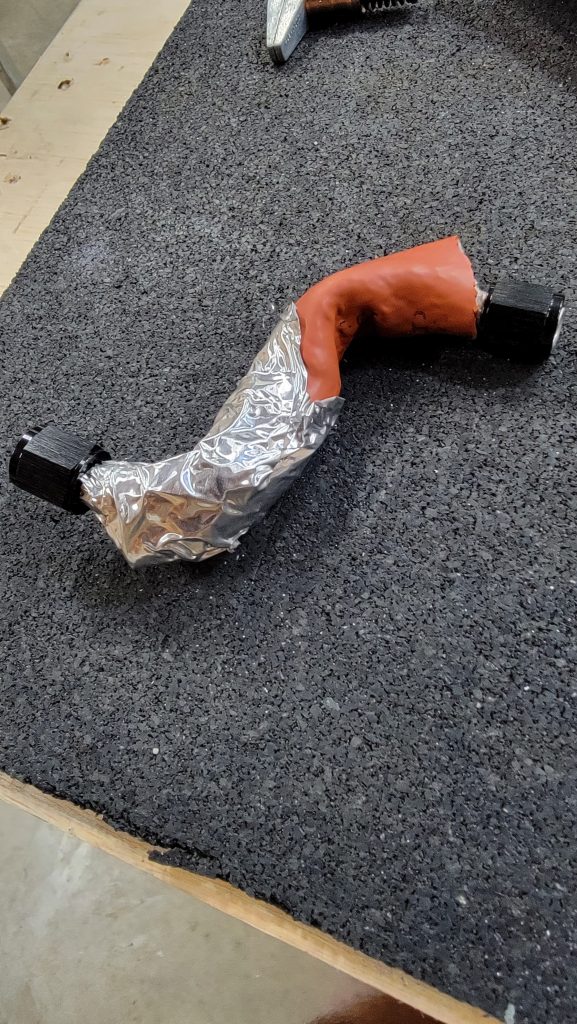
I’m also wrapping the fuel lines insulation in heat resistant aluminum tape. The picture below shows an aluminum line half wrapped in insulation and half wrapped in foil tape, for the purpose of illustration only. I’m kind of paranoid about vapor lock so I’m trying to do everything I can to resist heat in the fuel lines. I also went out of the way to keep the lines as low as possible as long as possible.

I know this is far from standard, so please feel free to comment and tell me all the ways I’m doing it wrong.

Throttle cable , under carriage skin

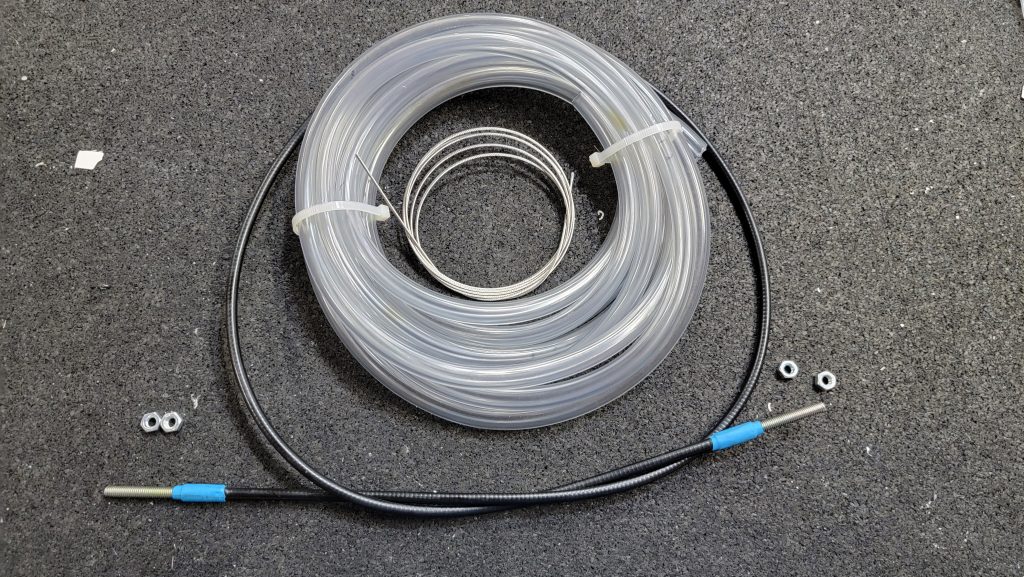
Yesterday I made my throttle cable and ran it through the firewall. Nothing particularly interesting to report here. Very straightforward. Just one item of note, the instructions never actually say to run the wire through the sheathing. I guess that would seem obvious. But if the wire and sheathing are in separate bags not near each other it might confuse someone. So I am mentioning it.

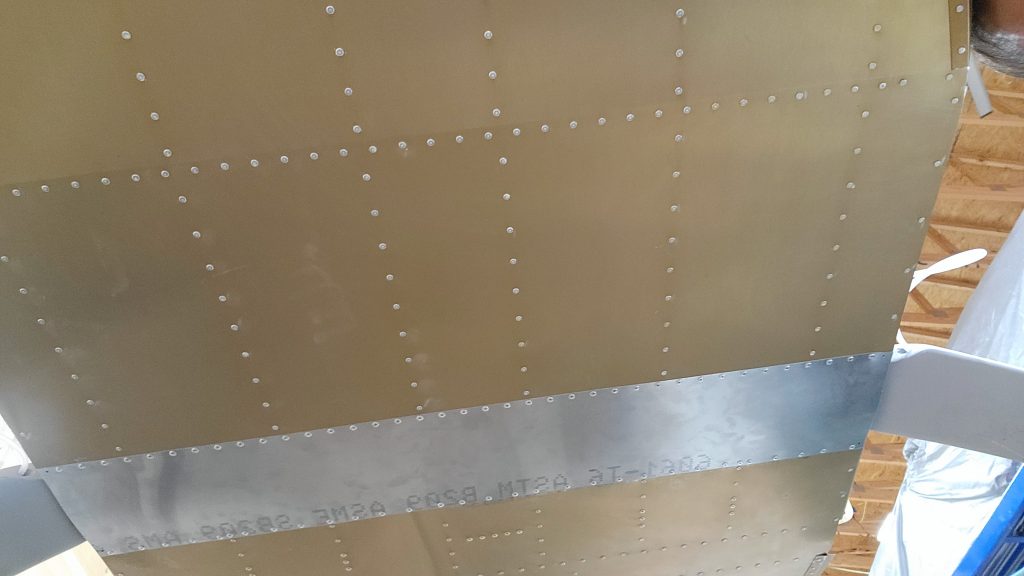
I installed the under carriage skin. I was worried that the leading edge of the skin is the lowest point on the plane bottom so it might catch some wind and before I attached the skin I could see light up through the bottom. I was worried about air getting in there. And creating noise. So I added some firewall insulation above the skin to stop drafts.

Parachute

I bought my parachute through uflyit, Magnum back in March. At the time they told me it would take 2 months. When I called them after 2 months they told me to take another month. Today when I called them to check on the status they told me that they cannot predict ETA they’re so far backlogged they have no clue how long it will take…. Obviously this is a major concern if anyone knows of a good solution let me know.

Sling TSI, fuel lines and cabin interior lights – lines 7/11-8/1, lights 8/22,8/3

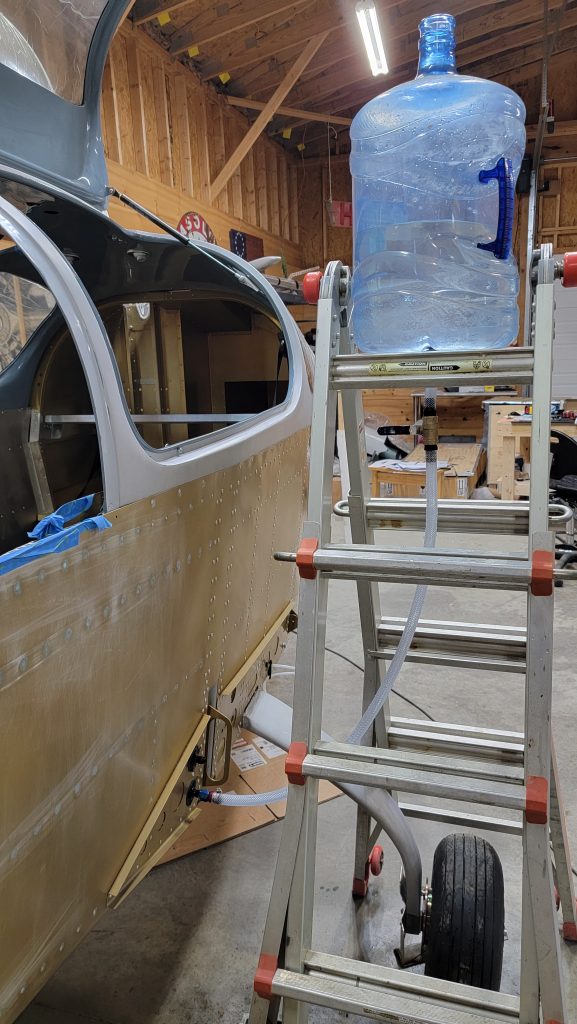
These fuel lines took me about 3 weeks. Not even done with the few lines that mount to the firewall. I should have listened to Patrick Shine and gotten all of those fittings that he recommended but instead I purchased them one or two at a time as I needed them. That was a big mistake. And trying to bend aluminum fuel lines perfectly the first time has proven to be very stressful. I can’t say that I am pleased with the way my fuel lines turned out visually… But I’m absolutely totally confident that they are sound and well connected. And I know that because I did a water pressure test and there were no leaks. Which is totally unbelievable I was absolutely positive that there would be.

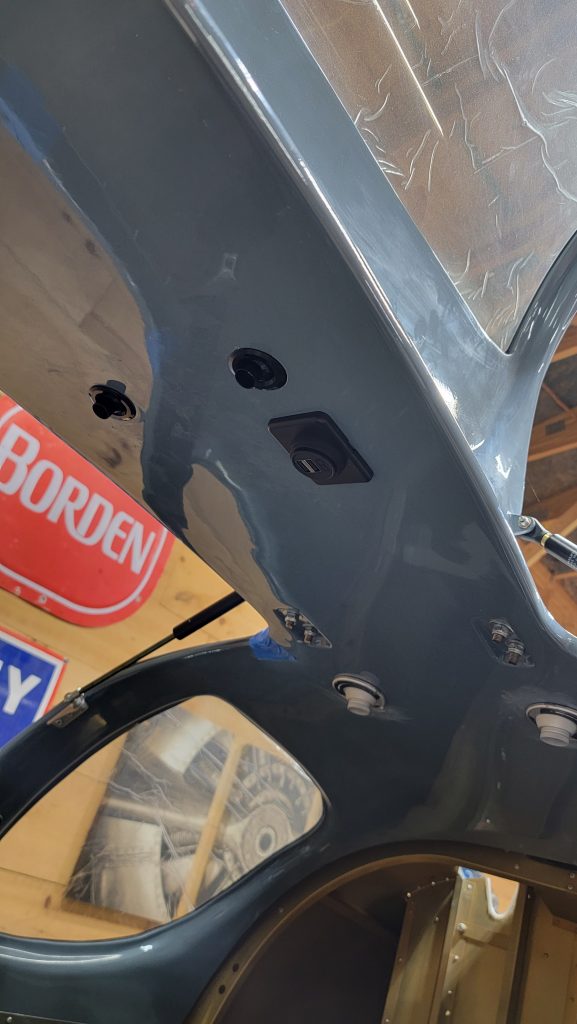
For overhead lights for the back passengers I got some $300 multi-intensity lights from Aircraft spruce. For the pilots, I got teeny tiny mini eyeball lights that are red and cost about 40 bucks also from Aircraft spruce. It seems counterintuitive but that’s the size of the default holes and I didn’t feel like messing with them.

Osh Kosh Airventure 2022

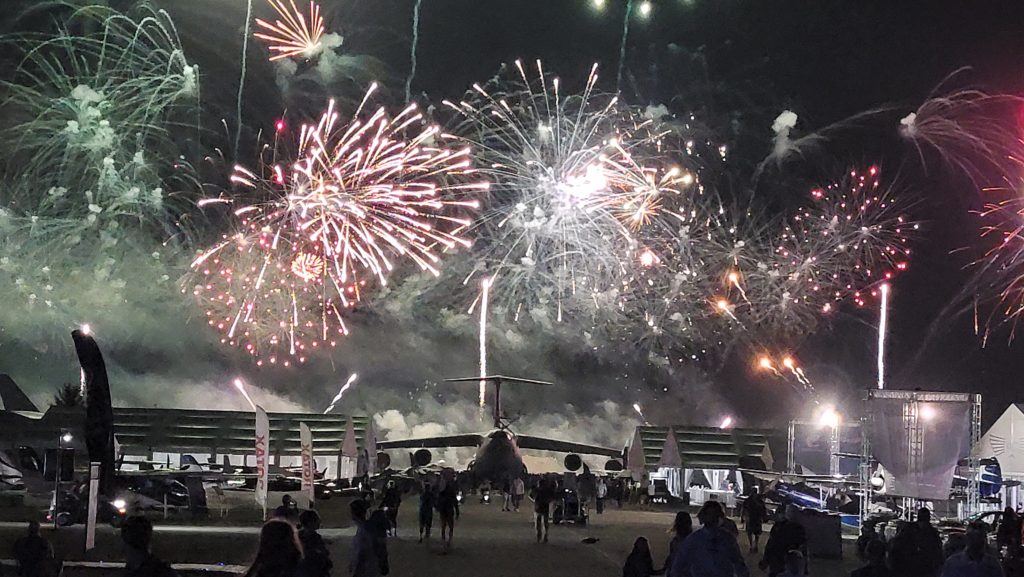
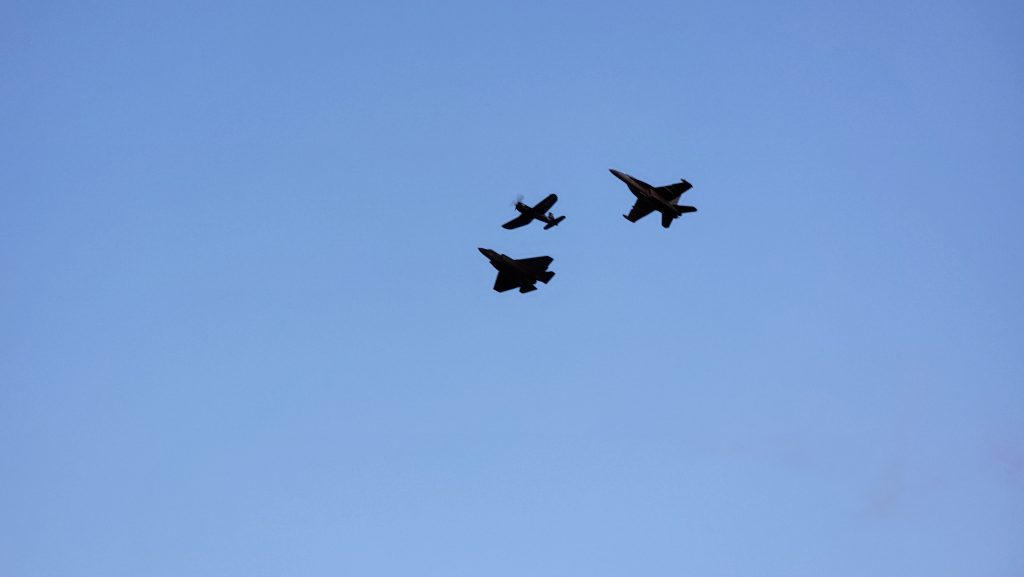
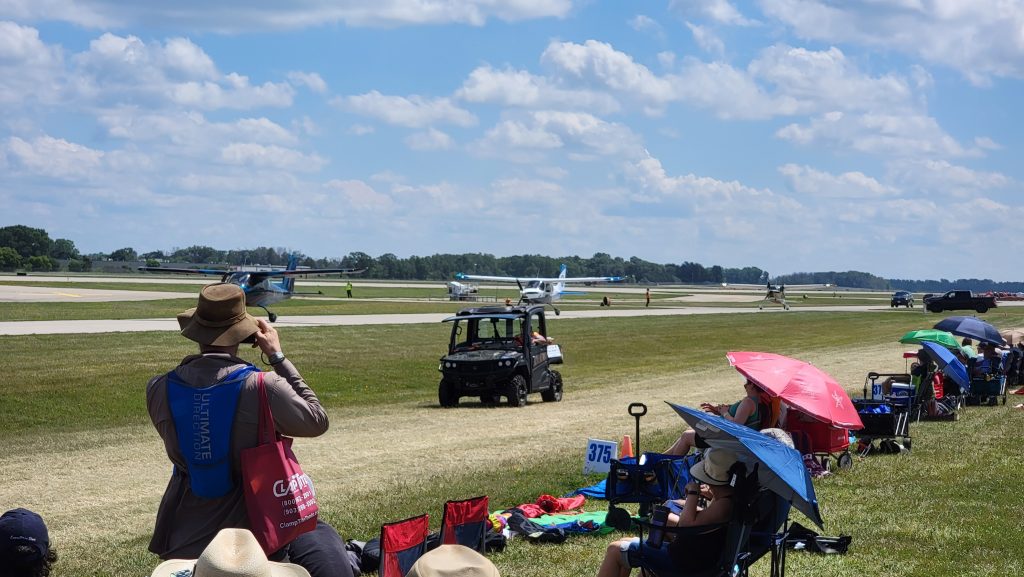
Yeah that’s right, you heard me I took time out for my build to attend Kosh. I did really debate that and go back and forth but I came to the conclusion that meeting some people in person and being able to ask questions in person might be valuable. And I’m glad I came to the right conclusion cuz it was a great time.

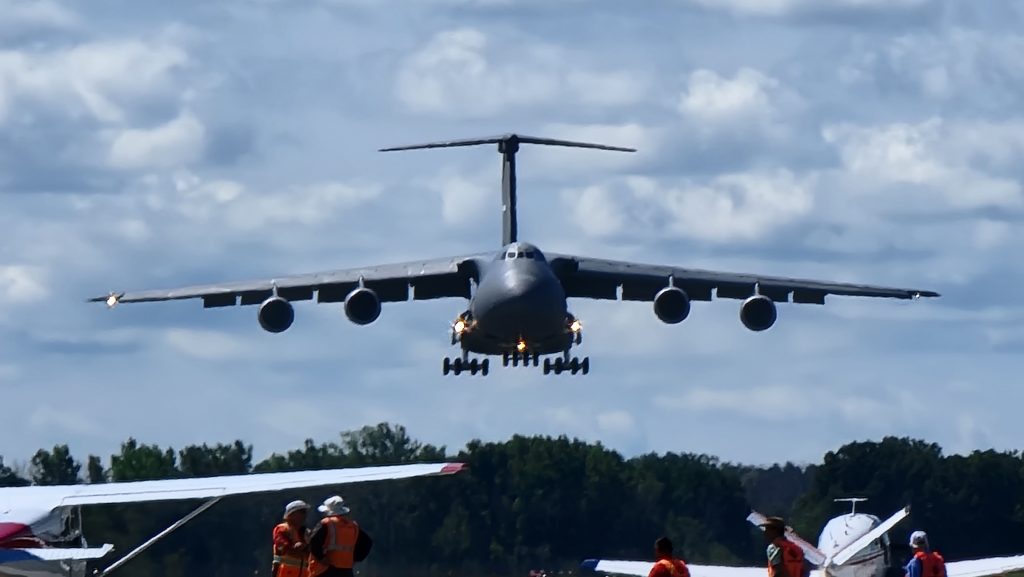
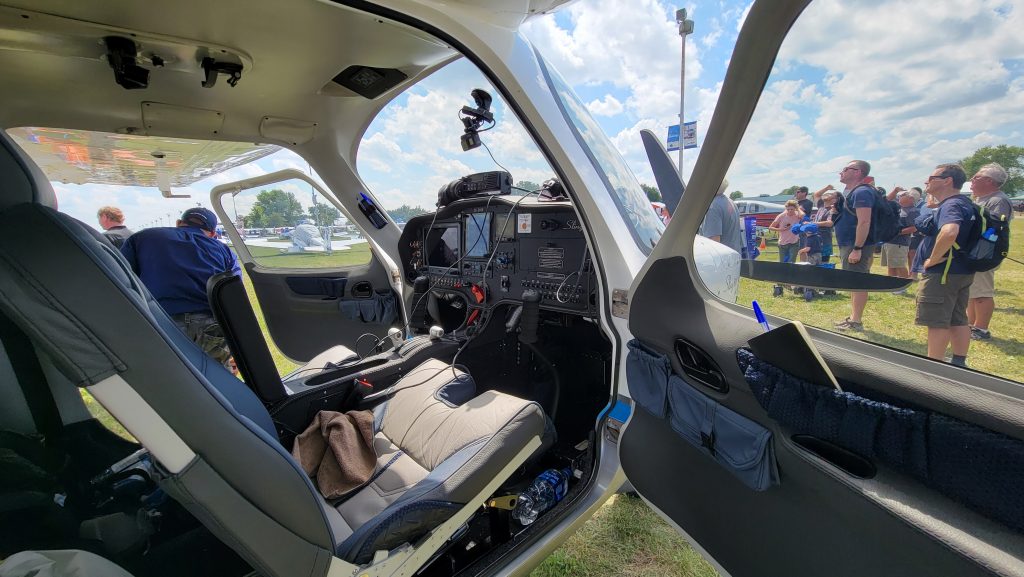
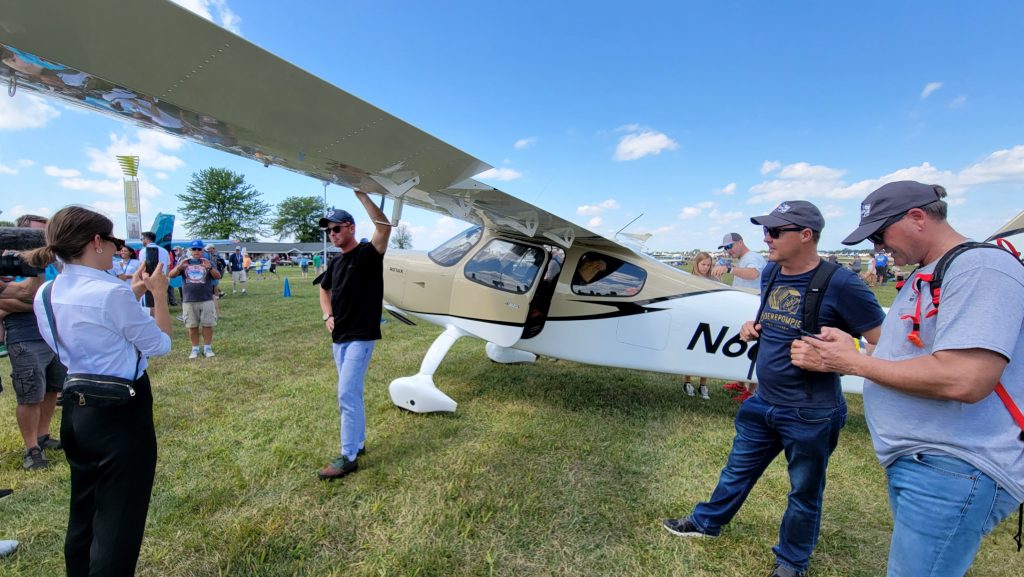
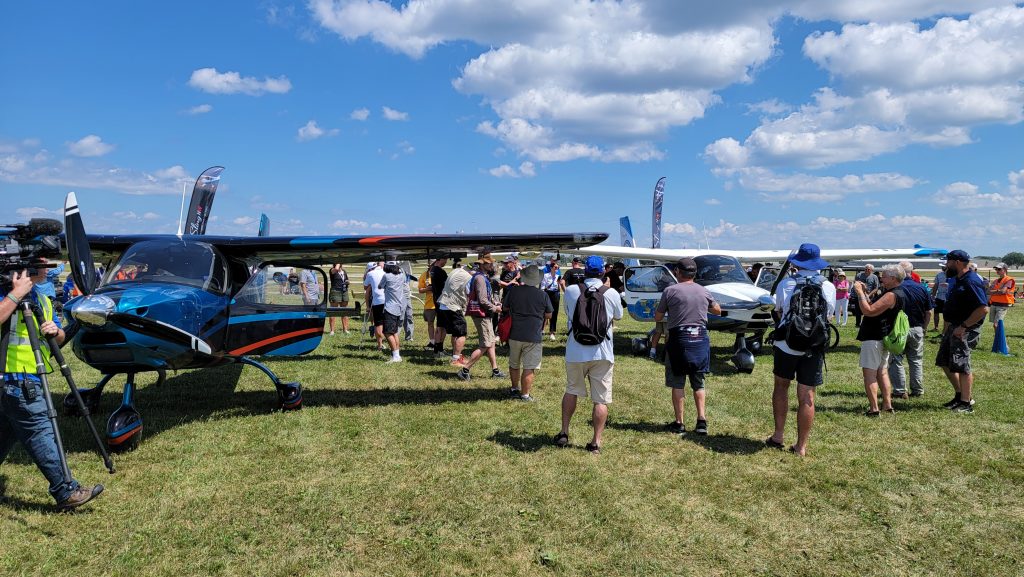
As you can see below, I was one of the first people there when the three Sling high wings from South Africa arrived. So I made sure to get plenty of pictures of that.

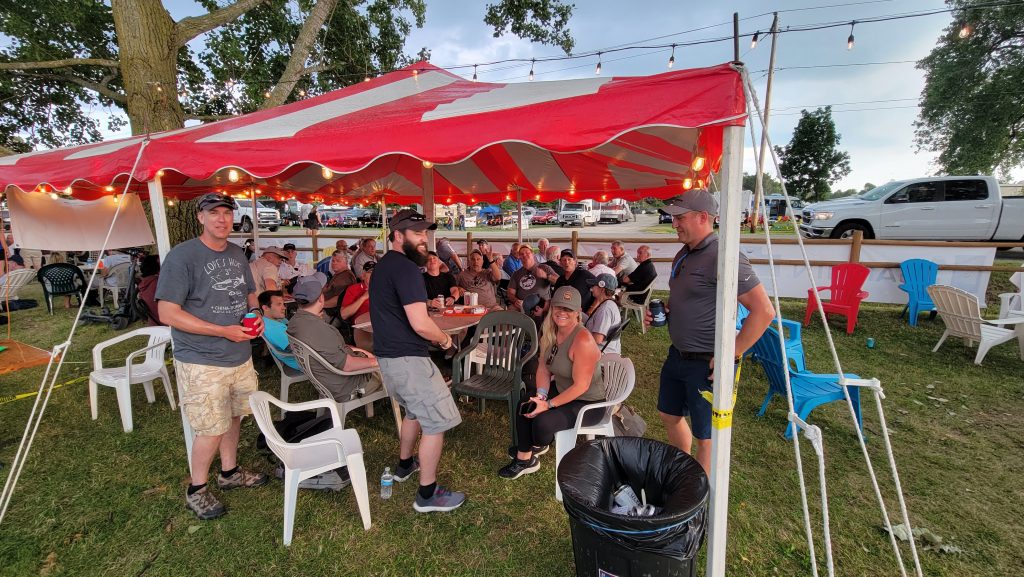
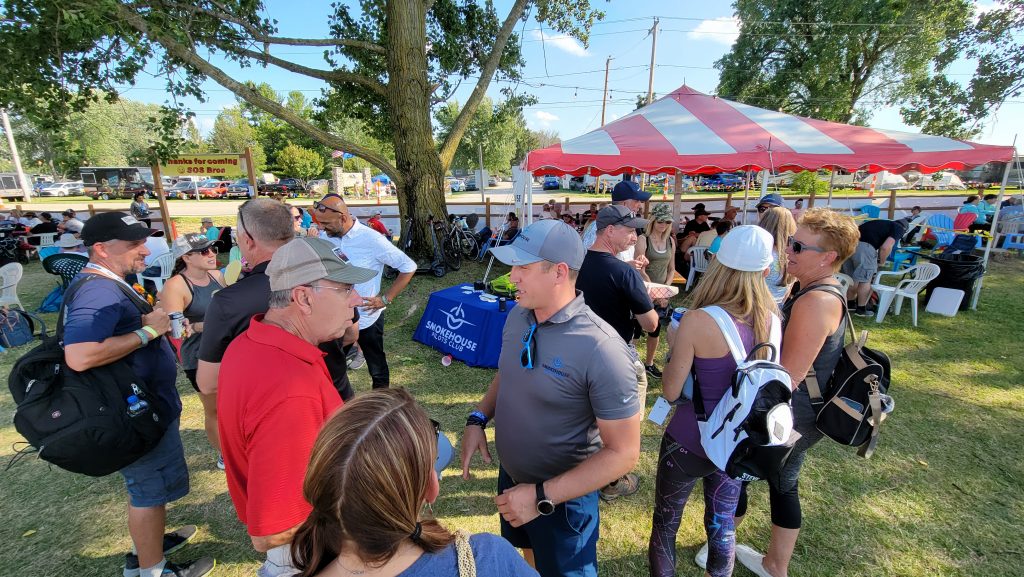
I also had to include a picture of our Smokehouse Pilots Club Meetup. It’s just a fun environment for aviation enthusiast to chat in person, doing fly outs and educational speakers, and online.

Undercarriage 7/23

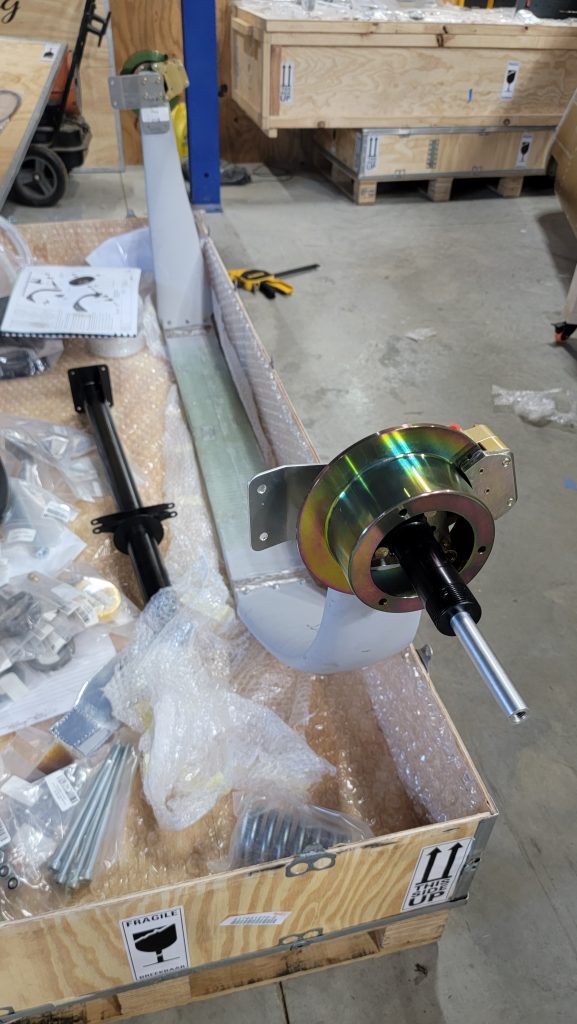
Undercarriage is now attached. I mounted the axles on the undercarriage before I attached it to the plane. I also mounted the axles on the undercarriage while it was upside down and backwards which presented quite a challenge to my ability to visualize things 3D. I do not recommend this approach. Had some problems figuring out how to get the tubes correctly mounted luckily a great fellow build blogger stepped in to help me a Mr Aaron Stampa. The tubes have to go in the hole and then back through the middle. That will make sense when you see the wheels. Also I found it easier to install the gasket that goes in between the two wheel house after I had the tube inside the tires and the tires mounted on the wheels. I then compressed the tire and simply slid the gasket on.

Static port

There’s much debate about the correct location for the static port. I have read that Torrance has disconnected it at the back of the dash. So they are using cabin pressure. But I read at some altitudes cabin pressure can be wrong. Factory says to put them in front of the cabin air intakes. But I read that people say that is also inaccurate. The only place that I have any feedback on that apparently returns an accurate pressure is from Evan and he says that is halfway back the tail. And my Cirrus also had the ports in that location. So out comes the drill and in goes the port. Of course I am missing the stock ports because they never came in my package from sling. So I bought my own ports from Aircraft Spruce and they actually bolt in from the inside, which I like that installation method better anyway. Drilling a hole into my quick build fuselage was very stressful. I did apply a very little RTV to the back side of the port before I screwed it in. I also used locktite on the bolt. It came out great.

« Older posts Newer posts »