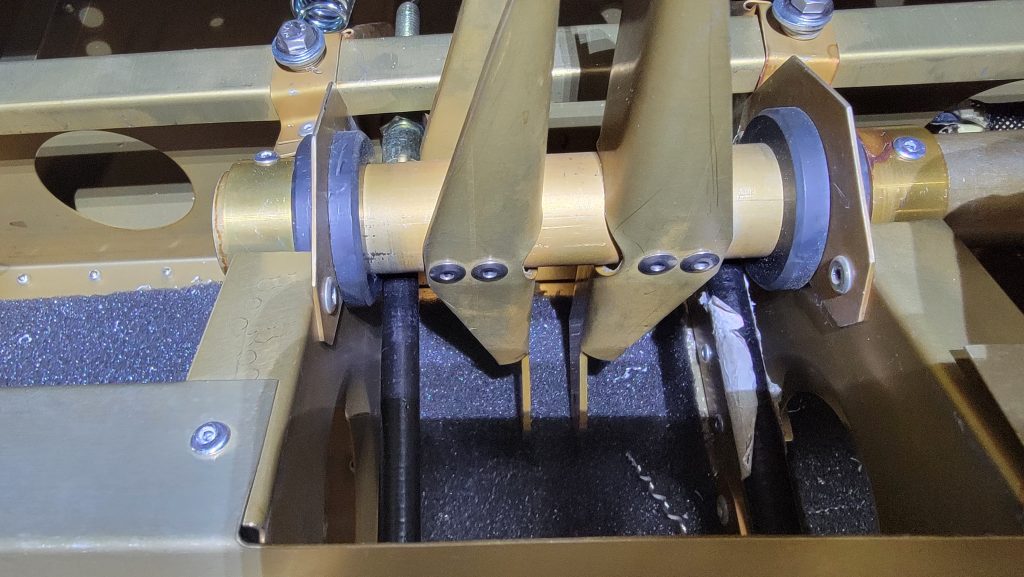
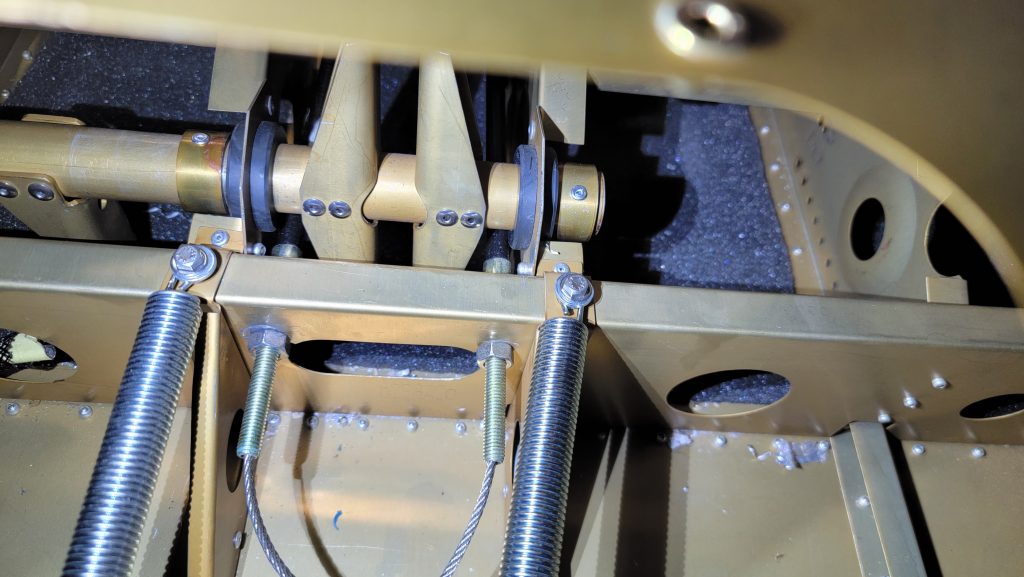
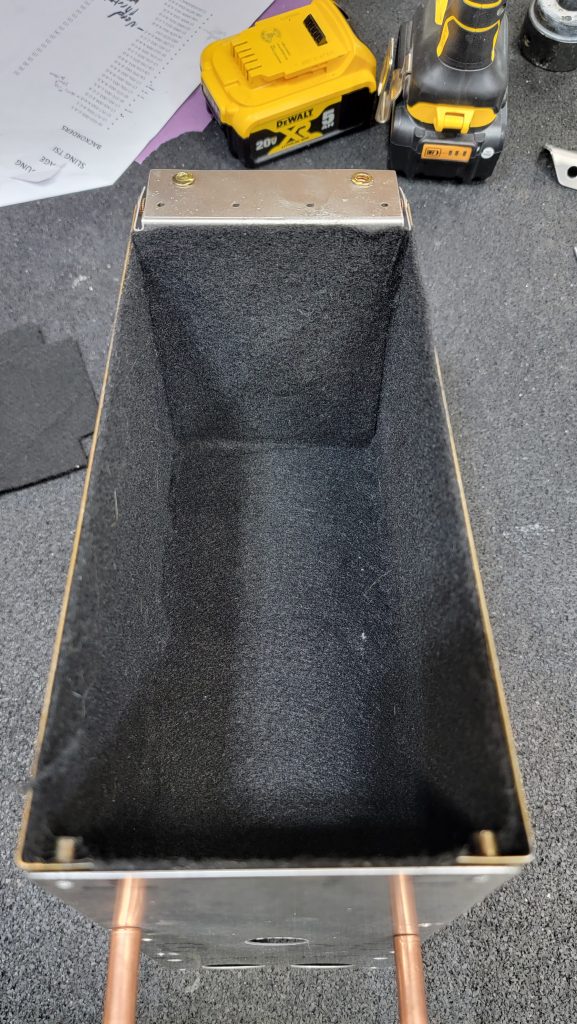
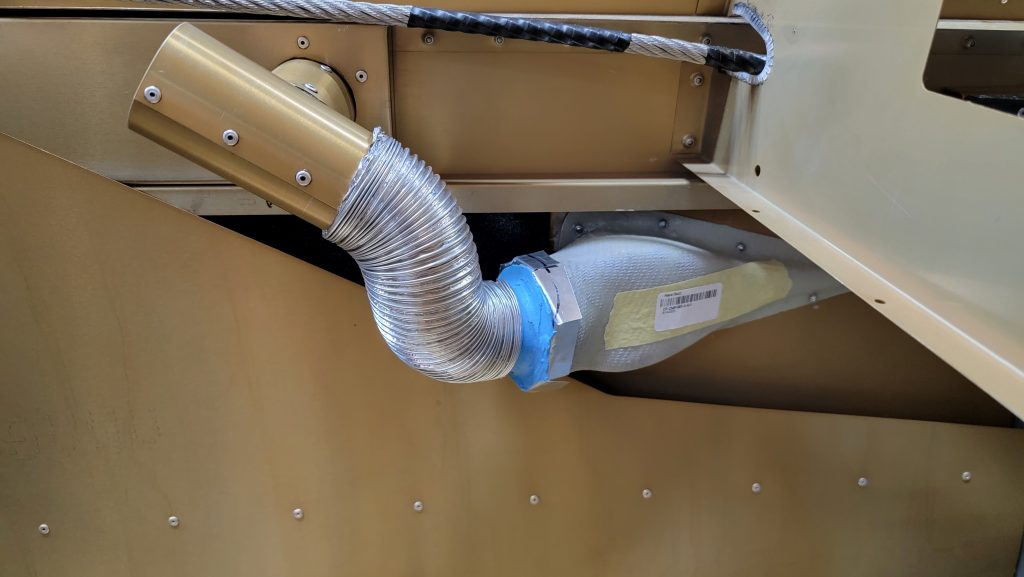
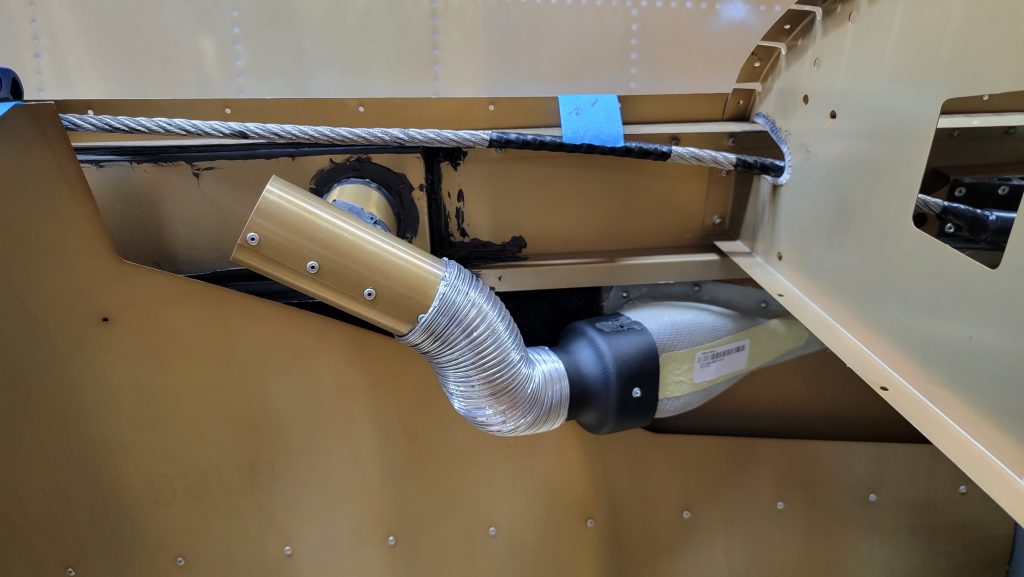
I’m not sure what I’m doing wrong here but the rudder cables are rubbing on the elevator bracket and that’s just not cool. So I had to call in the experts and I posted it to the sling builders page on Facebook, somebody please help me !!
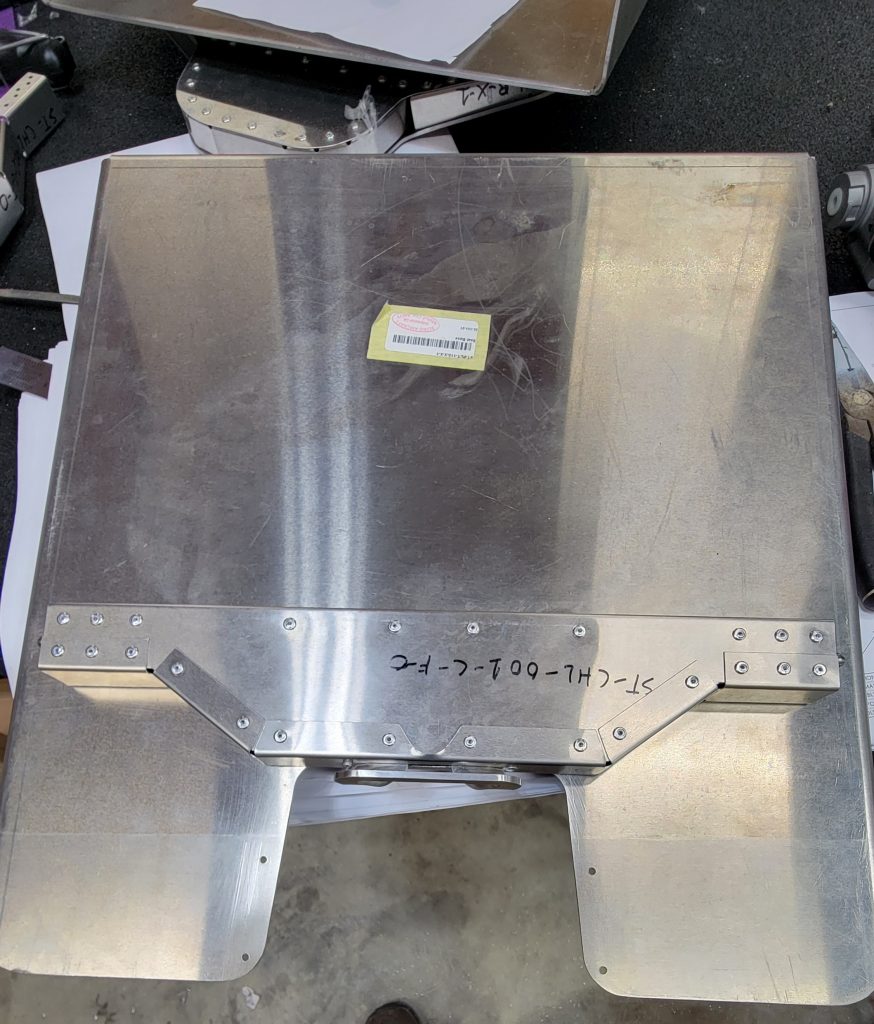
The throttle cables are rubbing on the elevator bracket and a little further up on the luggage floor support I can’t imagine either one are acceptable.
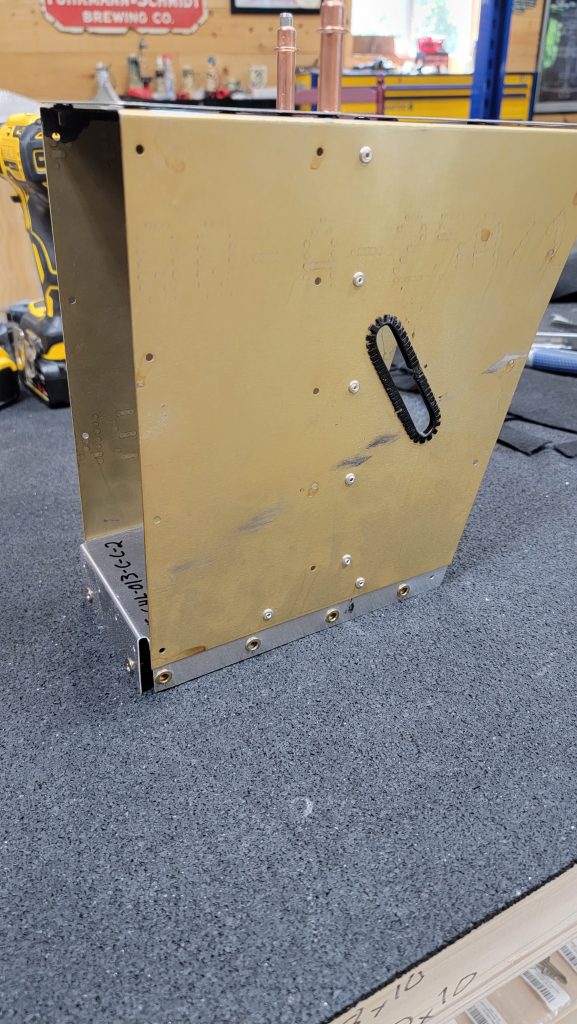
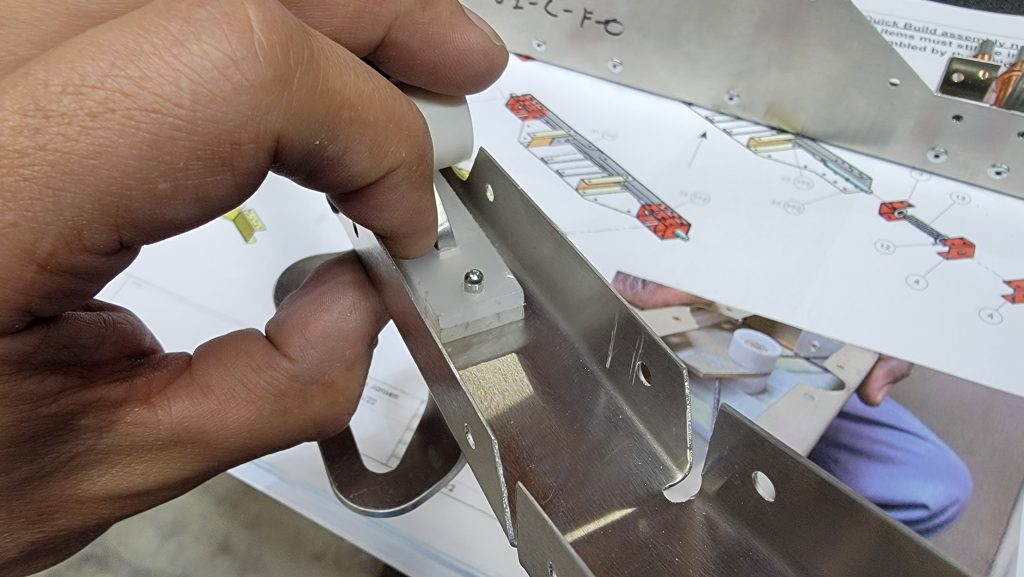
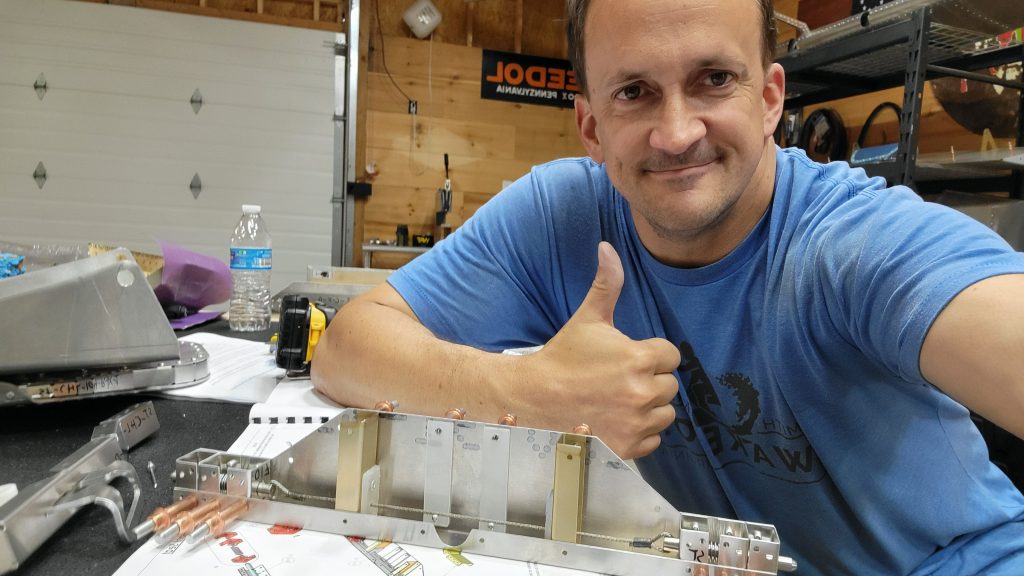
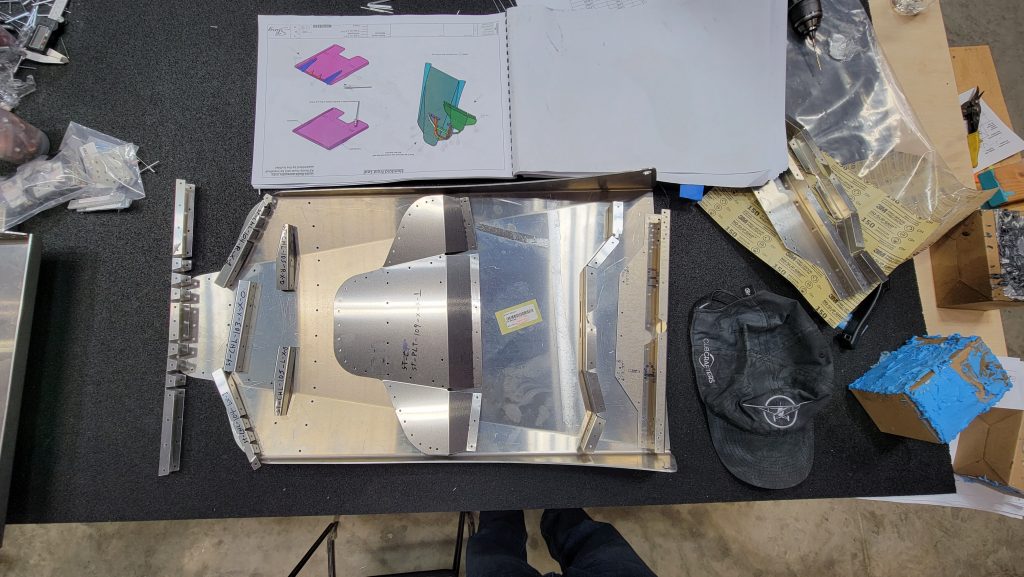
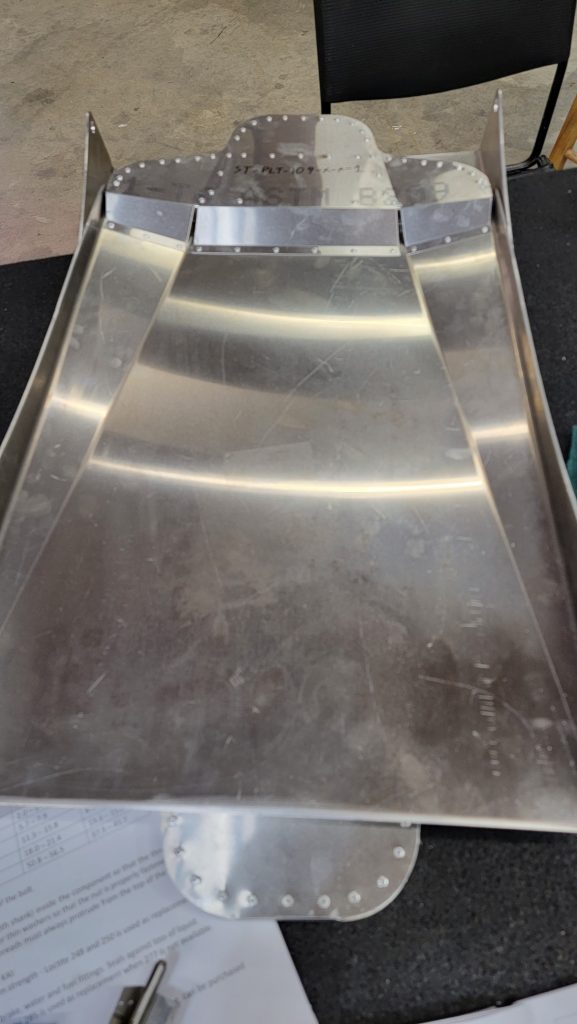
Update…okay I am now officially exhausted and frustrated. I fixed the problem but it was a lot of work. I had to drill out a bunch of rivets in the rear luggage vertical support so I could access the elevator bracket. Previously I had loctited the rudder cables. So moving them was a massive massive effort and to make matters worse, I can only turn the wrench a quarter turn at a time due to space constraints. So it took many hours in a crowded cockpit surrounded by sharp objects while precariously balancing on my tippy toes in order to relocate those two wires.
A little frustrated cuz I have not found in the manual where it says how those cables are to be connected. I see where it says how they are to be connected in the rear fuselage but not in the front.
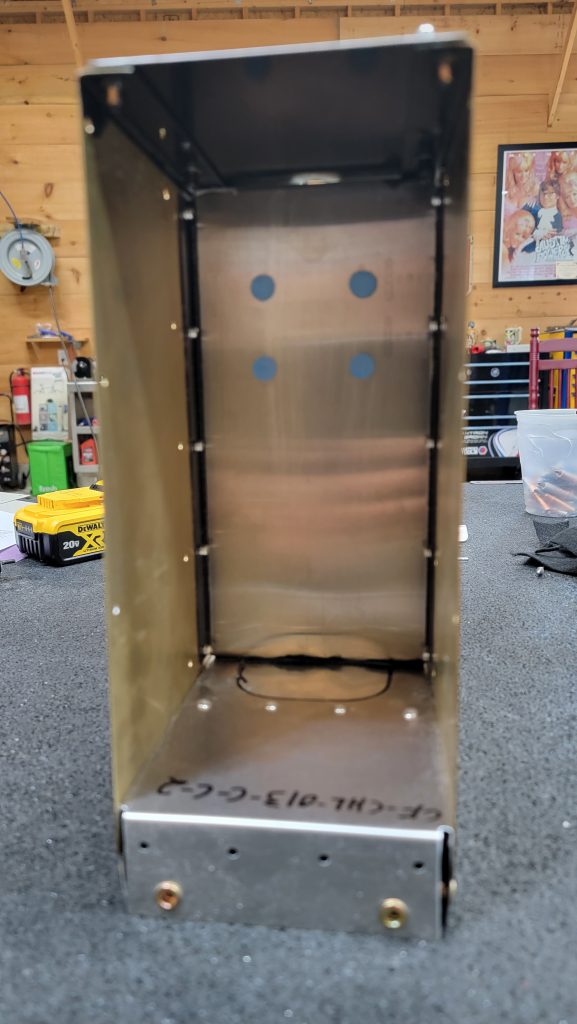
Anyway, my solution was to relocate the sheathing on those wires all the way to the rear. That gets the metal ends on the sheathing past the point where the elevator bracket will hit them. I also precisely located the elevator bracket where it has at least 3 mm of clearance on either side. In order to do this I had to get an extra bushing collar and limit the travel of the elevator tube left to right. For whatever reason by default it only has one bushing on it. But now it has two.