Category: Uncategorized (Page 2 of 10)

Parachute is in !!

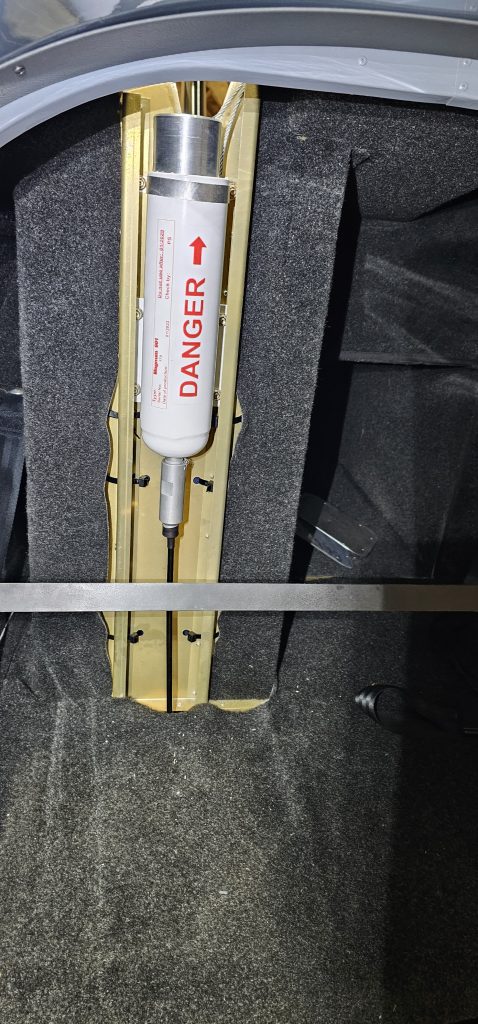
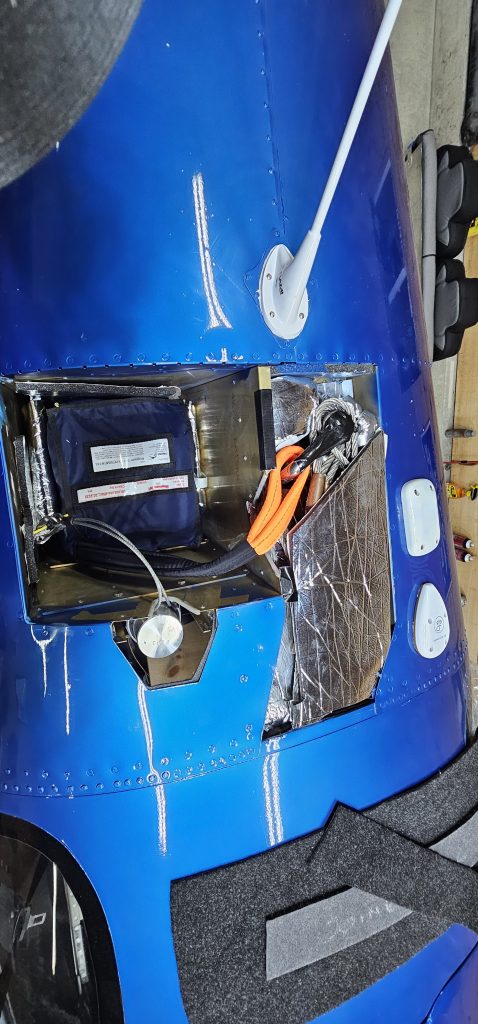
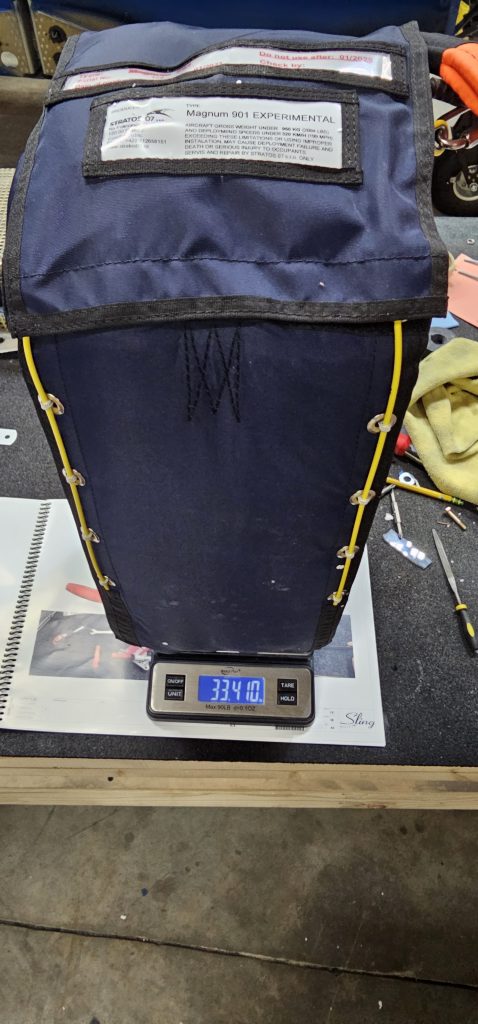
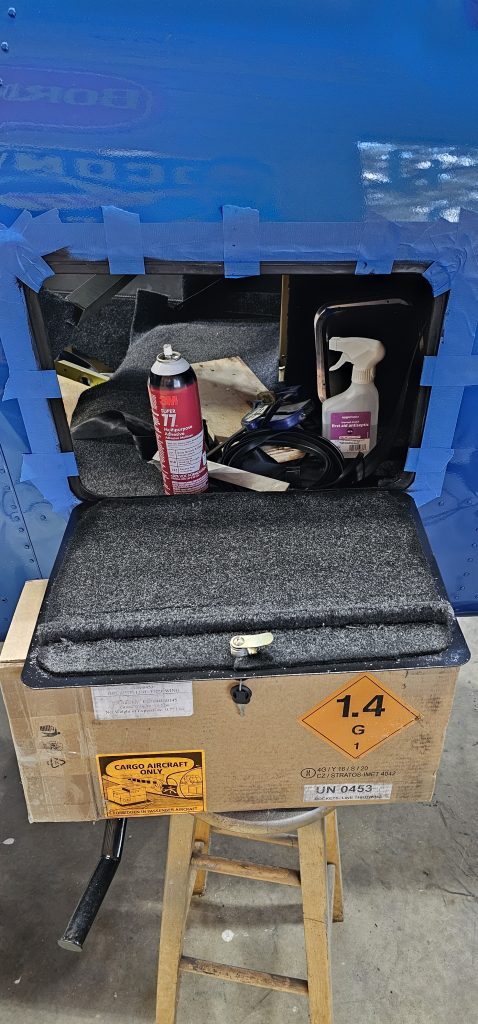
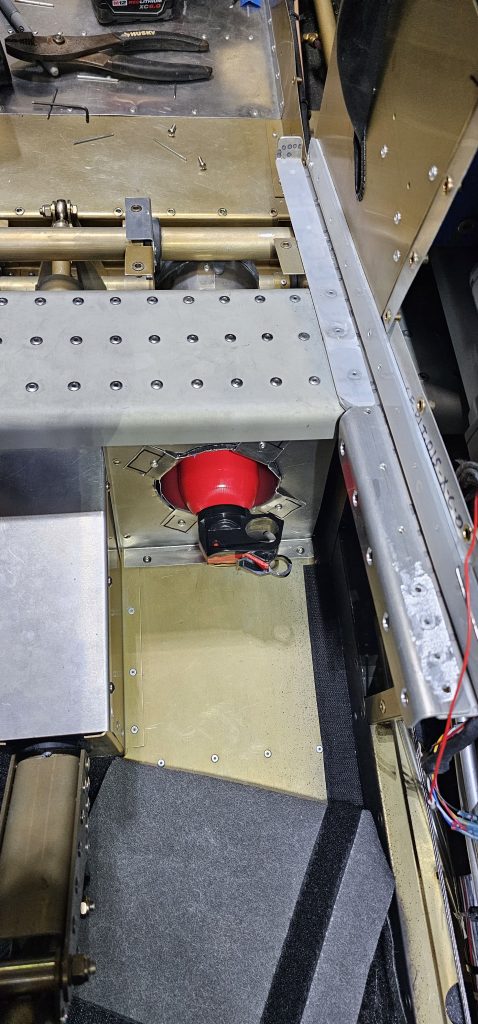
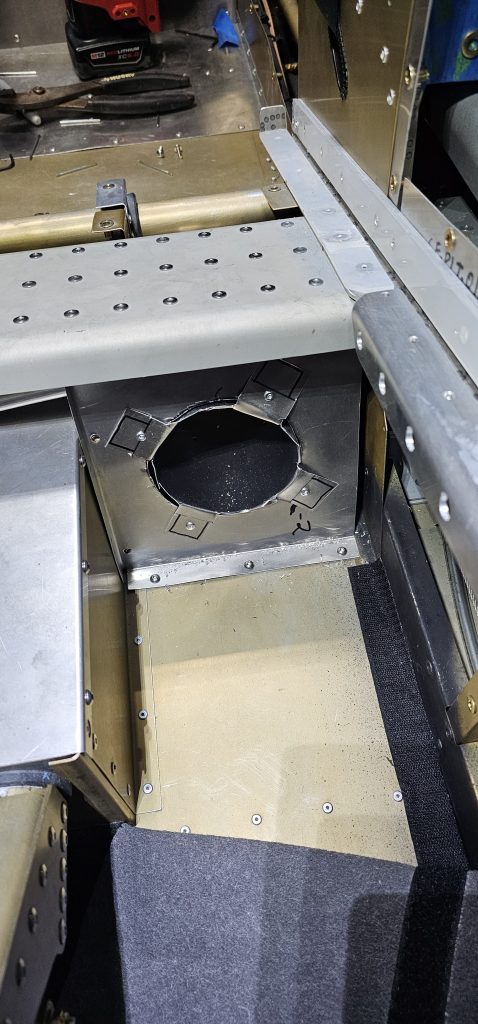
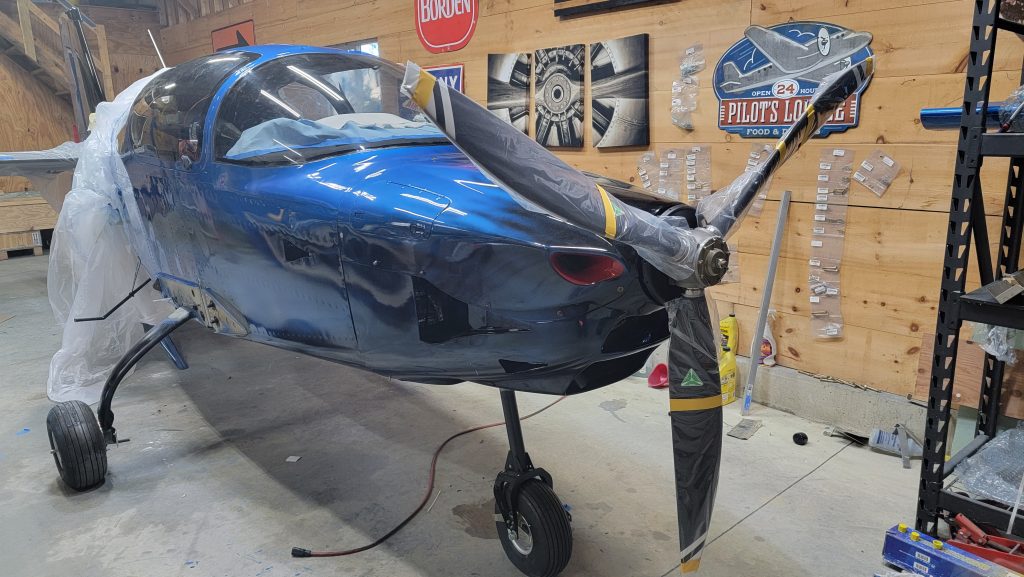
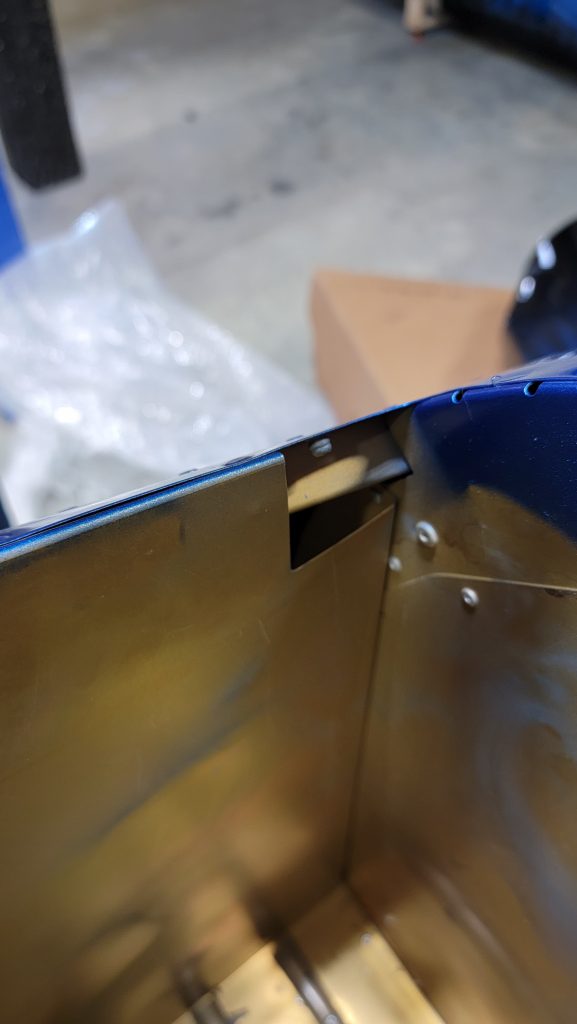
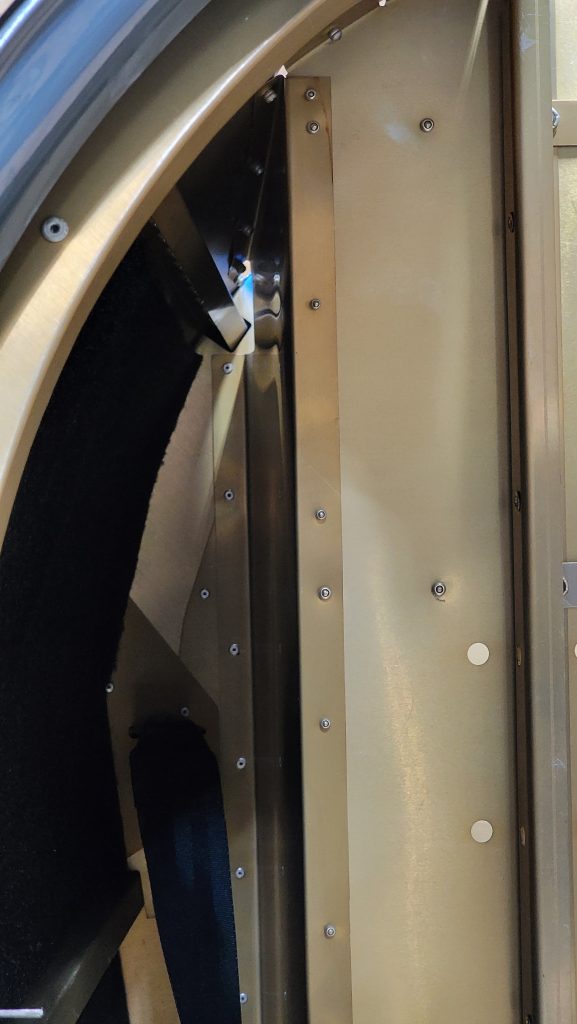
Now that I’m done shaking. The parachute is completely in the plane. There are at least two points where arming the rocket is pretty stressful. When you connect the hammer to the rocket and again when you connect the cable to the Hammer. But I got it complete without making a large boom ! I was worried about attaching the zip ties to hold the parachute case in place. But it was easy enough to get your arm in there to push the zip ties through the holes. It was a little tricky to get everything to fit in that space without pushing up on the cover. But it is doable. I don’t feel that I really need to give any instructions on how to do this because the Magnum instructions are extremely thorough and well-documented. The sling documents are okay. But you definitely want to follow the Magnum documents for arming the rocket. Because I was being thorough and a little nervous this did take about a solid day to accomplish which is about 8 hours longer than I thought it would have taken.

Fingers crossed. Let’s hope I never have to use this thing.

Parachute

This is the fable of the missing treasure key. For the longest time the squire toiled away on his contraption but it wasn’t until he found the last link that it all came together. …. I am not a writer… Hooray the last part for my Sling TSI is here. I ordered it in May 2022. It just arrived. When I ordered it, I was told it would only take 3 months… So my advice would be to everyone get your order for your parachute in as soon as possible. Let’s get to work.

fyi i took a picture of it being weighed since so many people seem to want to know that.

Luggage hatch

I am putting on the finishing touches. I’m doing the luggage hatch carpet and the experimental stickers and the passenger warning. Not much to say here. It has been about the most straight forward task ever. Now that is say that, I started at 8am and it’s now 1300. Sooo it apparently still took a couple hours. They say a plane is a time machine because it saves you time mainly in traveling…. Well building a plane is also a time machine, but it doesn’t SAVe you time. Hopefully, when it’s done the time that I spent on it will be balanced out by the time I save with it.

Big thanks to Midwest Sky Sports, ie Henry, for the part number for the improved gasket for the luggage hatch. It works great.

Fire !

Extinguisher. I couldn’t find any locations for the FE that I found acceptable. So this is what I came up with. Obviously this is a very rough early design but this solution will absolutely work.. No it does not touch any of the control rods or tubes. It has a least a quarter of an inch clearance. It fits seamlessly and unobstructively underneath the passenger seat in its own storage tube.

I am only sharing this ugly mock up, to share the idea. Not to brag about my ugly craftsmanship, hahaha.

Brake bleed ing

After 2 days of trying to make this work I gave up and posted online, please help.

I’ve bled the brakes of many cars before, I can’t say I’ve never had a problem but I do usually accomplish my goal. But I gave up doing this seemingly much smaller of a project and asked for help online.

The difficulty was that the this brake line wasn’t a line, it’s not straight, it’s actually a Tee. So how do I get both parts of the T to be air free (rhymes) at the same time. Very disappointed in myself that this solution didn’t occur to me.

The answer I received from Errol on Sling builders was,

To bleed the wheels first, by flipping the parking brake to on. Then elevate the front of the throttle quadrant, release the parking lock and bleed rest forward towards the reservoir.

Thanks Errol !!!

Brake lines and interior

I was worried about my brake lines overheating. So I purchased this thermal wire protectant tube… It’s the same thing as exhaust wrap. But it comes already in a tube, kind of like a straw. I slid that over the bottom of my brake lines. Where they touch the caliper. The thought process here is it’ll keep the end of the brake lines from heating up and traveling up to the plastic brake line.

On my interior on the bottom under the dash against the console… Those panels screw on and off with button head screws. Because I have to take them on and off periodically to do maintenance, I didn’t want to have to try to find holes in carpeting. So I cut the carpeting into strips so where the screws are, carpeting is not. I think it still looks good because it’s under the dash and it’s dark down there so you can’t see it and it will make ongoing maintenance a whole lot easier.

ELT and Radiators and Prop mock up

Oil and coolant radiator. Done. That’s all that needs to be said about that. It was literally the easiest thing I’ve done on the plane so far. Wrap the hoses with heat protectant wrap, attach done.

I hid the ELT antenna between the canopy in the rear fuselage, as pictured.

Yesterday I marked up the propeller to ensure that it fit. I had to do a lot of measurements based upon Mt propellers PDF. I cut my cowling on speculation according to those PDF measurements months ago. A long time before I actually got the prop. And thank goodness it came out good. 11 mm clearance.

That’s it for today.

Parachute and hoses

This would have been done a couple months ago but I’m still waiting on my parachute. So I find myself dragging my feet to finish up my last couple tasks. I suppose it’s a mixed blessing. It allows me to be a perfectionist and proceed very slowly.

I recently ran the radiator and oil hoses. I reran them a couple times to get it perfect. I kept changing the exact path to keep them away from the exhaust as much as possible and to eliminate sharp turns. I also used a different heat resistant wrap than comes with the plane. I used more of an automotive exhaust wrap. It is virtually the same. It is still a glass insulation weaved wrap. But it’s about twice as thick. The temperature resistance is much higher on the wrap I used. Not satisfied with simple published specifications. I did perform a heat test on the provided wrap and the new one I bought. I exposed to them both to a torch and and compared with an IR thermometer. And the automotive exhaust wrap did a lot better.

Parachute hole

I found a hole from the interior of the plane into the parachute storage area. And the parachute storage area is not sealed tightly most likely because the top has to blow off. Anyway that little hole in the back of the compartment concerned me that the warm air from the interior of the plane would leak into it and out. So I plugged it. I made sure it is smooth on the inside so the parachute would not catch on it. Not in the pictures below but I ended up adding some filler over top of it and seeing it down to make it super smooth.

Firewall wiring penetration

I didn’t feel like the factory solution was sufficient to prevent fire or carbon monoxide from penetrating through the firewall. So I created my own more airtight solution. All the wires going through the main hole, I did the following too…

I took all the wires and wrapped them in an extra wide zip tie. Standard zip ties are too small and I feel like it might pinch the wires. Then in the center where the zip tie would tighten up, I put red rtv in between the wires, so when I tighten the zip tie the RTV would squish out of the center of the wires. This whole zip tie contraption I positioned right in the hole of the firewall. Then I covered the rest of the zip tie in the red heat resistant rtv. It’s already pretty tight and almost filled up the entire hole. But I added a little extra rtv to seal the whole hole up completely. I then took more of the firewall, fire resistant, insulation and wrapped it around the wire attaching it to the firewall.

Sorry no pictures of this. My hands were too covered in RTV to use the camera.

« Older posts Newer posts »