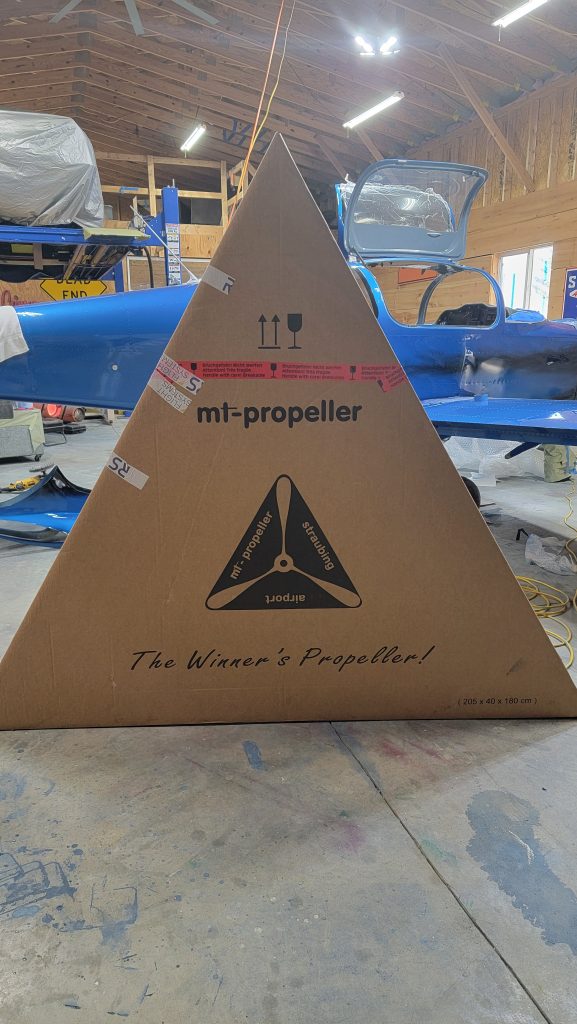
One hates to give away their secrets but, I am going with a Mt propeller and rs flight system controller. That’s not the secret. The secret is how much better their support and lead times are over airmaster. I ordered my propeller and flight control system and within 3 months I received them both. Being one of the first slings to have the system on, I asked many questions and rs flight systems were extremely responsive they responded quickly and thoroughly answered my questions.
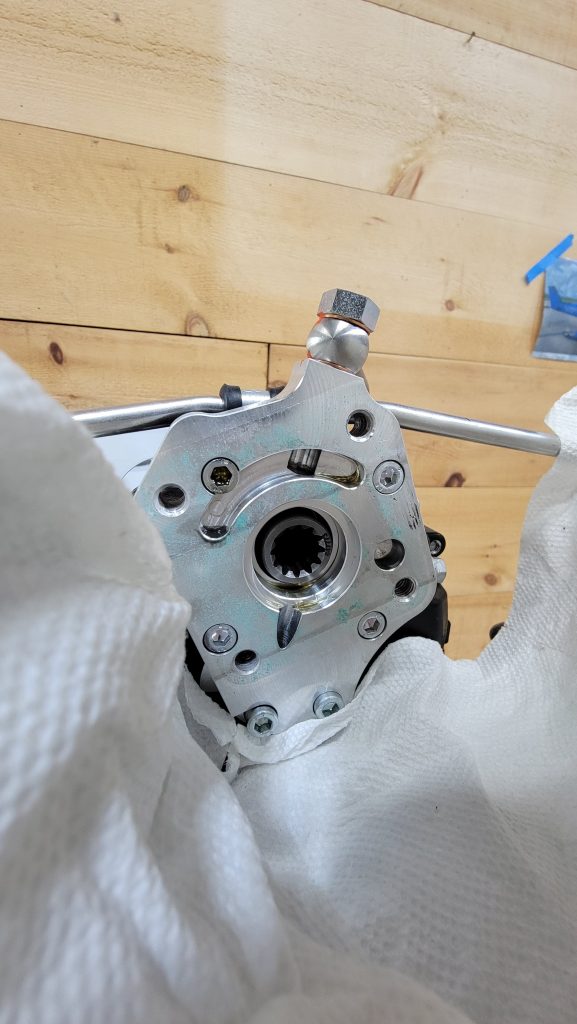
The next question is how easy is it to install…. Very easy! I’ve never installed an airmaster but comparing the instructions I believe this is way easier to install. The mt propeller is hydraulically controlled. It uses engine oil for the hydraulic pressure. So all you have to do is connect a governor with four bolts and plug in three wires that go to the brain/SCU and you are good to go. Versus Air Master where you have to install the slip ring on the propeller flange and the brushes to transfer the electricity. They seem like they’ve been problematic in wearing out at inconvenient times.
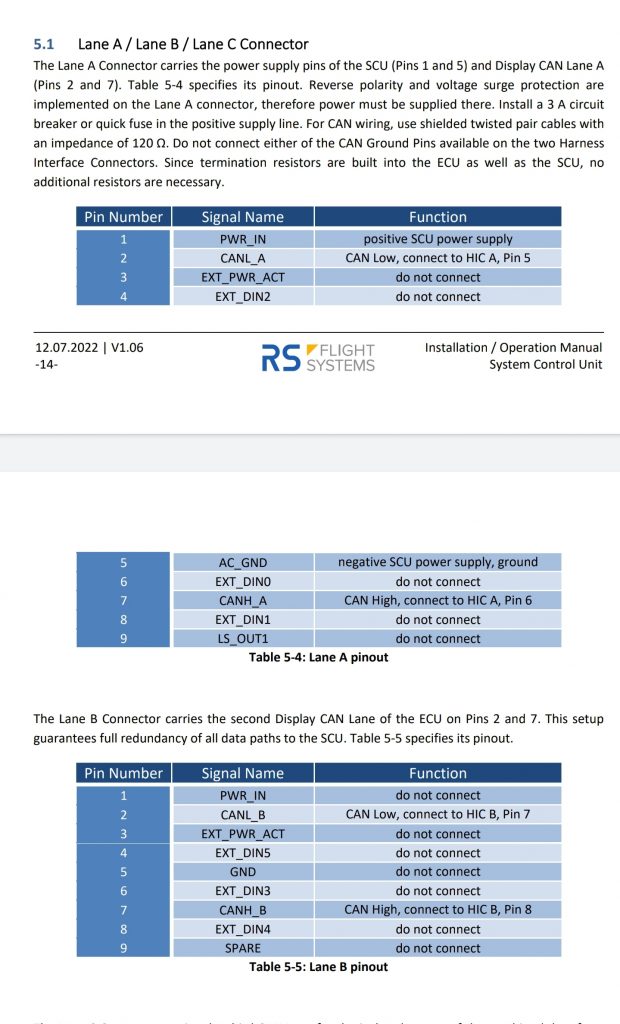
The wiring for the SCU does mean you’ll have to TAP into the two wires coming from the engine. You’ll have to tap into the HICa and the HICb. I tapped into those immediately behind the connector that way it was easy to make sure I have the correct wire. You need to tap into the can bus low and the can bus high for Lane a and b. So in total that makes four taps. The HIC connectors do have the low and high right next to each other. So I was able to find a single tap that will do two adjacent wires in one. Which makes it a really neat installation. Lane a connector will require power which is simply a positive and a negative and if you already had the airmaster power routed you can simply plug it into the SCU instead.
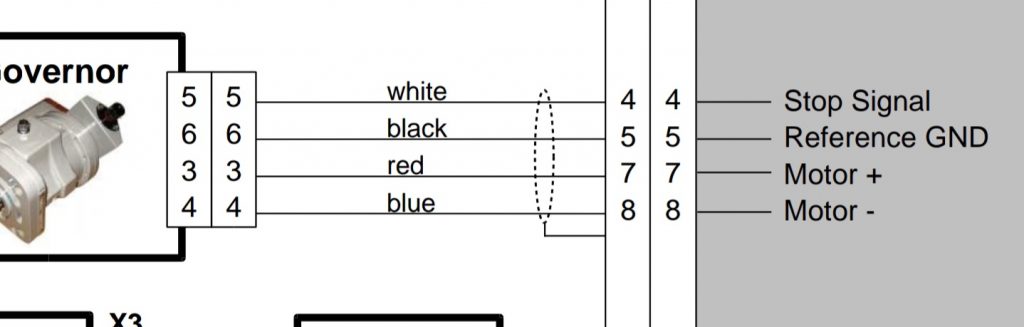
The wire for the governor only comes with a connector on one end. Seems like they could put the connector on the other end but they don’t. It doesn’t matter it’s a simple 15 pin serial connector and there are only four wires in the cable. So it is easy to do.
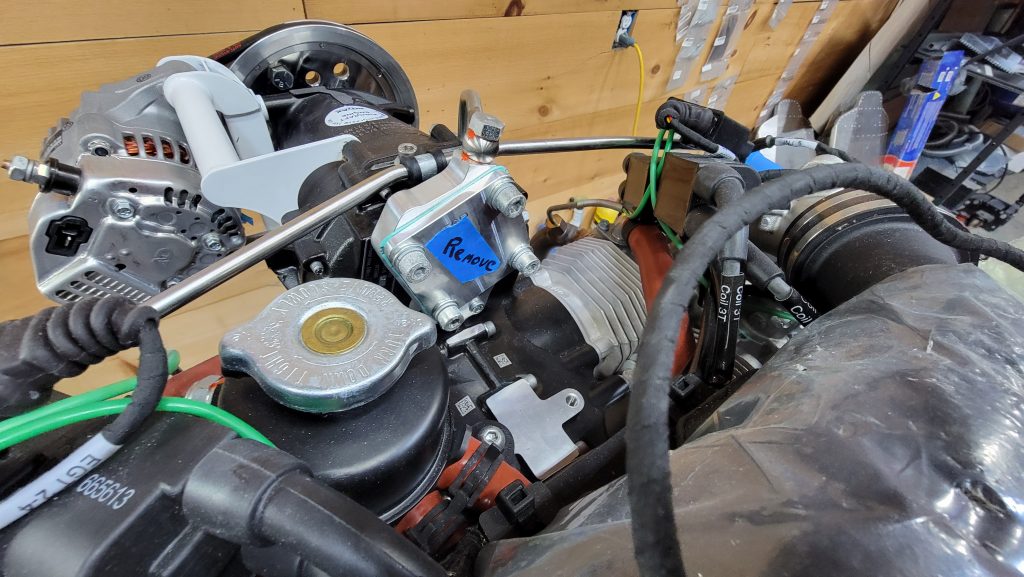
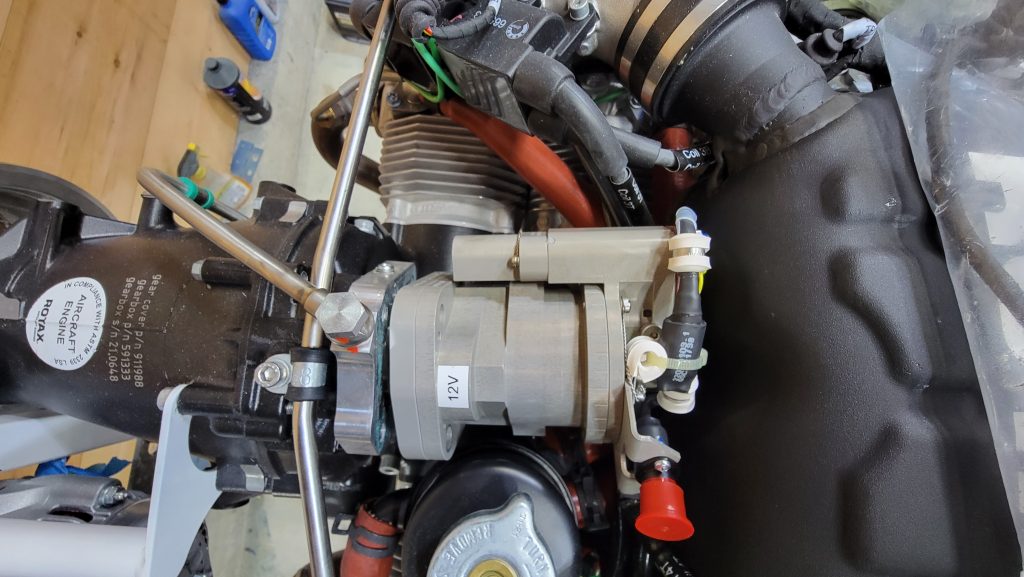
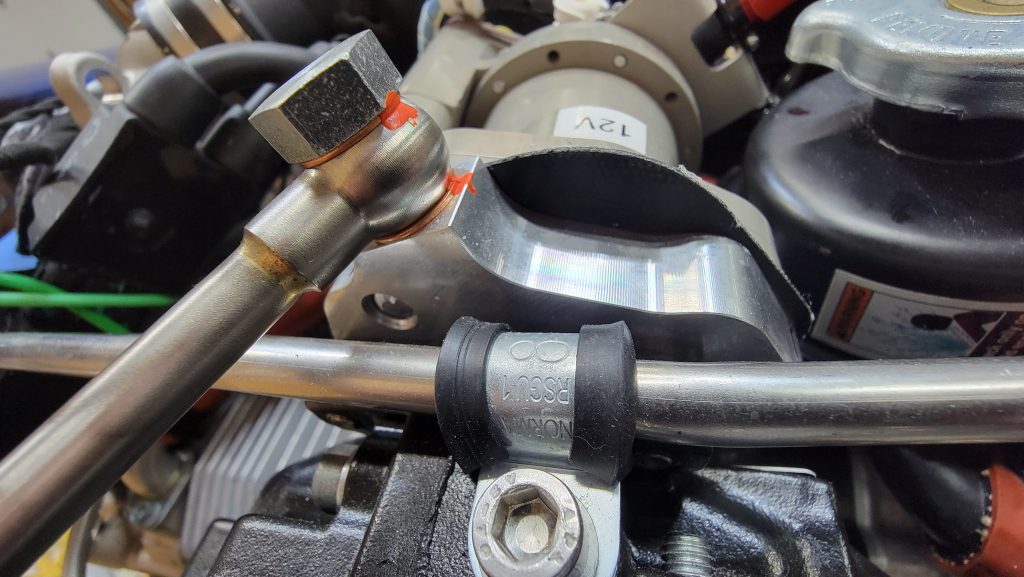
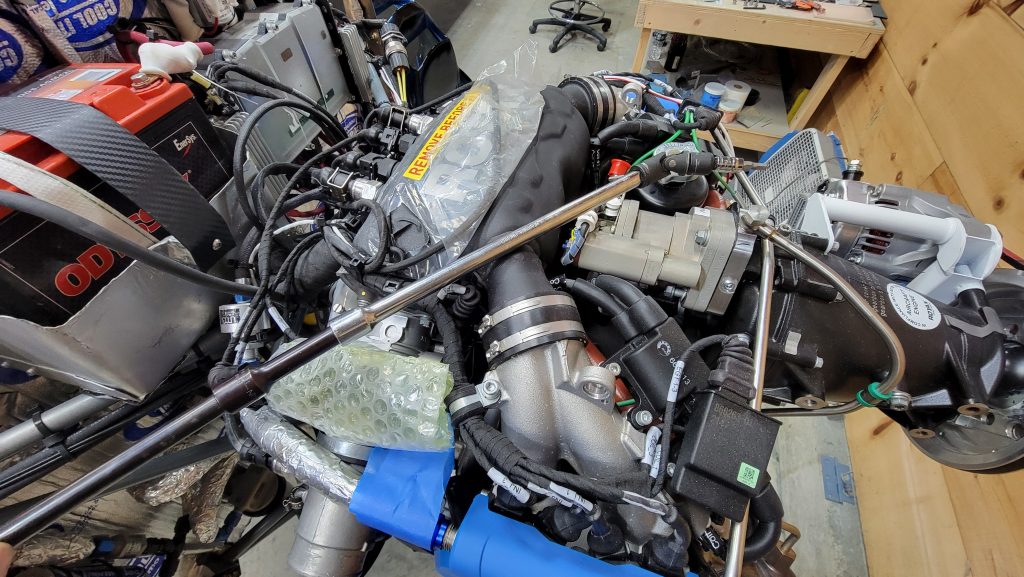
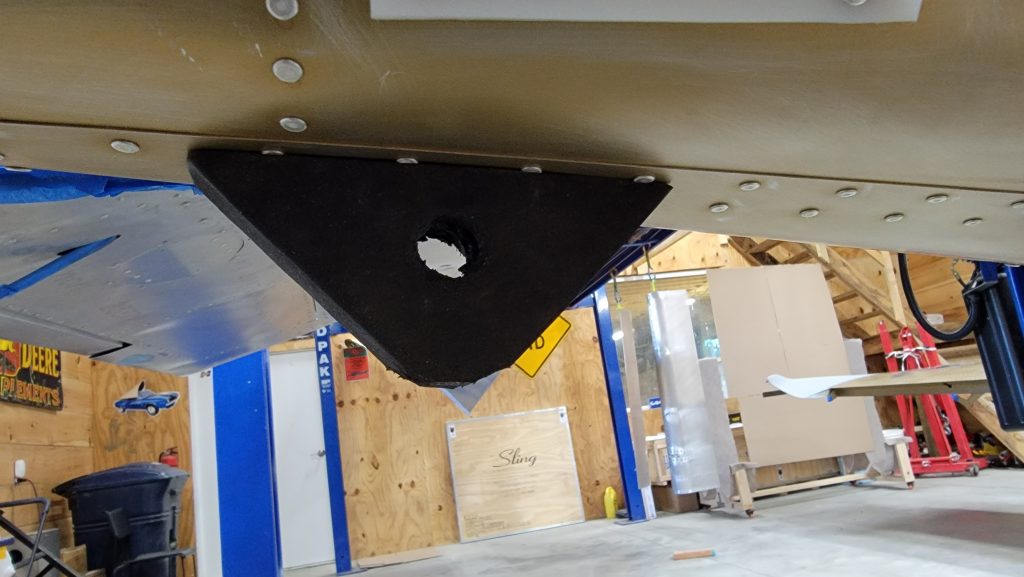
Mounting the governor to the back of the gearbox is tight but it does fit without any modifications. First you’ll have to remove the plate that sling attached to the back of the gearbox. Shown in picture. Getting the lower lower bolt is a bit of a pain but in one of my pictures I try to illustrate the approximate path I took with many connected sockets to get to it. In the picture my extension of my sockets are above the air box. But in reality my sockets were below the airbox. The picture is simply for illustrating the approximate path. The bolt supplied to the governor do not go all the way through the flange. Flange is approximately half an inch thick so I felt like that was okay. But I verified with the manufacturer and they said that was the way it was designed.
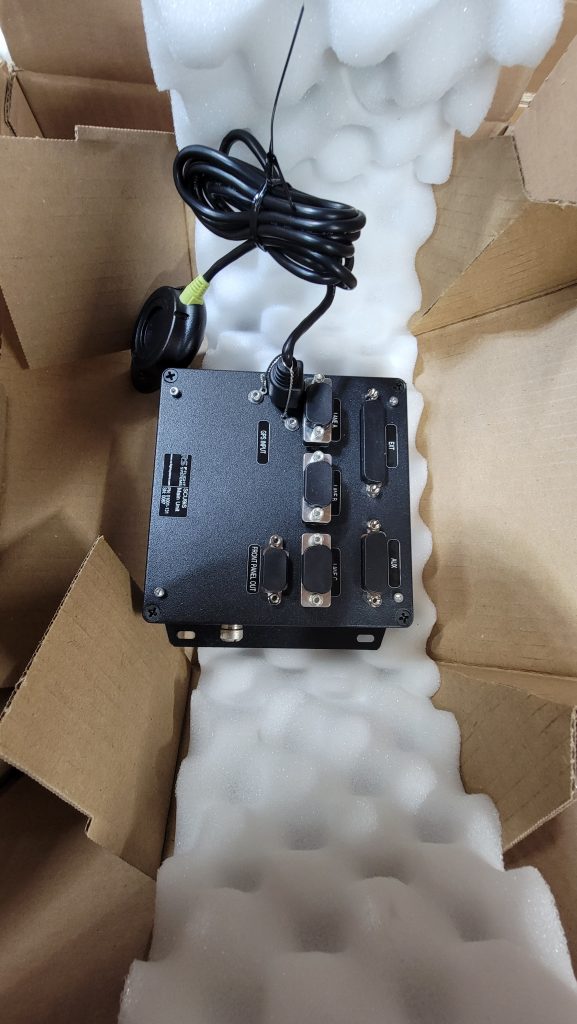
The SCU mounts inside of the plane. With the rest of the avionics sorry I did not get a picture of that but it’s pretty straightforward.